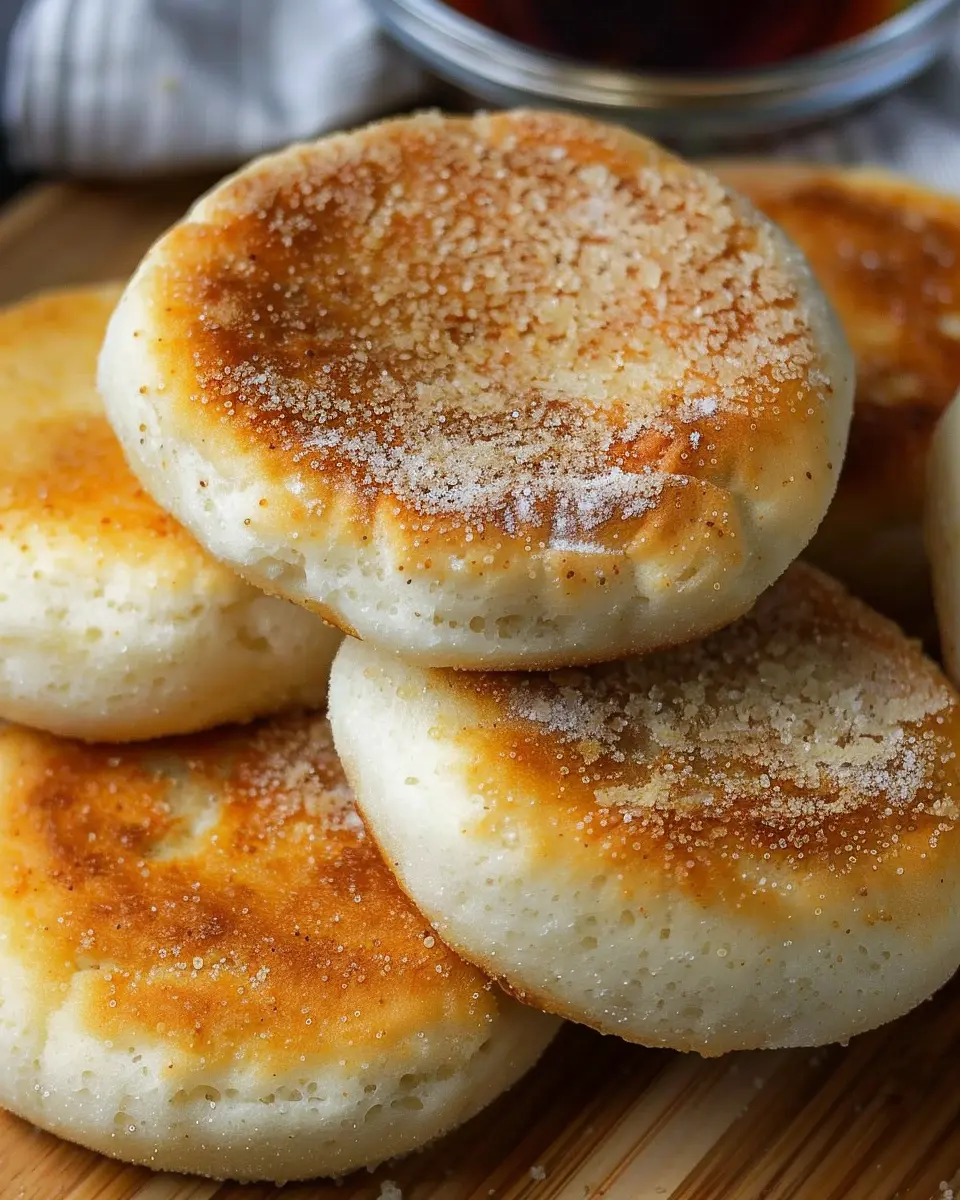
Introduction to Soft Buttery Breadsticks
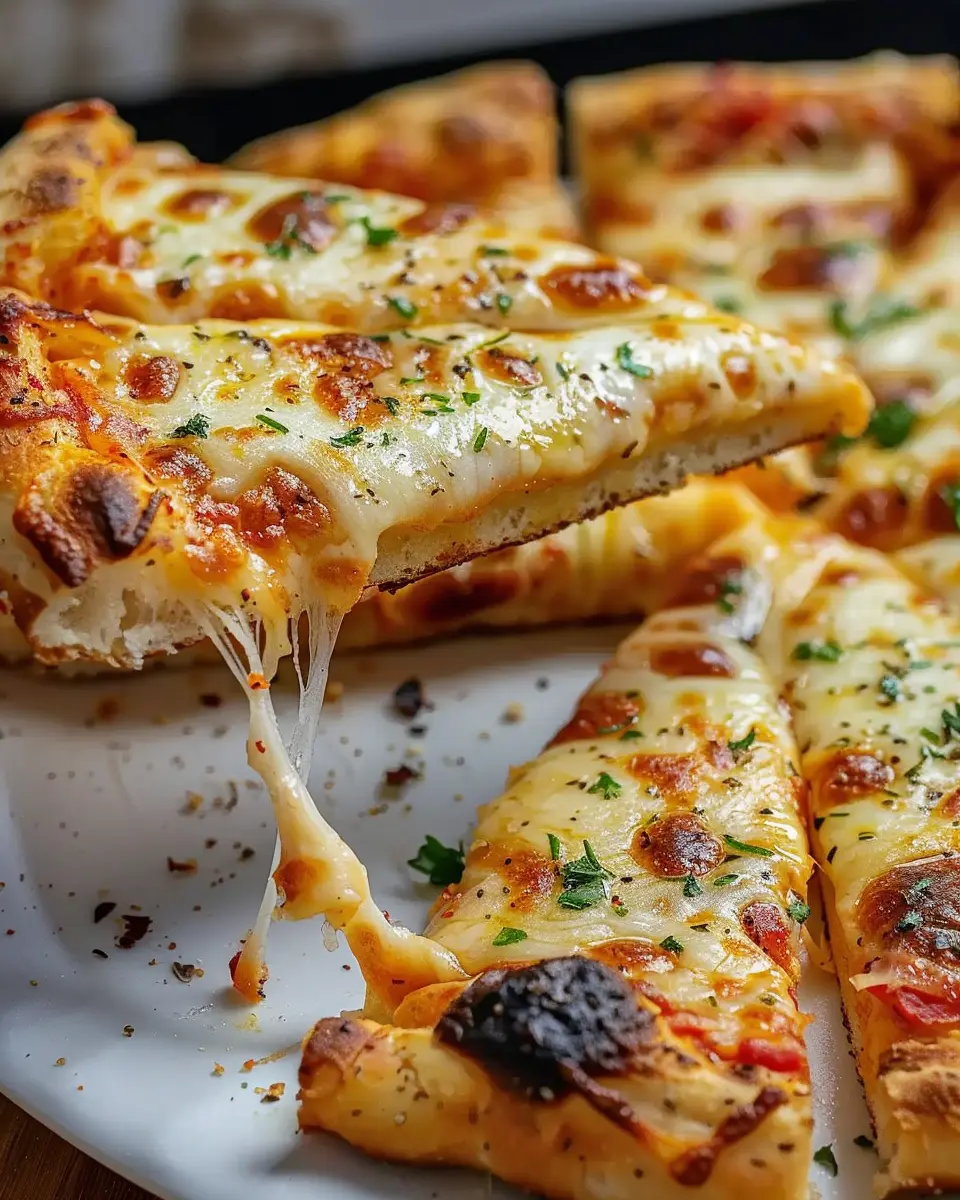
If you’re anything like me, you can agree that there’s something irresistibly comforting about soft buttery breadsticks. They’re warm, delicious, and the perfect companion for any meal—dinner, a casual snack, or even a movie night treat. Have you ever looked at the breadsticks served at your favorite takeout place and thought, “I wonder if I could make these even better at home?” Well, I’m here to tell you that you absolutely can!
One of the reasons why soft buttery breadsticks are better than takeout is the freshness. When you whip up a batch in your kitchen, you’re not only avoiding the preservatives often found in store-bought versions, but you also have the freedom to control flavor and texture. You can customize your spices, cheese, or even add herbs, making each breadstick your own masterpiece. Trust me, nothing compares to the aroma of fresh bread wafting through your home—it’s a sensory experience that fast food simply can’t replicate. According to a study by the American Bakers Association, aroma plays a significant role in how we perceive food, reinforcing the idea that your homemade breadsticks will taste better even before taking a bite!
Another perk of these soft buttery breadsticks is the sheer satisfaction of creating them from scratch. It can be a delightful weekend project or a creative cooking session on a weeknight. Plus, the process is simple. You’ll find it’s not as daunting as it may seem. Just gather your essentials: flour, yeast, and, of course, plenty of butter. In around 30 minutes, you’ll have fragrant, warm breadsticks that will impress any guest—and leave delivery pizza feeling a little jealous.
Feeling curious? Check out this guide on the Science of Bread Making for some background on the magic of yeast and dough. Once you’ve mastered these wonderful sticks, your dinner table will never be the same, and takeout will likely gather more dust than usual. So, are you ready to roll up your sleeves and make the breadsticks that are softer and more buttery than your local takeout? Let’s get baking!
Ingredients for Soft Buttery Breadsticks
Essential ingredients for the perfect breadsticks
Creating soft, buttery, and absolutely better than takeout breadsticks requires a few foundational ingredients that come together to deliver irresistible flavor and texture. Here’s what you’ll need:
- All-purpose flour: The backbone of any breadstick, providing structure. Aim for high-quality flour for the best results.
- Active dry yeast: This little powerhouse helps your breadsticks rise beautifully and gives them that airy texture we all crave.
- Salt: Not just for taste, salt controls fermentation and enhances the overall flavor. A key element in any baking recipe.
- Unsalted butter: This adds richness and a mouthwatering buttery flavor that elevates your breadsticks to divine levels.
- Sugar: Just a touch of sugar helps to activate the yeast and balances the saltiness.
- Warm water: Ideal for activating the yeast, warmth is crucial—think about the cozy, gentle warmth of a sunny afternoon.
Gather these ingredients, and you’re on your way to delighting your taste buds! Looking for more tips on elevating your baking skills? Check out Baking 101 by King Arthur Flour for expert insights.
Preparing Soft Buttery Breadsticks
Making soft buttery breadsticks at home is a delightful way to elevate any meal, and trust me, they’ll be better than takeout! Picture yourself pulling apart warm, fluffy breadsticks, perfectly drizzled with garlic butter, and topped with just the right amount of cheese. Are you ready to impress your friends or treat yourself? Let’s dive into the steps!
Activate Your Yeast with Warm Water
The first step in our journey to these heavenly breadsticks is activating the yeast. Start with:
- Warm water (about 110°F or just warm to the touch; not hot, as it can kill the yeast)
- Sugar (1 tablespoon)
- Active dry yeast (2 teaspoons)
Combine the warm water and sugar in a bowl, then sprinkle the yeast on top. Let it sit for about 5-10 minutes. You’ll know it’s activated when the mixture becomes frothy—a lovely sign of happy yeast! This simple yet crucial step sets the stage for your breadsticks to rise beautifully.
For more on yeast activation, you might find this guide on Cooking with Yeast useful!
Combine and Knead the Dough
Now that our yeast is bubbling with excitement, let’s mix our ingredients together. In a large mixing bowl, combine:
- All-purpose flour (about 3 cups)
- Salt (1 teaspoon)
- Melted butter (1/4 cup)
- The activated yeast mixture
Using a spoon or your hands, mix until it starts to come together. Then, it’s time to knead! Transfer the dough onto a floured surface. Use the heels of your hands to push the dough away, then fold it back in. Repeat this for about 5-7 minutes, or until the dough is smooth and elastic. If you’re new to kneading, don’t worry—just think of it as a mini workout for your arm muscles!
Let Your Dough Rise
After kneading, it’s time for the dough to rest and rise. Place it in a greased bowl, cover it with a clean kitchen towel, and find a warm place to let it rise for about 1 hour, or until it has doubled in size. This is the perfect time to tidy up, prep your garlic butter, or binge a quick show.
Remember, the warmer your environment, the faster your dough will rise. A good trick is to place the bowl in an oven that’s been preheated to 200°F, then turned off.
Roll Out the Dough and Apply Garlic Butter
Once your dough has risen, punch it down to release the air. Then, transfer it to a floured surface again. Roll it out into a rectangle that’s about 1/2 inch thick. Brush a generous layer of:
- Melted garlic butter (about 1/2 cup)
- Add minced garlic and herbs (like parsley or oregano) for an extra kick!
Cut the dough into strips (about 1 inch wide) and twist each strip to give them that classic breadstick look! Place them on a lined baking sheet, giving them enough space to expand.
Top with Cheese and Bake to Perfection
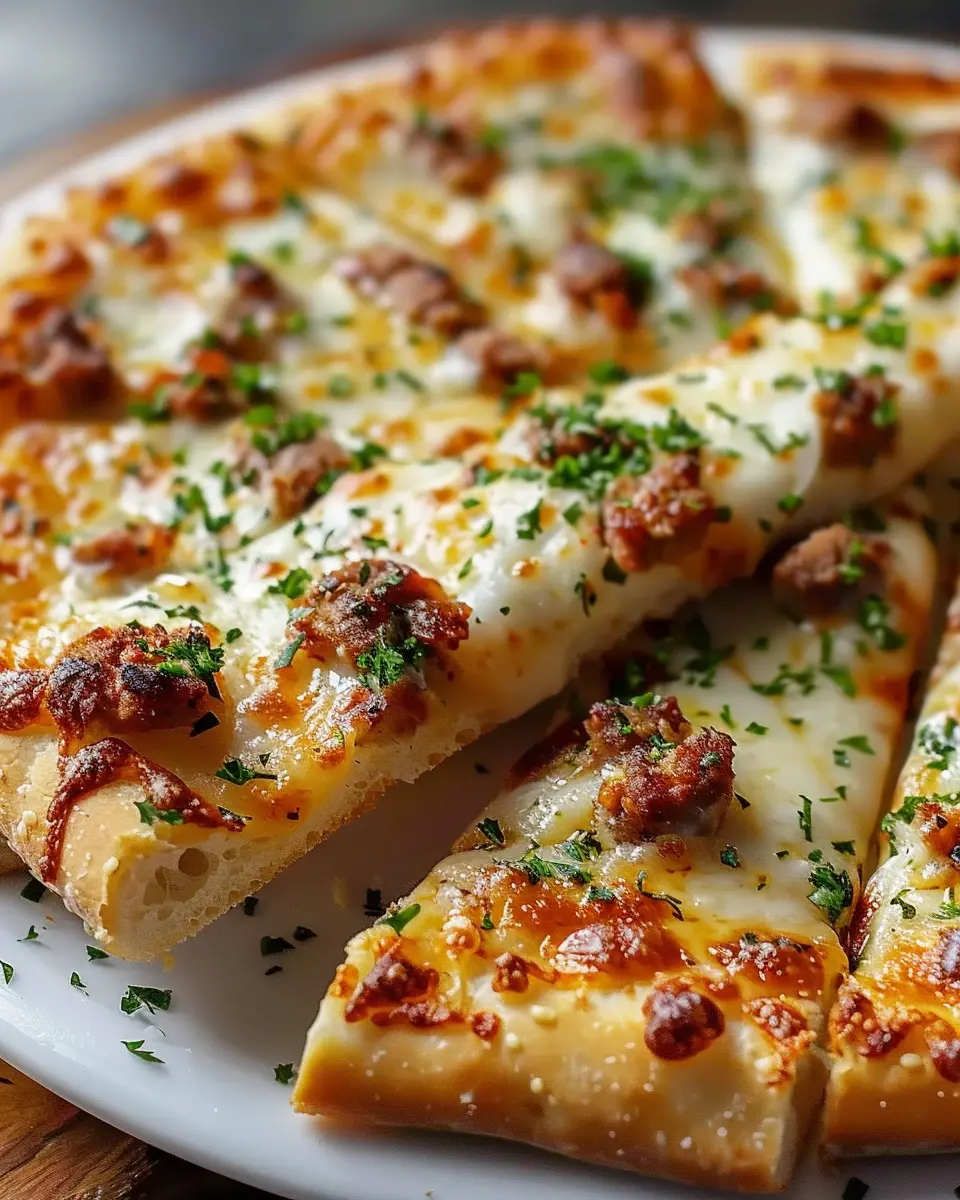
This is where magic happens! Before you pop them in the oven, sprinkle a generous amount of your favorite cheese on top—parmesan or mozzarella both work wonders. If you really want to channel that soft buttery breadsticks, better than takeout vibe, you could even add turkey bacon or chicken ham bits before baking!
Bake these beauties in a preheated oven at 375°F for about 15-20 minutes, or until they’re golden brown. The smell will be irresistible, and you’ll be counting the minutes until you can indulge.
Be sure to let them cool slightly (if you can wait!) and serve warm, maybe with a side of marinara for dipping. Enjoy your homemade soft buttery breadsticks, and watch them disappear faster than any takeout order!
Feel free to check out more tips on baking perfect bread for an even deeper dive into the science behind baking!
Variations on Soft Buttery Breadsticks
There’s nothing quite like the irresistible aroma of soft buttery breadsticks fresh from your oven. While the classic version is already a showstopper, let’s explore some delightful variations that take these breadsticks from delicious to outstanding.
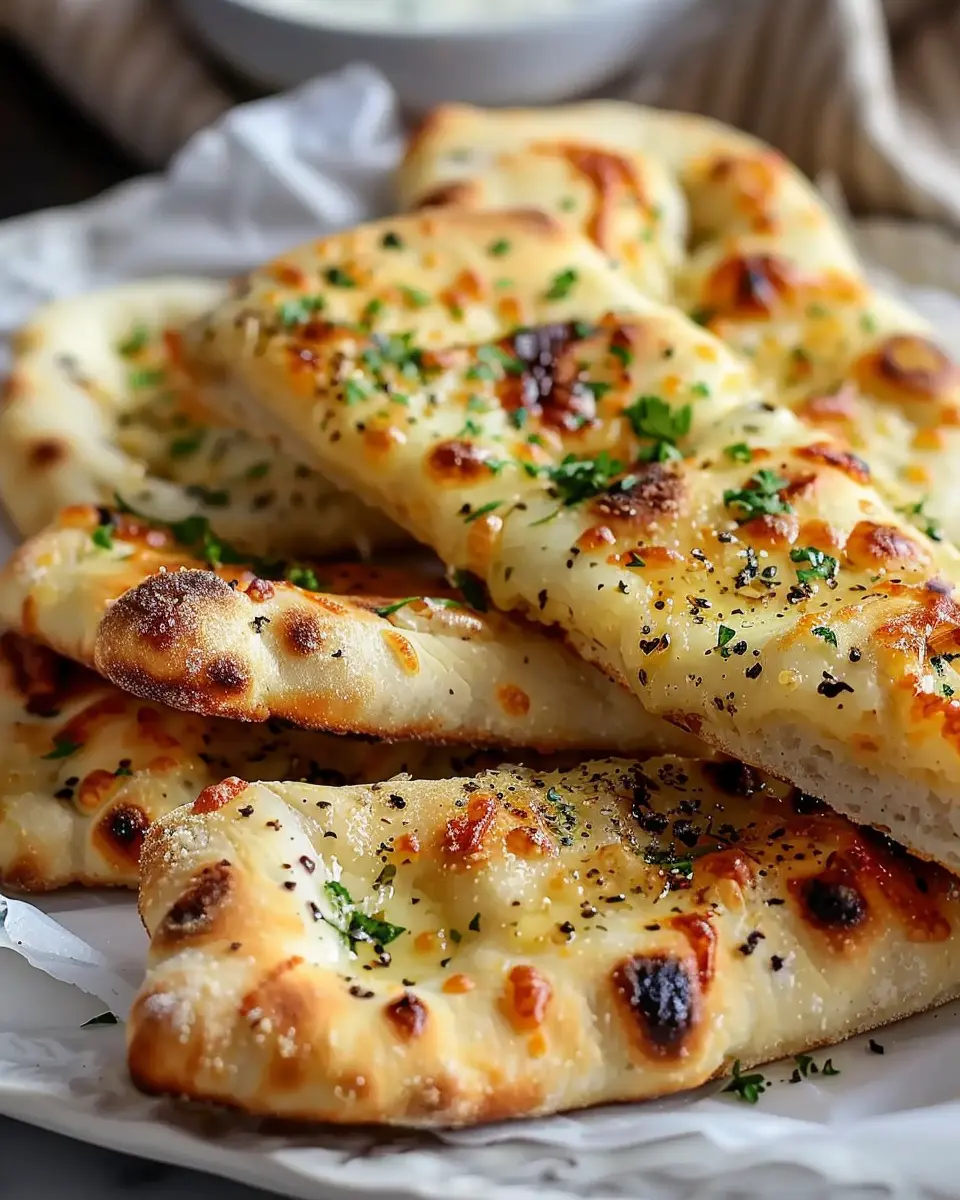
Flavorful Garlic & Herb Breadsticks
Elevate your breadsticks with a touch of gourmet flair! Mix minced garlic and your favorite fresh herbs like rosemary, thyme, or parsley into the dough. As they bake, the herbs will release their fragrant aroma, making your kitchen feel like a five-star restaurant. You can also brush the tops with garlic-infused olive oil for an extra layer of flavor. Who wouldn’t want to enjoy soft buttery better than takeout breadsticks right at home?
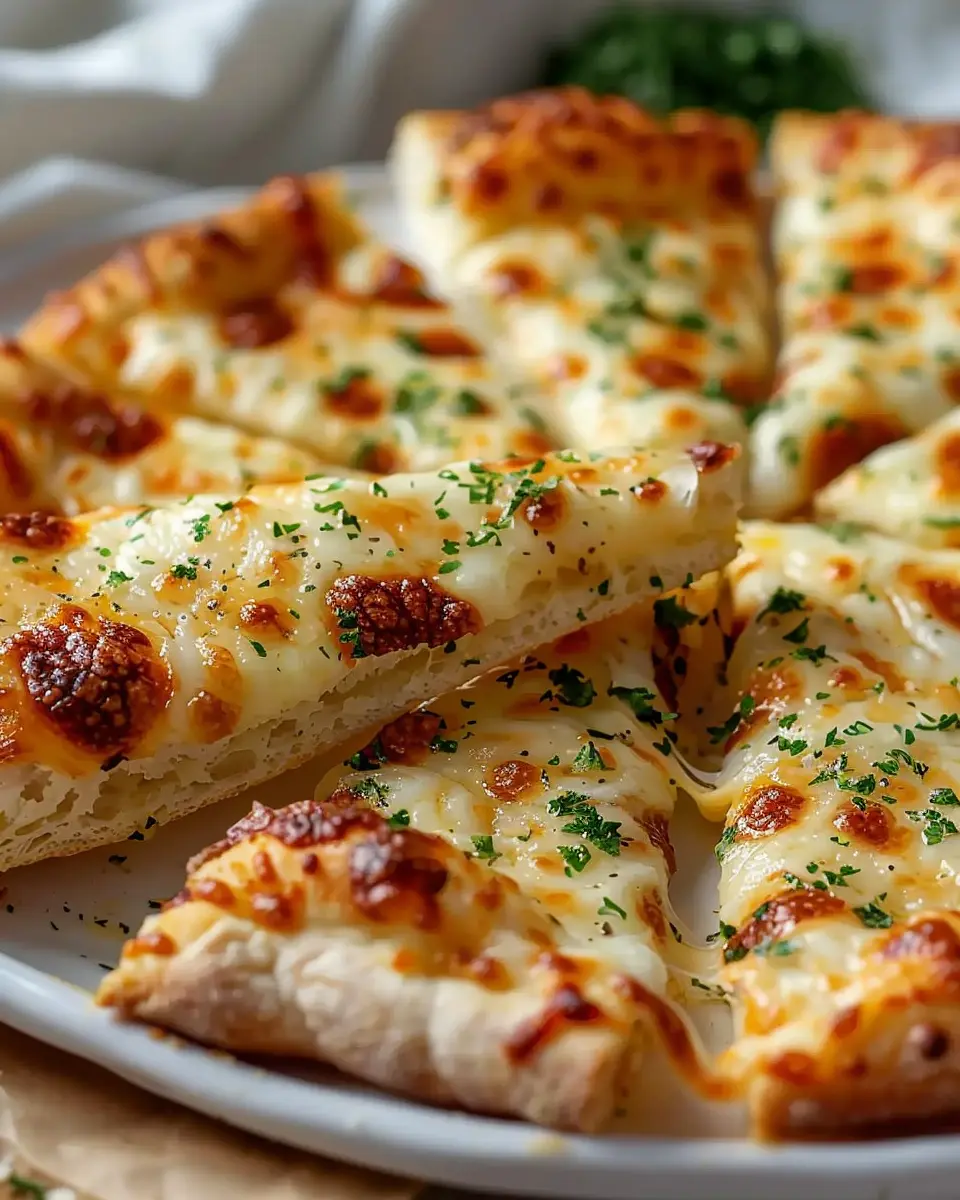
Cheesy Twists with Different Cheeses
For cheese lovers, the options are endless. Try incorporating shredded cheese like cheddar, mozzarella, or even a tangy blue cheese into the dough. Alternatively, create cheesy twists by rolling out the dough, sprinkling cheese, and twisting it into spiral shapes. Pairing these with a marinara or garlic dip enhances the experience and adds a comforting touch to your meal.
Gluten-Free Option for Breadsticks
If you’re avoiding gluten, don’t worry! You can still indulge in soft buttery breadsticks with a gluten-free flour blend. Look for blends that contain brown rice flour, tapioca starch, and xanthan gum to create a similar texture and flavor. Bee’s Bakery notes that experimenting with different gluten-free flours can yield delicious results, providing a satisfying alternative for everyone.
These variations not only enhance the flavor but also cater to diverse preferences and dietary needs. So whether you are hosting friends or enjoying a cozy night in, these breadstick options are sure to impress!
Cooking tips and notes for Soft Buttery Breadsticks
Best practices for texture and flavor
To achieve that soft buttery breadstick texture that’s better than takeout, here are some tips to elevate your baking game:
- Don’t skip the rest period: Allow your dough to rise until it’s doubled in size. This is crucial for a light, airy texture.
- Use high-quality butter: It makes a significant difference in flavor. Opt for unsalted butter to control the saltiness of your breadsticks.
- Keep an eye on your oven: Every oven is different. Bake until they’re golden brown but not overly dark; around 15 minutes is usually perfect.
Useful tools and equipment
Having the right tools can streamline your process and ensure a perfect batch of breadsticks:
- Mixing bowl: A large bowl for mixing your dough comfortably.
- Baking sheet: Ensure it’s lined with parchment paper for easy removal.
- Pastry brush: A must for brushing that delicious butter on top right after baking.
- Kitchen thermometer: If you want to get precise, a thermometer can help you check the dough temperature for optimal yeast activation.
For more expert advice, check out resources from King Arthur Baking or America’s Test Kitchen for in-depth baking insights!
Serving suggestions for Soft Buttery Breadsticks
Perfect dipping sauces
When it comes to enhancing your soft buttery breadsticks, dipping sauces can make all the difference. Here are a few tasty options to consider:
- Garlic butter sauce: This classic pairs perfectly with the flavors of the breadsticks, adding an extra layer of richness.
- Marinara: A hearty marinara sauce lends a burst of freshness and is great for those who enjoy a touch of acidity.
- Creamy ranch: Its cool, tangy flavor complements the warm, buttery taste of the breadsticks beautifully.
Consider trying this dip pairing at your next gathering; it’s sure to be a hit with friends and family alike!
Pairing with soups or salads
Soft buttery breadsticks aren’t just a side—they can elevate your entire meal experience. They work wonderfully with a variety of dishes:
- Soups: Think creamy tomato or hearty minestrone for a cozy combo. The breadsticks are perfect for dipping and soaking up all that delicious broth.
- Salads: Serve them alongside a fresh Caesar or a vibrant mixed greens salad. The buttery flavor adds a satisfying touch that balances lighter dishes.
Imagine a cozy evening with a bowl of soup and a warm breadstick in hand. Sounds delightful, right? For more pairing inspiration, check out resources like Taste of Home for seasonal recipes that complement these soft buttery, better than takeout breadsticks perfectly!
Time Breakdown for Soft Buttery Breadsticks
Preparation Time
Getting started on soft buttery breadsticks better than takeout requires a bit of setup. Expect to spend about 20 minutes gathering your ingredients—the flour, yeast, and, of course, the butter. Don’t rush; taking this time helps you get everything just right.
Cooking Time
Once you’re ready, the baking process is straightforward and should take about 15 to 20 minutes in the oven. While they bake, your home will be filled with an irresistible aroma, making it hard not to sneak a taste!
Total Time
In total, you’re looking at approximately 40 to 50 minutes before diving into a warm basket of these delightful breadsticks. Remember, the effort is totally worth it! For an engaging read on yeast and its role in baking, check out this detailed guide on yeast from King Arthur Baking. Understanding your ingredients can really elevate your baking game!
So, roll up your sleeves and prepare for some delicious homemade goodness that goes beyond any takeout!
Nutritional facts for Soft Buttery Breadsticks
Calories per serving
When you indulge in these soft, buttery breadsticks, you’re looking at approximately 150 calories per serving. It’s easy to savor their delightful taste without feeling overly guilty—perfect after a long day or for a cozy movie night at home.
Fats and carbs breakdown
These breadsticks are a treat with about 5 grams of fat and 25 grams of carbohydrates per serving. With a balance of healthy fats from the butter and the carbs providing energy, they make a satisfying addition to your meal. If you want to learn more about balancing fats and carbs in your diet, check out the Nutrition.gov guidelines.
Nutritional benefits of homemade breadsticks
Making your own soft buttery, better than takeout breadsticks means you get to control the ingredients. With fresh ingredients, they’re free from preservatives and artificial additives often found in store-bought versions. Plus, the warmth of freshly baked bread not only comforts the soul but brings a sense of accomplishment! Homemade breadsticks can also be customized — think herbs, cheese, or even a touch of garlic for added flavor.
If you’re curious about the health benefits of whole grains and homemade bread, visit the Whole Grains Council for more insight!
Getting the hang of homemade breadsticks can really transform your culinary game. Have you thought about trying different flours or spices? The possibilities are endless!
FAQs about Soft Buttery Breadsticks
How do I keep breadsticks soft after baking?
Keeping your soft buttery breadsticks tender and fluffy after baking is easy! Here are some handy tips:
- Wrap them up: Once baked, cover the breadsticks with a clean kitchen towel to trap moisture.
- Store properly: If you’re not eating them immediately, place them in an airtight container or zip-top bag. This helps them stay soft longer.
- Reheat with care: When reheating, sprinkle a tiny bit of water on them and wrap them in foil before placing them in the oven. This will revive that melt-in-your-mouth goodness.
Can I freeze leftover breadsticks?
Absolutely! Freezing is a fantastic way to enjoy your homemade breadsticks later. Here’s how:
- Make sure they are completely cool before packing them.
- Wrap them tightly in plastic wrap or aluminum foil, then place them in a freezer bag. They can last up to 3 months in the freezer.
- To enjoy, simply thaw them overnight in the fridge, and then reheat them in the oven for that fresh-baked experience.
What toppings can I use on my breadsticks?
The toppings can take your soft buttery breadsticks to a whole new level! Here are some delicious ideas:
- Garlic butter: Melt butter and mix in some minced garlic for a classic touch.
- Cheesy goodness: Top with grated parmesan or mozzarella before baking.
- Herbs and spices: Sprinkle dried oregano, rosemary, or a dash of cayenne for an extra kick.
Want to dive deeper into more toppings? Check out Food Network’s list of topping ideas to inspire your culinary creativity!
With these tips and tricks, your soft, buttery breadsticks will surely be better than takeout!
Conclusion on Soft Buttery Breadsticks
Why Making Breadsticks at Home Is Worth It
Creating soft buttery breadsticks in your own kitchen truly elevates your meals beyond what takeout can offer. Not only do you experience the joy of baking, but you also control the ingredients—ensuring that every bite is fresh and delicious. Imagine pulling warm, golden-brown breadsticks from the oven, their buttery aroma filling your home, and serving them right alongside your favorite dishes.
By making them at home, you also save money and can customize flavors to fit your preferences and dietary needs. Plus, there’s something deeply satisfying about sharing your homemade creations with friends and family, turning any meal into a special occasion. For exceptional breadstick recipes, check out The Kitchn or Serious Eats.
So, why settle for store-bought when you can enjoy soft buttery breadsticks that are truly better than takeout? Your taste buds will thank you!
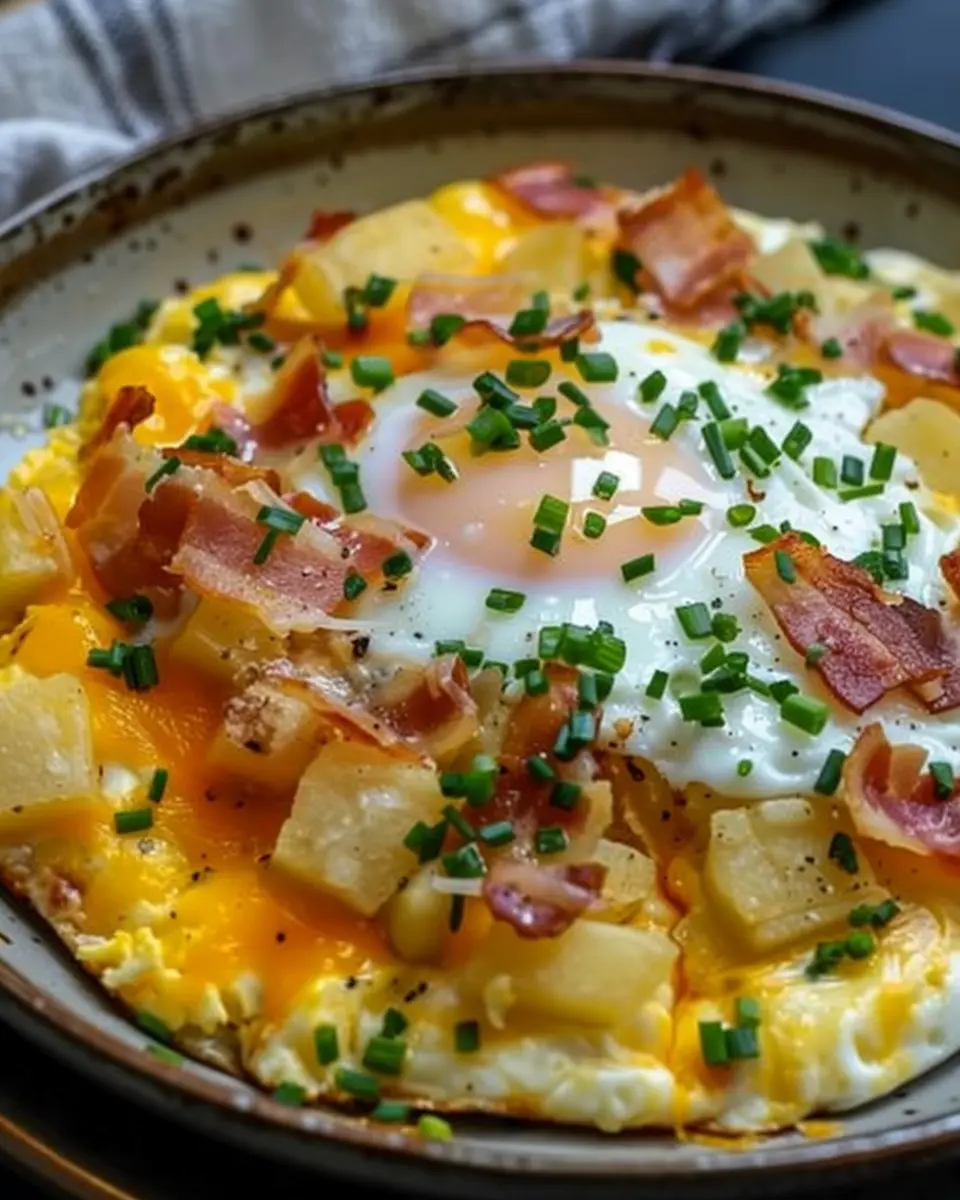
PrintSoft Buttery Better Than Takeout Turkey Bacon and Chicken Ham Delight

Delightful turkey bacon and chicken ham dish that’s soft and buttery, making it better than takeout.
- Prep Time: 10 minutes
- Cook Time: 15 minutes
- Total Time: 25 minutes
- Yield: 2 servings 1x
- Category: Breakfast
- Method: Pan-frying
- Cuisine: American
- Diet: Gluten-Free
Ingredients
- 4 slices turkey bacon
- 2 slices chicken ham
- 1 tablespoon butter
- 1 teaspoon garlic powder
- 1/2 teaspoon black pepper
- 2 eggs
Instructions
- In a pan, melt the butter over medium heat.
- Add the turkey bacon and cook until crispy.
- Add the chicken ham and cook for another 2 minutes.
- Sprinkle garlic powder and black pepper over the meat.
- In a separate pan, fry the eggs to your preference.
- Serve the turkey bacon and chicken ham with the fried eggs on top.
Notes
- For extra flavor, use smoked turkey bacon.
- Can substitute chicken ham with turkey ham.
Nutrition
- Serving Size: 1 plate
- Calories: 450
- Sugar: 1g
- Sodium: 900mg
- Fat: 35g
- Saturated Fat: 10g
- Unsaturated Fat: 20g
- Trans Fat: 0g
- Carbohydrates: 2g
- Fiber: 0g
- Protein: 30g
- Cholesterol: 250mg
Keywords: Soft, Buttery, Better Than Takeout