Introduction to Red Velvet Lava Cupcakes
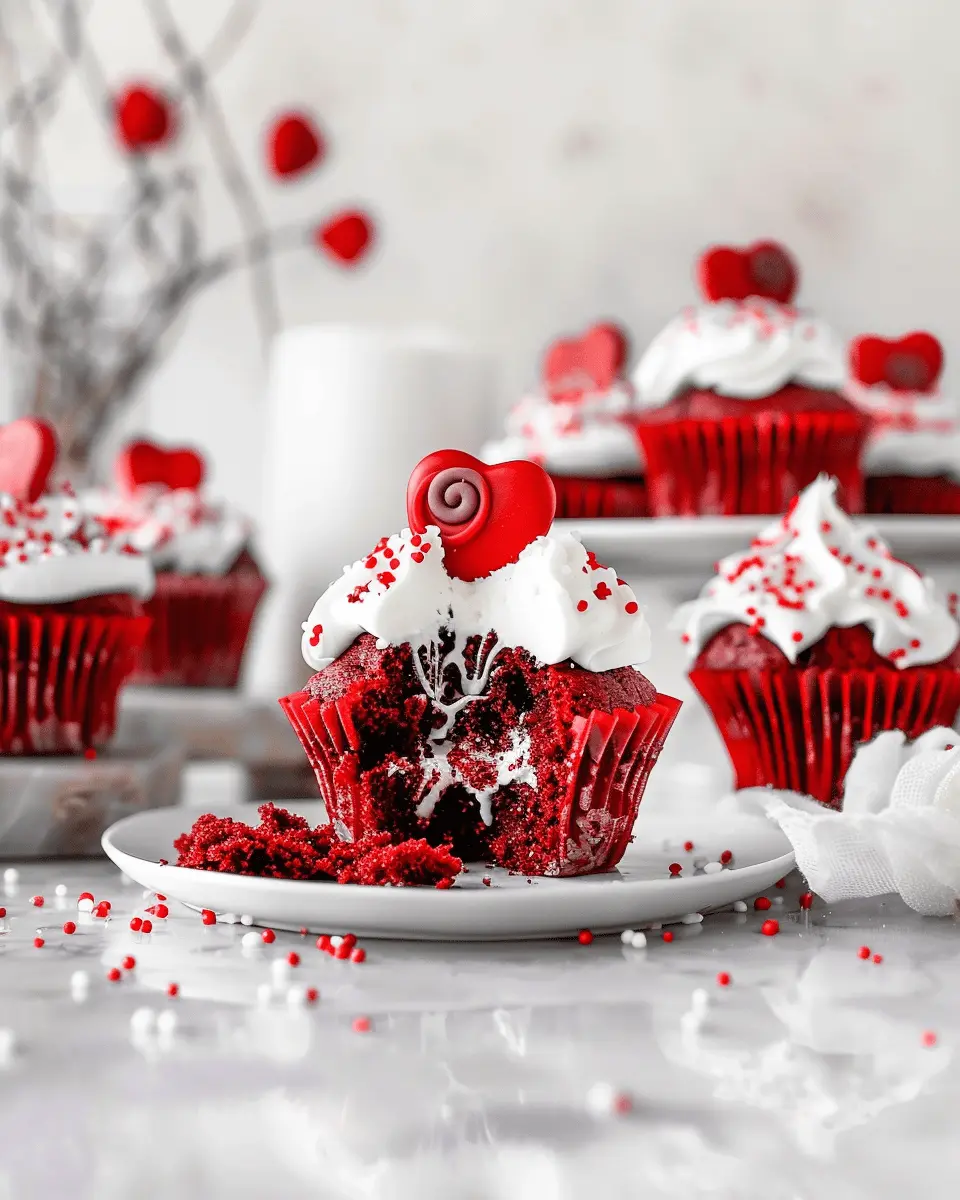
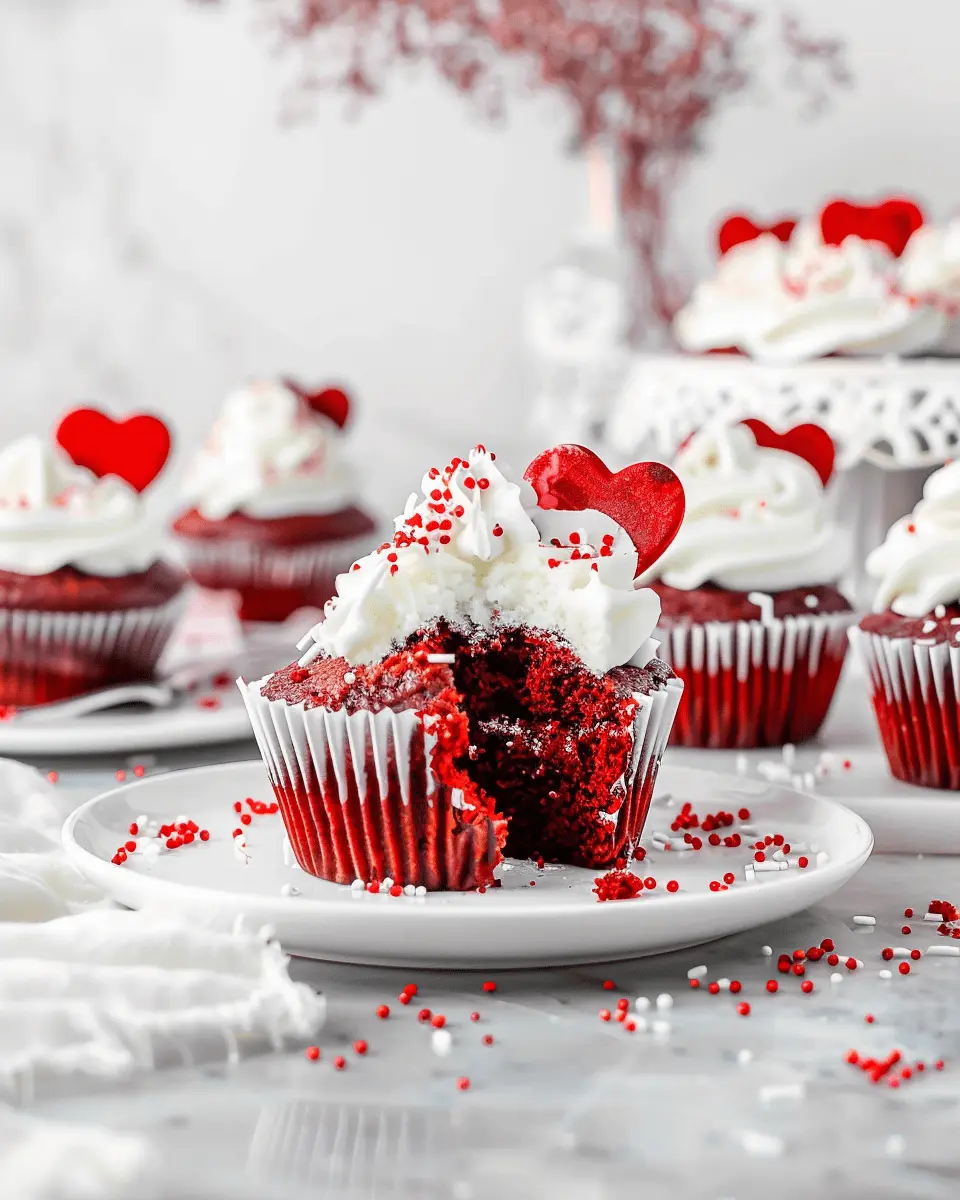
When it comes to desserts, red velvet has a special place in our hearts and on our tables. The vibrant color, rich texture, and subtle cocoa flavor combine to create a treat that’s nothing short of enchanting. Enter the unforgettable world of red velvet lava cupcakes—a gorgeous twist on the classic that delivers a delightful surprise with every bite.
What’s the allure of red velvet, anyway?
The magic of red velvet goes beyond just its stunning appearance. Originating in the southern United States, red velvet cake has a long-standing history that captivates true dessert lovers. The unique blend of buttermilk, cocoa powder, and vinegar contributes to a moist, velvety texture that’s mouthwateringly soft. This cake is not just about looks; it offers a delicate sweetness balanced with a hint of tang.
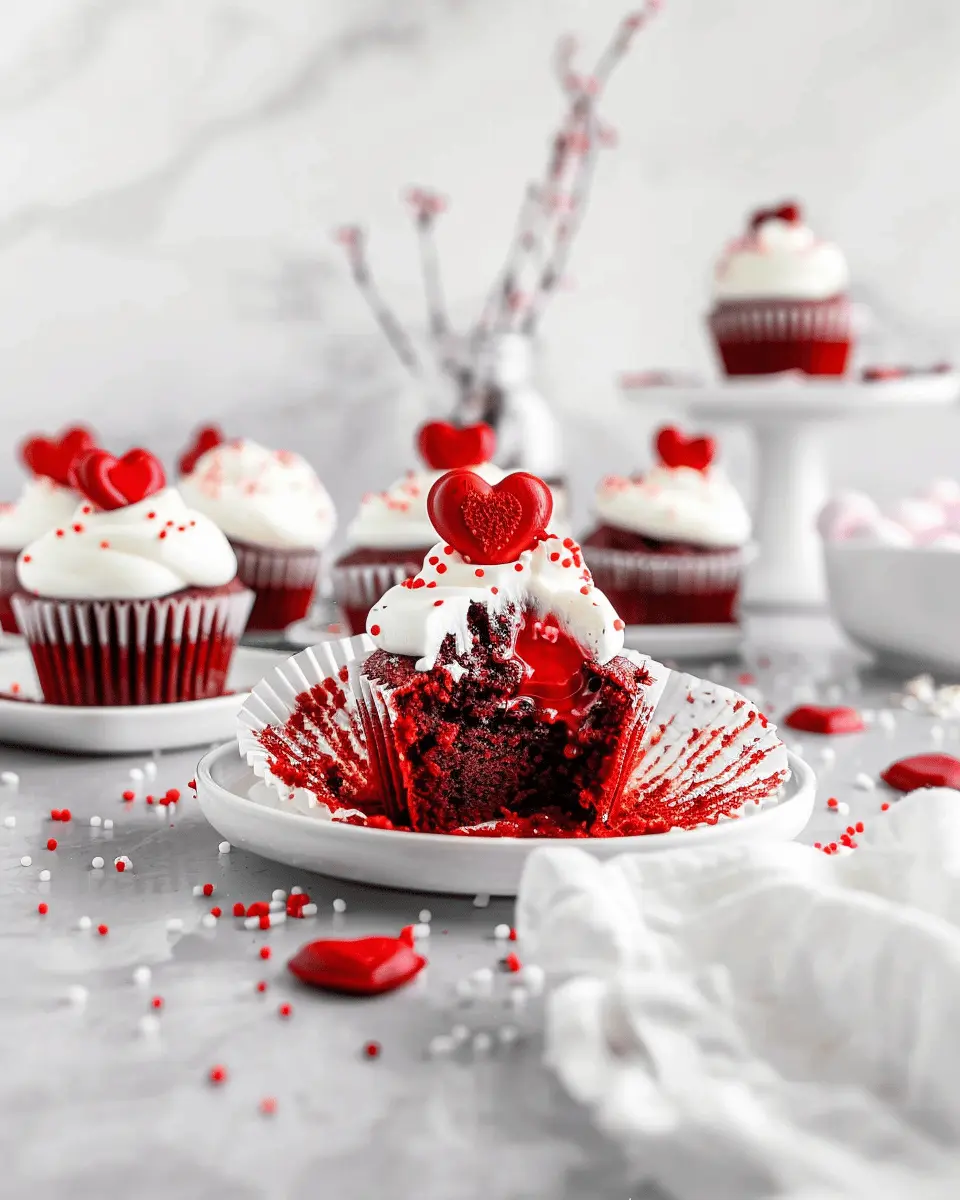
But why opt for lava cupcakes? Imagine the satisfaction of cracking open the cupcake to reveal a warm, gooey center that flows out like liquid velvet. It’s an experience that excites the senses and elevates the standard cupcake to a whole new level. You might be wondering, how does one achieve such a phenomenal texture and flavor? The secret lies in the technique and, of course, the quality of ingredients.
As a bonus, pairing these delectable cupcakes with a scoop of vanilla ice cream or a side of fresh berries can create a fabulous contrast of flavors. Ultimately, it’s about indulging in the little things, and what could be better than enjoying a warm cupcake while catching up with friends or sharing a quiet evening at home?
If you’re curious about the science behind the velvet texture or even the origins of this cake’s color, sites like Smithsonian Magazine provide fascinating insights. And when you’re ready to dive deeper into making your very own red velvet lava cupcakes, remember that experimenting in the kitchen can lead you to delightful discoveries.
Stay tuned for the mouthwatering recipe that unleashes a chocolatey lava flow fitting for any occasion.
Ingredients for Red Velvet Lava Cupcakes
Must-have ingredients for a rich flavor
If you’re craving red velvet lava cupcakes, the first step is gathering the right ingredients that create that luscious, melt-in-your-mouth experience. Here’s what you’ll need:
- All-purpose flour: The base of your cupcakes.
- Unsweetened cocoa powder: This adds depth to the flavor.
- Granulated sugar: Because every dessert needs that sweet touch!
- Baking powder: For that perfect rise and texture.
- Baking soda and salt: Essential for balancing flavors and achieving the ideal moisture.
- Buttermilk: It brings that classic tang and richness to the batter.
- Vegetable oil: This keeps your cupcakes moist and tender.
- Eggs: For binding and structure.
- Red food coloring: The star of the show, giving your cupcakes that vibrant hue.
- Cream cheese: For the gooey lava filling that oozes out when you take a bite.
Essential baking tools you’ll need
Now that you have the ingredients, make sure you’re equipped with the right tools to whip up your red velvet lava cupcakes. Here are the essentials:
- Muffin tin: Choose a non-stick or silicone variety for easy removal.
- Mixing bowls: A set of different sizes will help streamline your process.
- Whisk and spatula: Perfect for folding in that delicious chocolatey batter.
- Measuring cups and spoons: Precision is key in baking!
For a detailed guide on why these ingredients and tools matter, check out expert sources like Serious Eats or The Kitchn. Happy baking!
Step-by-step Preparation of Red Velvet Lava Cupcakes
Gather and prep your ingredients
Getting started is half the fun, right? Let’s make sure you have everything you need to whip up these delectable red velvet lava cupcakes. Here’s your prep list:
-
Dry Ingredients:
-
1 ¾ cups all-purpose flour
-
1 cup granulated sugar
-
1 teaspoon baking soda
-
1 teaspoon cocoa powder
-
½ teaspoon salt
-
Wet Ingredients:
-
1 cup vegetable oil
-
1 cup buttermilk (feel free to substitute with unsweetened almond milk mixed with vinegar)
-
2 large eggs
-
2 tablespoons red food coloring
-
1 teaspoon vanilla extract
-
1 teaspoon white vinegar
-
Lava Filling:
-
½ cup semi-sweet chocolate chips
-
½ cup cream cheese
Make sure to preheat your oven to 350°F (175°C), and don’t forget to line your cupcake pan with cupcake liners!
Create the luscious lava filling
The real star of the show here is the luscious lava filling. It might sound fancy, but it’s incredibly simple to make. Start by melting your chocolate chips in a microwave-safe bowl. Microwave for 30 seconds, stir, and then continue in 15-second bursts until fully melted.
Once your chocolate is melted and smooth, oh-so-gently mix in the cream cheese. Use a spatula to blend until you have a rich, velvety mixture. Make sure there are no lumps—that’s the key to a perfect flow in your red velvet lava cupcakes. Set this bowl aside to cool slightly while you tackle the red velvet batter.
Mix the red velvet batter
Now, let’s get into the meat and potatoes of these cupcakes—the batter. In a large mixing bowl, whisk together your dry ingredients: flour, sugar, baking soda, cocoa powder, and salt.
In another bowl, combine your wet ingredients: vegetable oil, buttermilk, eggs, red food coloring, vanilla extract, and vinegar. Whisk these together until they’re smooth and beautiful—you’ll love that vibrant red color!
Next, pour the wet mixture into the dry ingredients. Gently stir until just combined—don’t overmix! You want a tender cupcake. If you’re like me and prefer to be hands-on, feel free to use a spatula or a sturdy whisk. Keep an eye on the batter; it should be smooth and silky, exuding charm.
Combine the two layers in your cupcake molds
Here comes the moment where magic happens. Grab your lined cupcake pan, and fill each liner about halfway with the red velvet batter. Then, using a spoon, add a generous dollop of your chocolate cream cheese lava filling right in the center of each batter-filled mold. Cover the filling with more batter until they’re about two-thirds full.
This method ensures that you capture all that ooey-gooey chocolate lava delight with every bite.
Bake to perfection
Pop your cupcake-filled pan into the preheated oven and bake for about 18-20 minutes. The edges should look set, but the center may still be slightly soft – don’t worry! That’s exactly what you want. If you’re unsure, a toothpick inserted should come out slightly moist with chocolate.
Let the cupcakes cool in the pan for about 5 minutes before transferring them to a wire rack. This is the hardest part—waiting for them to cool just enough to frost or serve.**
Trust me, the luscious red velvet lava cupcakes are worth every moment of anticipation! Grab a fork, savor the moment, and enjoy your culinary masterpiece.
For ideas on how to decorate your cupcakes or tips on lighting, feel free to check out the frosting techniques that can elevate your dessert game!
With this step-by-step guide, you’re well on your way to impressing friends, family, or even just treating yourself. Remember—baking is part science, part art, and, most importantly, a whole lot of fun!
Variations on Red Velvet Lava Cupcakes
When it comes to red velvet lava cupcakes, the possibilities are endless! Here are two delightful variations that can elevate this classic treat to new heights.
Red Velvet with Cream Cheese Filling
One of the best ways to enhance your red velvet lava cupcakes is by incorporating a luscious cream cheese filling. The tangy creaminess complements the sweet, rich flavor of the red velvet and adds an extra layer of indulgence. You can easily create this filling by mixing softened cream cheese with powdered sugar and a splash of vanilla.
- Instructions:
- Prepare your cupcake batter as usual.
- Before filling the liners halfway, add a dollop of the cream cheese mixture.
- Continue with the batter, creating that gooey center when baked.
This combo offers a beautifully balanced flavor that keeps your taste buds dancing!
Gluten-Free Red Velvet Lava Cupcakes
For those following a gluten-free diet, you don’t have to miss out on the joy of red velvet lava cupcakes. Simply swap out regular flour for a gluten-free blend. Brands like Bob’s Red Mill and King Arthur Flour offer great options that yield fantastic results without sacrificing taste.
- Tips:
- Make sure to check your cocoa powder, as some can contain gluten.
- Consider adding a tablespoon of apple cider vinegar to the batter, enhancing that moisture and flavor.
By adapting these recipes, you can cater to all your friends’ dietary needs while indulging in a delicious, lava-filled treat. Want more inspiration for your baking journey? Check out these gluten-free resources from Gluten-Free Girl or Serious Eats.
With these variations, you can impress everyone around you while enjoying these delightful red velvet lava cupcakes!
Cooking Tips and Notes for Red Velvet Lava Cupcakes
Common pitfalls to avoid
When crafting your red velvet lava cupcakes, it’s essential to steer clear of a few common missteps. Overmixing your batter can lead to dense cupcakes instead of the light and fluffy texture you want. Keep an eye on your baking time too; even a minute can mean the difference between a gooey center and a fully baked cupcake. Also, make sure to chill your chocolate ganache before filling; this ensures it stays in the cupcake while baking.
Expert tips for the perfect lava flow
For that mouthwatering lava flow, here’s what you need to keep in mind:
- Precision with ganache: Using quality chocolate for your molten filling ensures a rich flavor. Make sure it’s well-chilled — this prevents it from spilling out too soon.
- Test your oven temperature: An oven thermometer can help you ensure it’s accurate; a hotter temperature can lead to a firmer center.
- Perfect serving: Let your cupcakes rest for a minute after baking; this helps the insides settle into that lava-like consistency.
For more insights, check out this guide to baking basics that dives deeper into oven temperatures and techniques!
With these tips in mind, you’ll be on your way to mastering the art of red velvet lava cupcakes!
Serving Suggestions for Red Velvet Lava Cupcakes
Pairing with Fresh Fruit
Elevate your red velvet lava cupcakes by pairing them with fresh fruit for a delightful contrast in flavors. Fresh raspberries or strawberries add a zingy touch, while sliced bananas can introduce a creamy balance. For an extra element, drizzle some homemade strawberry sauce over the cupcakes—it’s quite simple to whip up and gives a restaurant-worthy finish.
Consider incorporating fresh fruit into a vibrant fruit salad as a side. A splash of citrus juice and a sprinkle of mint can really brighten up the flavors. If you’re curious about the health benefits of berries, check out this Nutrition Journal.
Plate Presentation Tips
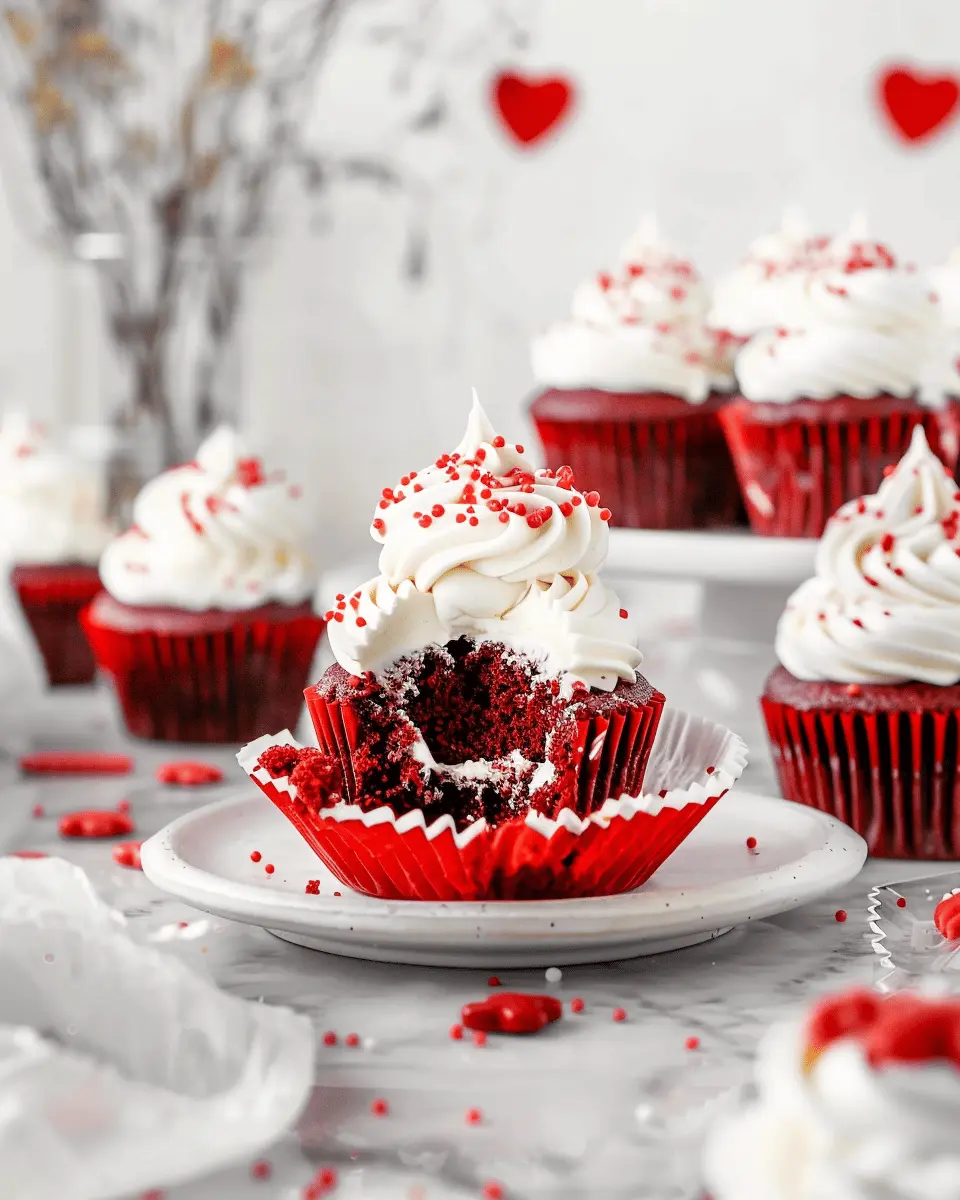
When it comes to presenting your red velvet lava cupcakes, think of your plate as a canvas. A simple white plate can make the deep red color pop. Use a dusting of powdered sugar to create a snowy, elegant look, and don’t forget to add a dollop of whipped cream or a scoop of vanilla ice cream beside the cupcake for a fun surprise.
To wrap it all up, consider garnishing with a sprig of mint or edible flowers for that touch of sophistication. Your guests will be impressed, and trust me, their social media feeds will thank you!
Time Breakdown for Red Velvet Lava Cupcakes
Preparation Time
Getting started with your red velvet lava cupcakes is a breeze! You’ll need about 15-20 minutes to gather your ingredients and whip up the batter. Just think of it as your creative warm-up—perfect for easing into the baking vibe.
Baking Time
Once the batter is ready, it’s time to bake! These delightful cupcakes usually take about 12-15 minutes in the oven. Keep an eye on them; the goal is that gooey lava center, so they should be set on the edges while still slightly jiggly in the middle.
Total Time
In total, you’re looking at roughly 30-40 minutes from start to finish. Considering the deliciousness of red velvet lava cupcakes, that’s a pretty sweet deal! Perfect for a last-minute treat or a cozy evening setup. Why not surprise a friend or enjoy them with a warm cup of coffee? For more tips on perfecting your baking, check out King Arthur Baking for advice from the pros!
Nutritional Facts for Red Velvet Lava Cupcakes
Calories per serving
When indulging in red velvet lava cupcakes, knowing the calories can help you savor every bite guilt-free. Each cupcake packs approximately 300 calories, making it a delightful treat to enjoy without derailing your diet. Of course, portion control is key, especially if you’re enjoying these decadent desserts at a gathering!
Key nutrients to consider
Beyond the calorie count, these cupcakes offer more than just deliciousness. Here’s what to keep an eye on:
- Sugars: Typically, each cupcake contains around 20 grams of sugar. While sweet, consider using natural sweeteners to cut down.
- Fat: Each serving has about 15 grams of fat, primarily from butter and eggs, giving it that rich texture.
- Protein: With approximately 4 grams per cupcake, you’ll get a bit of a boost!
For added health benefits, consider substituting some ingredients with healthier alternatives. You can explore more about nutritious baking choices at Healthline.
In the delightful world of red velvet lava cupcakes, balance is essential. So, enjoy your treat, and remember that moderation is your best friend!
FAQs about Red Velvet Lava Cupcakes
When it comes to baking these delightful red velvet lava cupcakes, you might have a few questions. Let’s dive into some common queries that often arise!
Can I make the batter ahead of time?
Absolutely! You can prepare the batter in advance, which is a great time-saver. Just mix all your ingredients together, but refrain from adding the melted chocolate for the lava center until right before you bake. Store the batter in an airtight container in the fridge for up to 24 hours. This ensures your cupcakes are fresh and ready to pop in the oven when you are!
What’s the best way to store these cupcakes?
Storing your red velvet lava cupcakes is simple! Keep them in a cool, dry place in an airtight container. If you have leftovers, they can last about 2 to 3 days at room temperature. For longer storage, consider freezing them—just make sure they’re well-wrapped. When you’re ready to enjoy them, thaw at room temperature and heat them in the microwave for a few seconds to revive that warm, gooey center.
How can I adjust the sweetness?
Want to tweak the sweetness level? Here are a few tips:
- Reduce Sugar: Cut down the sugar in the batter by up to ¼ cup without affecting texture too much.
- Use Dark Cocoa: Opting for dark cocoa instead of regular cocoa powder adds depth without overpowering sweetness.
- Add a Tang: Incorporate a splash of lemon juice or vinegar. This acidity balances the sweetness beautifully.
Experimenting with sweetness can make your red velvet lava cupcakes uniquely yours. Baking should always be fun, and a little tweaking can lead to delicious discoveries!
For more tips, check out The Kitchn for insightful baking hacks and ideas!
Conclusion on Red Velvet Lava Cupcakes
Embracing the art of homemade baking is a rewarding journey, and red velvet lava cupcakes exemplify that perfectly. There’s something mesmerizing about pulling those decadent treats from the oven, knowing you’ve created a sublime dessert that will impress anyone lucky enough to have one.
Remember, baking is about more than just following a recipe; it’s about experimenting, learning, and enjoying the process. Don’t hesitate to add your personal touch—perhaps a hint of almond extract or a sprinkle of sea salt on top!
If you’re ready to sweeten your baking repertoire, red velvet lava cupcakes are a delicious starting point. So, gather your ingredients, invite friends over, and indulge in the delightful experience of homemade treats. Check out websites like King Arthur Baking for more inspiration and techniques, and let your kitchen be the heart of joyful memories.
PrintRed Velvet Lava Cupcakes: Indulgent Treats for Home Bakers
These Red Velvet Lava Cupcakes are a decadent treat that combines the rich flavor of red velvet cake with a molten chocolate center, perfect for indulgent moments.
- Prep Time: 20 minutes
- Cook Time: 15 minutes
- Total Time: 35 minutes
- Yield: 12 cupcakes 1x
- Category: Dessert
- Method: Baking
- Cuisine: American
- Diet: Vegetarian
Ingredients
- 1 cup all-purpose flour
- 1 cup sugar
- 1/2 cup unsweetened cocoa powder
- 1 teaspoon baking soda
- 1/2 teaspoon salt
- 2 large eggs
- 1 cup buttermilk
- 1 teaspoon vanilla extract
- 1 tablespoon red food coloring
- 1/2 cup unsalted butter
- 4 ounces dark chocolate
Instructions
- Preheat the oven to 350°F (175°C) and grease a muffin tin.
- In a bowl, mix flour, sugar, cocoa powder, baking soda, and salt.
- In another bowl, whisk eggs, buttermilk, vanilla extract, and food coloring.
- Combine wet and dry ingredients and mix until smooth.
- Melt butter and chocolate together, then fold into the batter.
- Fill muffin cups halfway, add a small piece of chocolate in the center, and cover with more batter.
- Bake for 12-15 minutes, until edges are set but the center is still soft.
- Let cool for a few minutes before serving.
Notes
- For best results, do not overbake the cupcakes to keep the center gooey.
- Experiment with different fillings such as caramel for a unique twist.
Nutrition
- Serving Size: 1 cupcake
- Calories: 320
- Sugar: 25g
- Sodium: 200mg
- Fat: 15g
- Saturated Fat: 9g
- Unsaturated Fat: 4g
- Trans Fat: 0g
- Carbohydrates: 40g
- Fiber: 2g
- Protein: 5g
- Cholesterol: 80mg
Keywords: Red Velvet Lava Cupcakes, lava cupcakes, indulgent treats, home baking