Introduction to Easy Cherry Cheesecake Recipe
Why choose an easy cherry cheesecake?
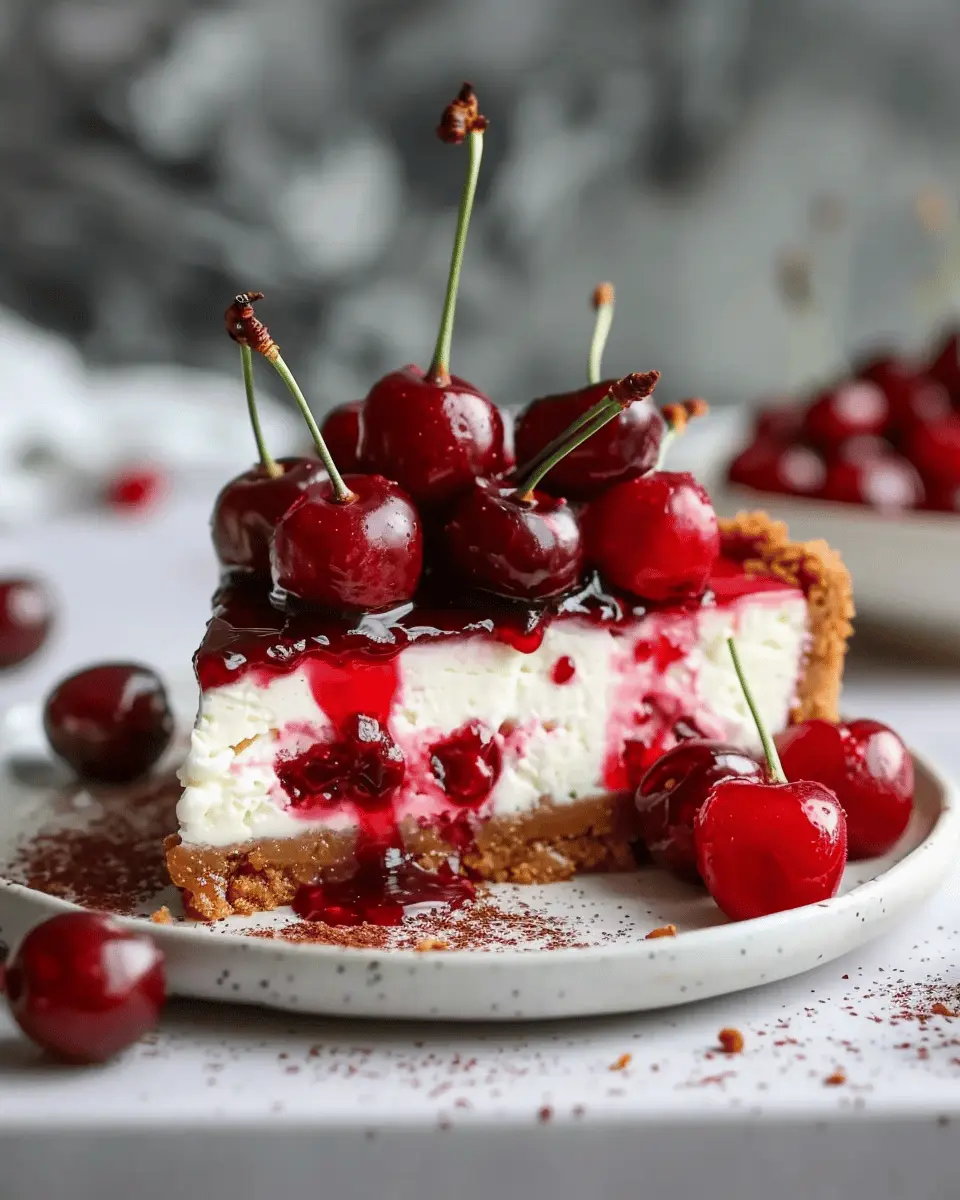
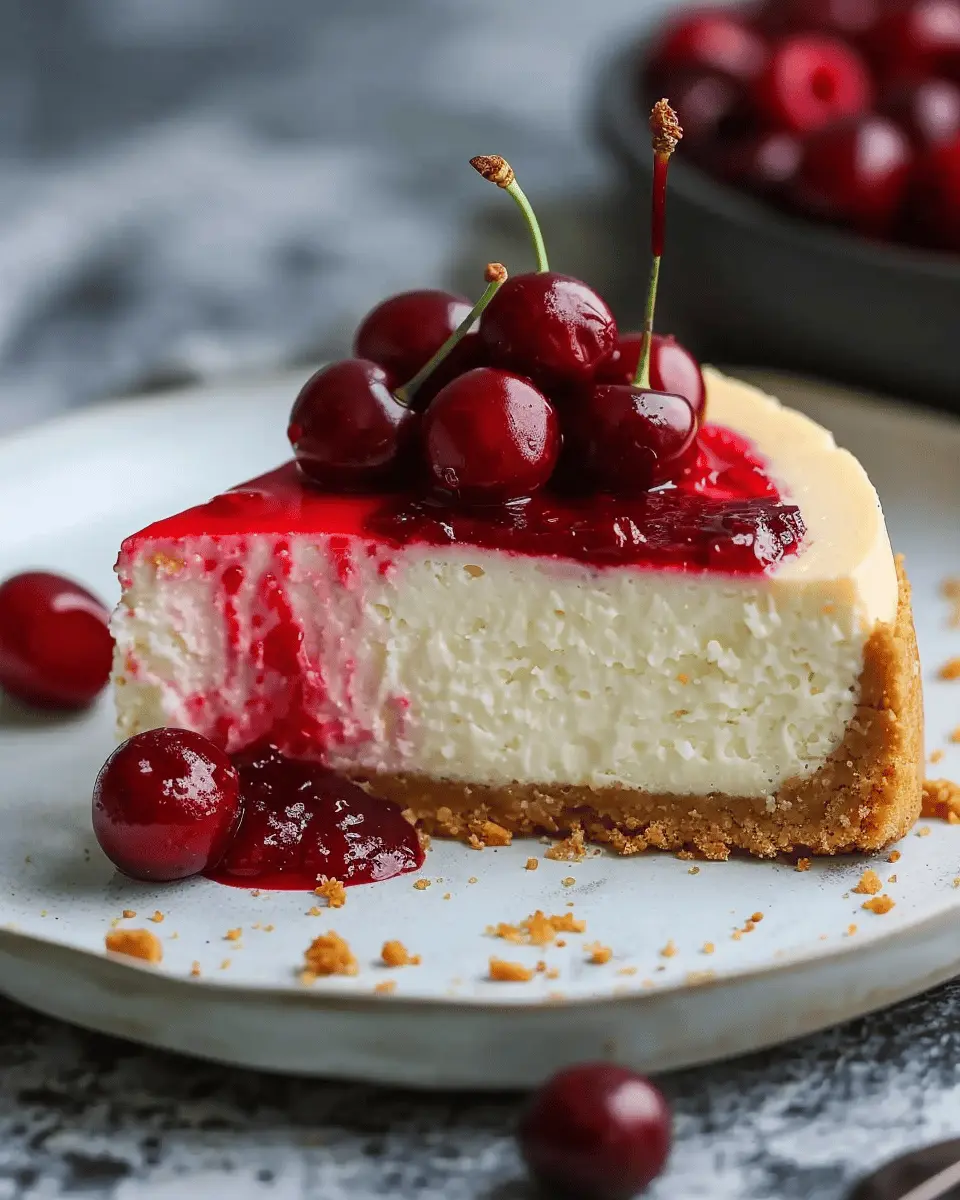
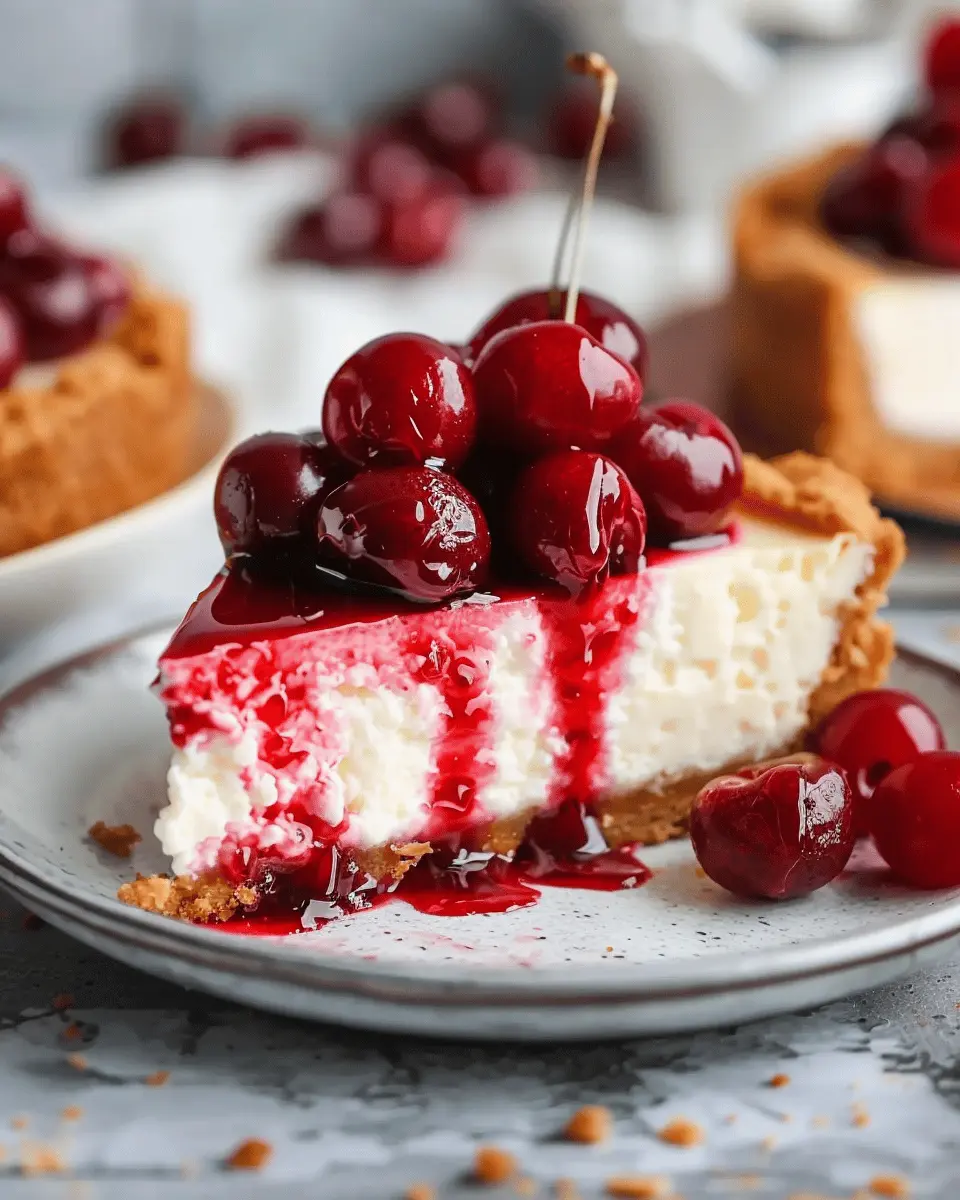
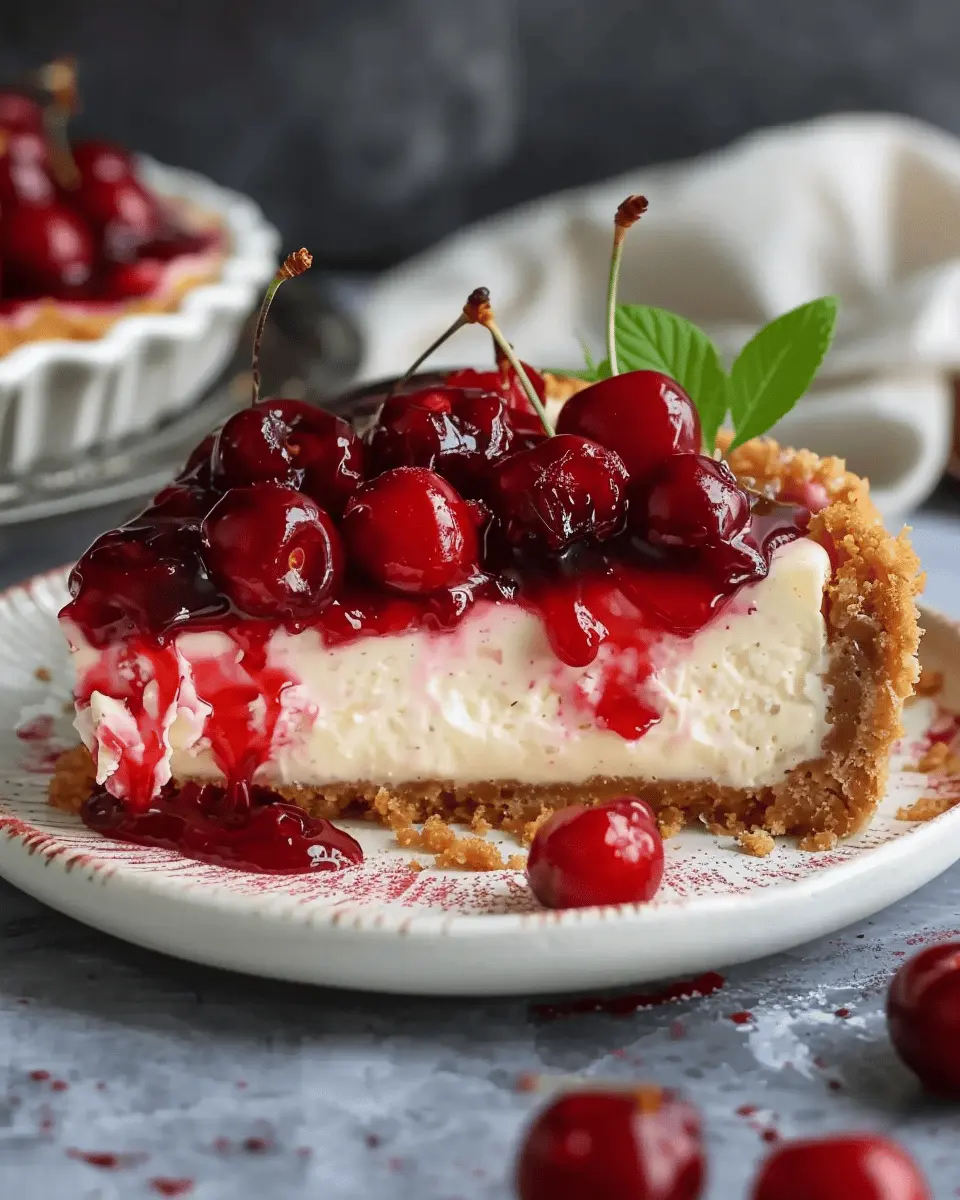
When it comes to baking, we often find ourselves torn between craving something grand and the reality of our busy lives. Enter the easy cherry cheesecake recipe—a delightful compromise! This dessert brings the rich, creamy goodness of traditional cheesecake without all the fuss. Imagine indulging in a luscious, velvety cheesecake topped with bright, sweet cherries, all while keeping your preparation time minimal. Plus, for young professionals who might be navigating through career demands and social gatherings, this recipe stands out as a quick and rewarding treat.
The joy of homemade desserts
There’s something uniquely fulfilling about making homemade desserts. According to a study by the American Psychological Association, engaging in cooking can be a great way to relieve stress, offering both a creative outlet and a sense of accomplishment. Plus, whipping up an easy cherry cheesecake allows you to connect with friends and family over shared food experiences. As you mix the ingredients and watch the cake setting in the fridge, you’re not just creating dessert—you’re crafting memories. Want to read more about the psychological benefits of cooking? Check out this insightful article from Psychology Today.
A personal touch to your gatherings
If you’re like me, hosting gatherings can be both exciting and a bit overwhelming. But serving a delicious homemade cheesecake can be a game changer! Not only does it feel personal and thoughtful, but it also elevates your gatherings to a new level. Imagine the compliments as your friends savor each heavenly bite, asking for the recipe—what a compliment! With this easy cherry cheesecake recipe, you can impress your guests without spending all day in the kitchen. Plus, you can keep the flavor profile fresh by trying out different toppings, like blueberries or caramel, to suit everyone’s taste buds.
In summary, a simple yet scrumptious cherry cheesecake is a fantastic way to bring a touch of homemade joy to both your celebrations and your everyday life. So, let’s preheat that oven and dive into the recipe!
Ingredients for Easy Cherry Cheesecake
Creating your own delectable easy cherry cheesecake at home doesn’t require an arsenal of culinary skills or complicated ingredients. Let’s break down the essential ingredients you need for this delightful dessert and sprinkle in some optional garnishes for a touch of flair!
Essential ingredients you need
For a mouthwatering cherry cheesecake, stock up on the following essentials:
- Cream Cheese: The star of the show, cream cheese makes your cheesecake rich and creamy. Opt for full-fat for the best texture.
- Sugar: A little sweetness balances the tang of the cream cheese.
- Vanilla Extract: This enhances the overall flavor profile; a must-have!
- Graham Cracker Crust: You can buy pre-made or easily make your own for that classic crunch.
- Cherry Topping: Use fresh cherries or a quality canned cherry pie filling for convenience.
Want to learn more about the benefits of these ingredients? Check out this helpful article on cream cheese.
Optional garnishes for extra flair
Elevate your cheesecake with these fun garnishes:
- Whipped Cream: A dollop on top adds a luxurious touch.
- Chocolate Shavings: For those who think chocolate and cherries are a perfect match.
- Fresh Mint Leaves: Adds color and a refreshing taste.
Adding these little embellishments can transform your dessert from simple to stunning! Why settle for ordinary when you can impress?
Preparing Easy Cherry Cheesecake
If you’ve ever dreamed of whipping up a delicious dessert that’s both crowd-pleasing and simple to make, this easy cherry cheesecake recipe is your answer. With a creamy filling and a sweet cherry topping, it’s perfect for any occasion, from casual get-togethers to special celebrations. Let’s dive into the step-by-step process of making this delightful dessert.
Step 1: Preheat Your Oven
First things first—preheat your oven to 325°F (160°C). This simple step ensures that your cheesecake gets the even baking it needs for that perfect texture. Use this time to gather your ingredients and tools so that when it’s time to bake, you’re ready to go!
Step 2: Prepare the Graham Cracker Crust
Next, let’s focus on creating a delicious graham cracker crust. You’ll need:
- 1 ½ cups of graham cracker crumbs
- ¼ cup of sugar
- ½ cup of melted butter
- In a mixing bowl, combine the graham cracker crumbs and sugar.
- Slowly stir in the melted butter until everything is well mixed and resembles wet sand.
- Press this mixture firmly into the bottom of a greased 9-inch springform pan. You want it to be compact so that it holds together once baked.
This base will provide a wonderful crunch that complements the creamy filling perfectly!
Step 3: Mix Your Creamy Cheesecake Filling
Now, let’s whip up that irresistibly creamy filling. You’ll need:
- 16 ounces of cream cheese, softened
- 1 cup of sugar
- 1 teaspoon of vanilla extract
- 3 large eggs
- ½ cup of sour cream
- In a large bowl, beat the softened cream cheese until smooth using an electric mixer.
- Gradually add in the sugar, mixing until creamy.
- Mix in the vanilla extract, followed by each egg one at a time, mixing well after each addition.
- Finally, blend in the sour cream to add extra creaminess.
This step can make all the difference, so take your time to really mix until everything is perfectly combined!
Step 4: Combine and Pour the Batter
With your crust ready and filling mixed, it’s time to combine them. Gently pour the cheesecake filling over the prepared graham cracker crust. Use a spatula to spread it evenly for a smooth finish.
Step 5: Bake to Perfection
Place your cheesecake in the preheated oven and bake for 50-60 minutes. You’re looking for a firm edge with a slightly jiggly center. Remember, the cheesecake will continue to set as it cools. This is the perfect time to make a cup of coffee or tea and prepare for the deliciousness that awaits!
Step 6: Cool and Chill for the Best Texture
Once out of the oven, allow your cheesecake to cool at room temperature for about an hour before placing it in the refrigerator. It’s best to chill it for at least 4 hours, or overnight if you can wait! This step helps develop that rich, satisfying flavor and perfect texture.
Step 7: Top with Cherry Filling
Lastly, let’s finish this masterpiece. You can either use a store-bought cherry topping or make your own. Simply layer the cherry filling on top of the chilled cheesecake just before serving.
- For a store-bought option, a can of cherry pie filling works beautifully.
- If you prefer making your own topping, cook fresh or frozen cherries with sugar, a splash of lemon juice, and a bit of cornstarch until thickened.
Top it off with some whipped cream for an extra treat!
By now, you have created a stunning and delicious cherry cheesecake that will impress everyone at your gathering. Happy baking! And for more ideas on desserts, don’t forget to check out this delightful site for tips and tricks to elevate your baking game.
Variations on Easy Cherry Cheesecake
Cherry cheesecake is already a delight, but why stop there? Here are a few easy variations that can take your easy cherry cheesecake recipe to the next level.
Chocolate Cherry Cheesecake
If you’re a chocolate lover, why not try a chocolate cherry cheesecake? To make this variation:
- Incorporate cocoa powder: Add about 1/4 cup of unsweetened cocoa powder to your cream cheese mixture for a rich, chocolatey base.
- Chocolate crust: Swap out the traditional graham cracker crust for an Oreo crust. Just crush some Oreos and mix with melted butter to form the base.
- Cherry topping: Use cherry pie filling and drizzle some melted dark chocolate over the top for an indulgent finish.
This sumptuous mix of chocolate and cherry offers an irresistible contrast that is sure to impress!
No-Bake Cherry Cheesecake
Living a busy life? The no-bake cherry cheesecake might just be your new best friend.
- Skip the oven: Just prepare the filling with cream cheese, sugar, and whipped cream, then pour it into your crust.
- Chill: Let it set in the refrigerator for a few hours or overnight. The flavors meld beautifully over time.
- Top with cherries: Add your cherry topping right before serving for a fresh touch.
This variation is perfect for those warm summer days when turning on the oven seems like a chore.
Mini Cherry Cheesecakes
If you want to serve up personal portions, try mini cherry cheesecakes!
- Use a muffin tin: Line with cupcake liners for easy removal.
- Portion control: Fill each liner with your cheesecake mixture and bake as instructed.
- Garnish: Once cooled, top with cherry filling for an adorable presentation.
These little bites are crowd-pleasers at gatherings and can be made ahead of time, making them a fantastic choice for entertaining!
These variations all add your personal touch to the classic cherry cheesecake, ensuring that every slice is uniquely yours. Whether you opt for chocolate decadence, a refreshing no-bake version, or individual servings, remember to check out more baking tips here for your next culinary adventure!
Cooking Tips and Notes for Easy Cherry Cheesecake
Room Temperature Ingredients for a Smooth Mix
When preparing this easy cherry cheesecake recipe, ensure your cream cheese and eggs are at room temperature. This helps achieve that velvety texture we all love. Cold ingredients can lead to lumps, making your cheesecake less creamy. You can leave the cream cheese out for about an hour before mixing or microwave it in short bursts—just don’t let it melt!
Importance of the Water Bath Method
Using a water bath is a game-changer. This method creates a gentle cooking environment, preventing cracks in your cheesecake. The steam helps maintain moisture, resulting in an incredibly smooth and dense texture. For a detailed guide on this technique, you might check out resources from The Kitchn.
Storing Leftovers Properly
If you find yourself with leftover slices (or, let’s be real, if you aren’t tempted to eat it all at once), store your cherry cheesecake in an airtight container in the fridge. It will stay fresh for up to five days! If you want to save some for later, you can freeze it, just wrap it tightly in plastic wrap followed by aluminum foil. When you’re ready to enjoy it again, let it thaw overnight in the refrigerator.
Serving Suggestions for Easy Cherry Cheesecake
Perfect pairing with coffee or tea
Looking for the ideal drink to accompany your easy cherry cheesecake recipe? A warm cup of coffee or a soothing herbal tea can enhance those delightful cherry and cream cheese flavors. Consider a classic black coffee for a bold contrast or a gentle chamomile tea to balance the richness. If you want a touch of fun, whip up a vanilla latte or iced matcha tea for a trendy twist. This combination can transform dessert into an elevated experience, perfect for gatherings or a cozy night in.
Garnishing ideas for that professional touch
Want to make your cheesecake shine like it came straight from a bakery? Here are some creative garnishing ideas:
- Fresh cherries: Scatter a few on top for an eye-catching pop of color and flavor.
- Whipped cream: A dollop of freshly whipped cream can take your cheesecake to the next level of indulgence.
- Chocolate shavings: Finely shave dark chocolate on top for an elegant finish.
- Mint leaves: A sprig of mint can add freshness and visual appeal.
Remember, presentation matters! A beautiful plate can enhance the whole dining experience. Explore more garnishing tips here. Indulge your guests with this delightful easy cherry cheesecake recipe and make every dessert moment memorable.
Time Breakdown for Easy Cherry Cheesecake
When you’re ready to whip up this easy cherry cheesecake recipe, it’s helpful to know how much time you’ll need at each stage. This delicious dessert can be made without taking over your entire day!
Preparation Time
Set aside about 15 minutes for preparation. This includes gathering your ingredients, mixing the crust, and preparing the cheesecake filling. Tip: Make sure your cream cheese is softened to save time blending.
Cooking Time
While this cheesecake doesn’t actually require baking, you will need to chill it for about 4 hours. Or, if you’re really eager, you can let it set overnight—just think of it as a tasty reward for your patience!
Total Time
In total, you’ll spend approximately 4 hours and 15 minutes making this easy cherry cheesecake—from prepping to chilling. And trust us, every minute is worth the wait! For more tips on mastering cheesecakes, check out this comprehensive cheesecake guide. Get ready for a delightful experience as you create a sweet treat that impresses everyone!
Nutritional Facts for Easy Cherry Cheesecake
Understanding the nutritional aspects of our easy cherry cheesecake recipe can help you enjoy it guilt-free! One slice typically contains around 320 calories, with about 16 grams of fat and 30 grams of carbs. It’s a delightful combination of sweetness and richness, making it a perfect treat.
Calories and macros overview
If you’re counting macros, this cheesecake offers a decent balance of carbs, proteins, and fats. The cream cheese adds protein, while the crust provides those tasty carbs. However, it’s essential to be mindful of portion sizes to maintain a balanced diet.
Healthier ingredient swaps
Looking to make it even healthier? Consider these swaps:
- Use Greek yogurt instead of sour cream for added protein and less fat.
- Opt for a nut-based crust instead of traditional graham crackers for healthier fats.
- Sweeten with natural alternatives like honey or maple syrup instead of sugar.
These small changes can elevate your easy cherry cheesecake recipe while keeping it delicious. For more healthy baking tips, check out resources like the American Heart Association for ideas that keep your heart health in check. Enjoy baking!
FAQs about Easy Cherry Cheesecake
Can I make this cheesecake ahead of time?
Absolutely! One of the best things about this easy cherry cheesecake recipe is that it’s perfect for prepping in advance. You can make the cheesecake a day or two ahead and keep it in the fridge. Just be sure to add the cherry topping right before serving to keep that fresh flavor and vibrant color. If you’re planning on serving it at a gathering, this makes hosting so much easier—more time to enjoy your guests!
What should I do if my cheesecake cracks?
Don’t fret if your cheesecake cracks! It happens to the best of us. The key is to avoid over-baking and sudden temperature changes. To prevent cracks, you can:
- Bake at a lower temperature.
- Use a water bath for even cooking.
- Allow the cheesecake to cool gradually in the oven.
If it cracks despite your best efforts, simply cover it with a generous layer of cherry topping. It’ll still taste delicious, and no one will be the wiser!
Can I substitute the cherry filling?
Of course! While the classic cherry topping adds that sweet and tangy burst, you can totally get creative. Alternatives like raspberry, blueberry, or even a chocolate ganache can work wonders. If you want something fresher, consider using seasonal fruits. Check out this guide on fruit substitutions for desserts for more inspiration. The easy cherry cheesecake recipe is flexible, so don’t hesitate to tailor it to your taste!
Feel free to explore and enjoy your cheesecake journey!
Conclusion on Easy Cherry Cheesecake
Creating homemade desserts brings joy and satisfaction that store-bought treats just can’t match. This easy cherry cheesecake recipe is a perfect example, combining smooth cream cheese and vibrant cherry topping for a delectable dessert. Every bite provides a taste of warmth and nostalgia, reminding us that we can create special moments in our kitchens.
I invite you to try this delightful recipe and share your experience! Did you tweak it or try a new topping? Join the conversation in the comments below, or share your creation on social media. Together, we can inspire each other to explore the sweetness of homemade desserts!
PrintEasy Cherry Cheesecake Recipe: Indulge in Homemade Delight
A simple and delicious cherry cheesecake recipe that you can make at home.
- Prep Time: 20 minutes
- Cook Time: 1 hour
- Total Time: 5 hours 20 minutes
- Yield: 12 servings 1x
- Category: Desserts
- Method: Baking
- Cuisine: American
- Diet: Vegetarian
Ingredients
- 1 1/2 cups graham cracker crumbs
- 1/2 cup sugar
- 1/2 cup unsalted butter, melted
- 4 (8 ounce) packages cream cheese, softened
- 1 cup white sugar
- 1 teaspoon vanilla extract
- 4 eggs
- 1 can (21 ounces) cherry pie filling
Instructions
- Preheat oven to 325°F (165°C).
- In a medium bowl, mix together graham cracker crumbs, sugar, and melted butter. Press mixture into the bottom of a 9-inch springform pan.
- In a large bowl, beat cream cheese until smooth. Add sugar and vanilla, and beat until well combined.
- Add eggs one at a time, beating well after each addition. Pour mixture over the crust in the springform pan.
- Bake for 55-60 minutes or until set. Allow to cool, then refrigerate for at least 4 hours.
- Top with cherry pie filling before serving.
Notes
- For best results, let the cheesecake chill overnight.
- Feel free to substitute the cherry filling with your favorite fruit topping.
Nutrition
- Serving Size: 1 slice
- Calories: 350
- Sugar: 25g
- Sodium: 200mg
- Fat: 22g
- Saturated Fat: 13g
- Unsaturated Fat: 6g
- Trans Fat: 0g
- Carbohydrates: 30g
- Fiber: 1g
- Protein: 5g
- Cholesterol: 80mg
Keywords: Easy Cherry Cheesecake Recipe, Cheesecake, Desserts