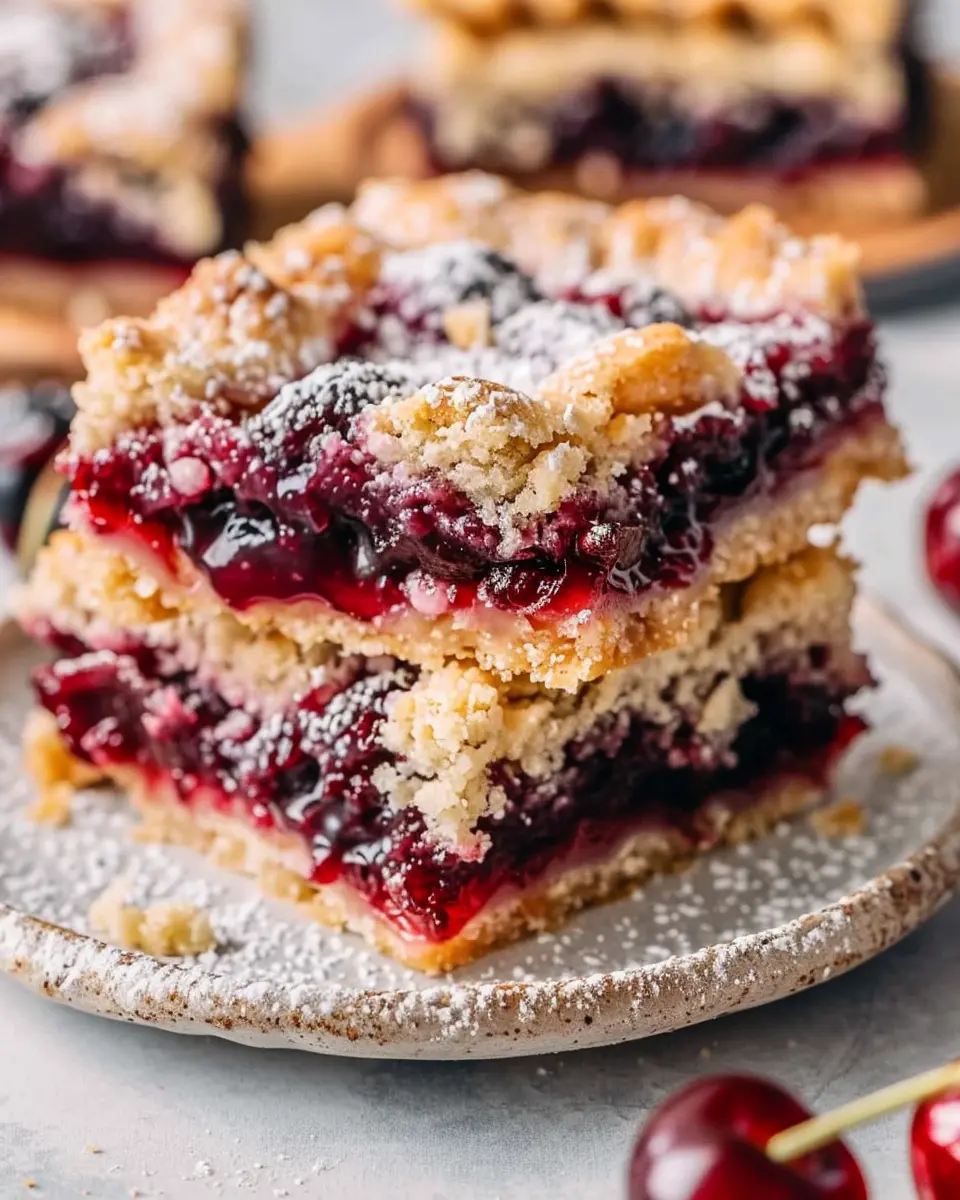
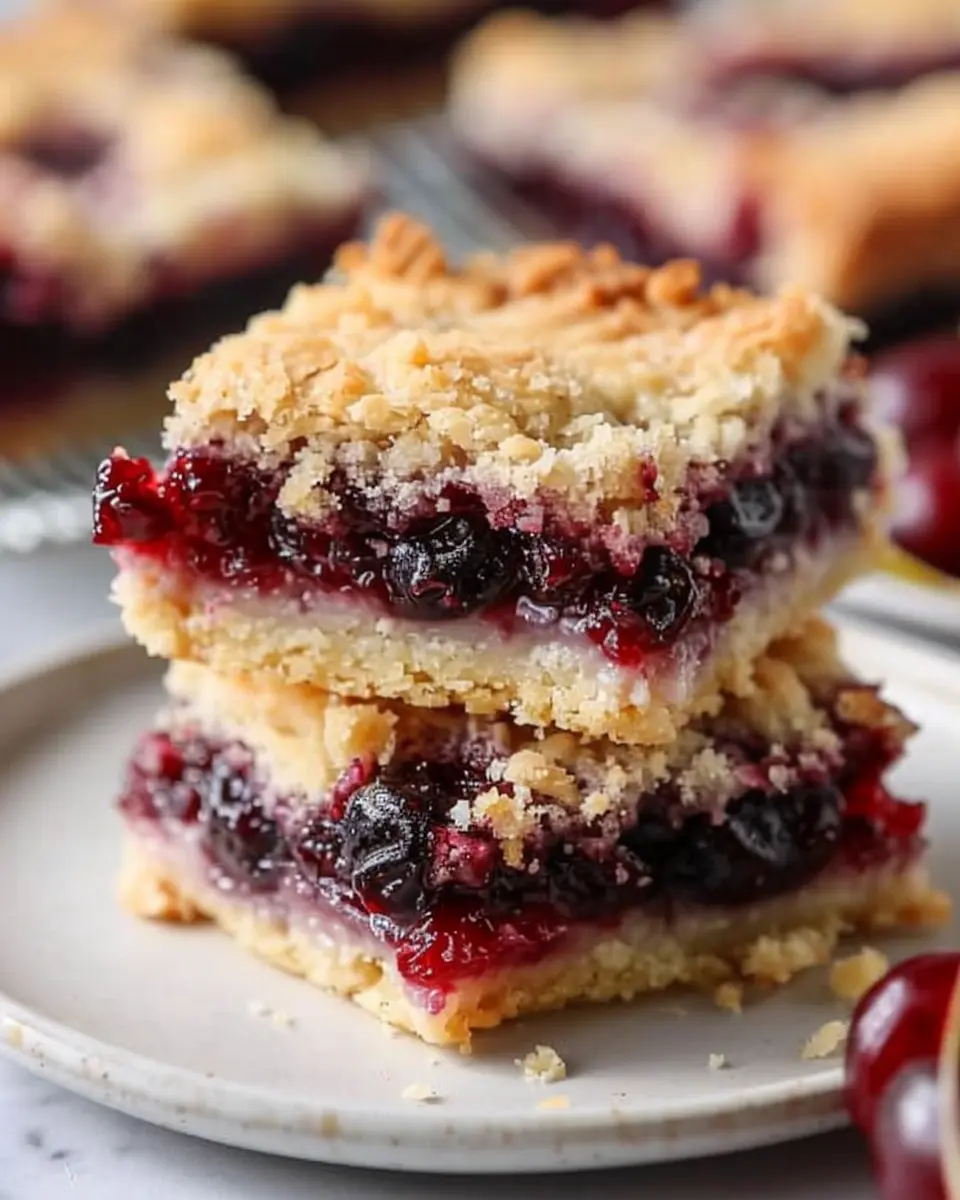
Introduction to Cherry Pie Bars Recipe
When it comes to dessert, young professionals often seek options that balance indulgence with convenience. Enter the cherry pie bars recipe! These delightful treats easily merge the beloved flavors of classic cherry pie with the practicality of bars, making them the ultimate dessert for those who live busy lives but still crave a little sweetness.
Why Cherry Pie Bars are the Perfect Dessert for Young Professionals
Life can be hectic, especially for young professionals juggling work, social commitments, and perhaps a budding side hustle. That’s what makes cherry pie bars a standout choice for dessert! Here’s why:
-
Easy to Make: Unlike traditional pies that can take hours to prepare and bake, cherry pie bars require minimal effort. A straightforward mix-and-bake method means you have more time to focus on that presentation, or relaxing after a long day.
-
Portable and Shareable: Whether you’re heading to a potluck, hosting friends, or simply enjoying some “me-time,” these bars are easy to pack and serve. Slice them up and watch as they disappear at gatherings.
-
Versatile Serving Options: Cherry pie bars are delightful on their own, but you can elevate them further. A scoop of vanilla ice cream? Yes, please! A drizzle of chocolate sauce? Why not! You can enjoy them however you like, making them applicable for different occasions.
-
Adaptable for Any Skill Level: From the beginner baker to the seasoned pro, this recipe is accessible to all. You don’t need a culinary degree or fancy equipment—just basic kitchen tools and a bit of enthusiasm.
What to consider when you’re ready to dive into this recipe? Paired with a cup of coffee or a refreshing iced tea, cherry pie bars create a sense of comfort and nostalgia. Plus, cherries are a fantastic source of antioxidants, making this a dessert you can feel relatively good about indulging in.
Discovering delightful cherry pie bars recipe variations can also keep your dessert rotation exciting. For more tips on ingredient substitutions and flavor enhancements, check out resources like the American Pie Council or Serious Eats.
Are you ready to whip up a batch? Let’s dive into the steps that will lead you to this delicious cherry-filled goodness!
Ingredients for Cherry Pie Bars
When diving into a delicious cherry pie bars recipe, it’s essential to gather the right ingredients to craft that heavenly taste. Here’s what you’ll need to bring these delightful bars to life!
Essential Ingredients for Cherry Pie Bars
- Fresh or Frozen Cherries: The star of your recipe! Choose quality cherries for the best flavor. You can opt for fresh ones during the season or frozen cherries year-round.
- All-Purpose Flour: This forms the base of your crust and provides the perfect texture.
- Sugar: A bit of granulated sugar will sweeten the filling, balancing the tartness of the cherries.
- Butter: Using unsalted butter ensures you control the saltiness of your bars and adds a rich taste.
- Baking Powder: This gives the bars their rise and fluffiness.
- Salt: Just a pinch enhances the overall flavor.
Optional Ingredients for a Twist
Looking to elevate your cherry pie bars recipe? Here are some optional ingredients you can consider:
- Almond Extract: Just a splash can add a wonderful depth of flavor.
- Lemon Zest: Brightens up the filling and complements the cherries beautifully.
- Oats: For a heartier, crumble-like topping.
With these ingredients at hand, you’ll be well on your way to baking up some mouthwatering cherry pie bars that are sure to impress at any gathering. For more baking tips, check out resources from Bon Appétit and Serious Eats for inspiration!
Step-by-Step Preparation of Cherry Pie Bars
When you’re craving something delicious and easy to whip up, these cherry pie bars are the perfect indulgence. With a buttery crust and a sweet cherry filling, you’ll find this dessert is not only satisfying but also a fun project to tackle on a weekend afternoon. Let’s guide you through the steps to make your very own Cherry Pie Bars.
Gather Your Ingredients
To get started, you’ll need to collect the key ingredients. Here’s what you’ll need:
-
For the crust and topping:
-
½ cup unsalted butter, softened
-
1 cup granulated sugar
-
2 large eggs
-
1 teaspoon vanilla extract
-
1 teaspoon almond extract
-
2 cups all-purpose flour
-
½ teaspoon baking powder
-
¼ teaspoon salt
-
For the cherry filling:
-
1 can (21 ounces) cherry pie filling
Having everything ready at the start will make your baking experience smooth and enjoyable. If you’re unsure about the cherry pie filling, consider using a homemade version for a fresher taste—check out this easy cherry pie filling recipe.
Preheat the Oven and Prepare Your Baking Dish
Before diving into mixing, preheat your oven to 350°F (175°C). This ensures your cherry pie bars bake evenly. While the oven heats up, grab a 9×13 inch baking dish and grease it lightly with some butter or non-stick spray. This simple step helps your bars come out easily once baked.
Cream the Butter and Sugar
In a large mixing bowl, combine the softened butter and granulated sugar. Using an electric mixer, cream them together on medium speed until the mixture is light and fluffy. This process usually takes about 3-5 minutes. Properly creamed butter and sugar will give your bars that delightful texture!
Incorporate the Eggs and Extracts
Next, it’s time to add in the eggs one at a time, mixing well after each addition. Follow that with the vanilla and almond extracts. Their aromatic flavors will complement the cherry filling beautifully. If you want an even more flavorful kick, consider adding a tablespoon of fresh lemon juice!
Mix in the Flour
In a separate bowl, combine the flour, baking powder, and salt. Gradually add this dry mixture to the wet ingredients, mixing just until you see no dry flour. Avoid over-mixing—this will keep your cherry pie bars tender and delicious!
Spread the Base Layer in the Dish
Now it’s time for the fun part! Take about two-thirds of your batter and spread it evenly in the bottom of your prepared baking dish. Use a spatula to create a smooth, even layer. This will serve as the perfect base for your cherry filling.
Add the Cherry Pie Filling
Once the base is ready, spoon the cherry pie filling evenly over the batter. The vibrant red color of the cherries will already have you dreaming of that first bite!
Dollop the Remaining Batter on Top
Take the remaining batter and drop spoonfuls over the cherry filling. You don’t need a complete coverage; it will spread slightly as it bakes, creating a lovely topping.
Bake the Bars Until Golden Brown
Place your baking dish in the preheated oven and bake for about 30-35 minutes, or until the top is golden brown and a toothpick inserted in the center comes out clean. The aroma of cherries and baked goodness will fill your kitchen, making it hard to wait!
Cool and Prepare the Glaze
Once baked, remove the dish from the oven and let it cool in the pan for at least 30 minutes. This will help the bars set nicely. If you’d like to add a glaze, mix powdered sugar with a little milk until smooth and drizzle it over the cooled bars for an extra touch of sweetness.
Congratulations! You’ve just mastered a delightful cherry pie bars recipe that will impress friends and family. Grab a slice, savor the fruits of your labor, and maybe pair it with a scoop of vanilla ice cream for the ultimate treat. Happy baking!
Variations on Cherry Pie Bars
When it comes to your cherry pie bars recipe, the classic cherry filling is undeniably delightful, but there’s a whole world of flavors waiting to be explored! Here are some fun variations to consider that can breathe new life into your cherry bar creations.
Explore Different Fruit Fillings
Why stop at cherries? Feel free to swap out cherries for other fruits you love. Consider mixing:
- Blueberries: For a burst of tangy sweetness.
- Peaches: Their soft texture pairs beautifully with the buttery crust.
- Raspberries: These add a delightful tartness that balances well with the crumble.
For those interested in combinations, try using a blend, like cherries with blueberries – the result is both colorful and delicious! If you’re interested in seasonal fruits, check out Seasonal Food Guides for inspiration.
Add a Crunch with Almonds or Pecans
Elevate your cherry pie bars recipe by adding a delightful crunch. Chopped almonds or pecans not only enhance the flavor but also provide a satisfying texture. Imagine biting into a chewy bar, only to discover a surprise crunch of nuts within.
- Almonds: These nutty bites complement the sweetness of cherries wonderfully.
- Pecans: Their buttery richness add a decadent touch to the dessert.
Before you sprinkle them on top, consider toasting the nuts lightly to enhance their flavor. Need tips? The Nuts for Health website offers great insights on how to prepare nuts for baking.
Experimenting with different fillings and toasty toppings can make your cherry pie bars a perfect go-to dessert for any occasion! So, which flavor combination will you try?
Baking Tips and Notes for Cherry Pie Bars
Common Mistakes to Avoid
When preparing your cherry pie bars recipe, it’s easy to trip up on a few common pitfalls. One frequent mistake is overmixing your crust; this can lead to a tough, chewy base instead of a tender one. Remember to mix just until combined! Also, using frozen cherries directly without thawing can cause excess liquid; always drain and pat them dry for the best texture. Lastly, be cautious with sugar – too much can make the filling overly sweet and disrupt the flavor balance.
Storage Tips for Freshness
Once you’ve enjoyed your cherry pie bars, storing them correctly will keep them tasting fresh. Allow any leftover bars to cool completely before covering them tightly with plastic wrap or aluminum foil. They can be stored in the refrigerator for up to five days. For longer storage, consider freezing them. Wrap each bar individually in plastic wrap, then place them in an airtight container. When ready to enjoy, just thaw them in the fridge overnight, and they’ll taste nearly as fresh as day one! For more storage tips, check out this guide on food preservation.
Feel free to tweak ingredients and methods as you gain confidence with your cherry pie bars recipe! Happy baking!
Serving Suggestions for Cherry Pie Bars
Creative Presentation Ideas
Your cherry pie bars recipe can be taken to the next level with some fun presentation ideas! Start by cutting the bars into playful shapes using cookie cutters. This not only makes them eye-catching but can also delight guests of all ages. For a pop of color, sprinkle a little powdered sugar or drizzle with vanilla glaze just before serving. You might also consider plating them on vibrant, decorative dishes to enhance the visual appeal.
Pairing with Coffee or Tea
What’s better than a sweet treat with your favorite beverage? Pair your pie bars with rich coffee or fragrant tea to elevate your dessert game. A smooth espresso can complement the tartness of the cherries beautifully, while a spicy chai offers a warm contrast. If you’re in the mood for tea, consider a refreshing green tea, which can balance the sweetness perfectly. The delightful blend of flavors makes for a satisfying afternoon break or a lovely dessert option at your next gathering.
For more ideas on the perfect accompaniments, visit The Kitchn or Epicurious.
Time Breakdown for Cherry Pie Bars
Preparation Time
Getting started with your cherry pie bars recipe is a breeze! You’ll need about 15 minutes to gather your ingredients and prep everything. Make sure to have your cherries ready—fresh or frozen work well.
Baking Time
Once everything is mixed and layered, pop your bars in the oven for 25-30 minutes. Keep an eye on them; you want that golden brown top to signal perfection!
Total Time
In total, you’re looking at around 45 minutes from start to finish. Perfect for a sweet treat during your busy day or to impress guests with minimal effort! Enjoy your delicious, homemade cherry pie bars!
Nutritional Facts for Cherry Pie Bars
Calories Information
A serving of cherry pie bars typically contains around 200 to 250 calories. This can vary based on the specific ingredients you use in your homemade cherry pie bars recipe. To satisfy your sweet tooth without going overboard, consider enjoying a smaller portion alongside a scoop of Greek yogurt for a balanced treat.
Key Nutrients and Their Benefits
These delightful bars aren’t just about taste; they’re also packed with some key nutrients:
- Vitamins C and K: Found in cherries, these vitamins support immunity and bone health.
- Fiber: These bars provide dietary fiber, vital for digestion and heart health.
- Antioxidants: Cherries are rich in antioxidants, promoting overall wellness and potentially reducing inflammation.
For a deeper dive into their health benefits, check out this article on health benefits of cherries for more insights!
FAQs about Cherry Pie Bars
Can I Use Fresh Cherries Instead of Canned Pie Filling?
Absolutely! Using fresh cherries can give your cherry pie bars a unique homemade touch. Just be sure to pit and chop them before cooking. If you choose this route, you might want to enhance the flavor by mixing the cherries with a bit of sugar and lemon juice to mimic the sweetness found in canned pie filling. For a detailed comparison, you can check out this Fruit Guide.
How Do I Store Leftover Cherry Pie Bars?
Storing your leftover cherry pie bars doesn’t have to be complicated. Simply place them in an airtight container and store them in the refrigerator. They typically stay fresh for 3-5 days. If you want to keep them longer, consider freezing them. Wrap each bar individually in plastic wrap and place them in a freezer-safe bag. To enjoy later, just thaw at room temperature or warm them up in the oven for a delightful treat!
Can I Make Cherry Pie Bars in Advance?
Definitely! Making your cherry pie bars recipe in advance can save you time and ensure you have a delicious dessert ready for any occasion. You can prepare the bars and then store them in the refrigerator for up to two days before baking. Alternatively, bake them ahead of time and refrigerate or freeze. Just remember, if you freeze them, let them cool completely before wrapping them to maintain their texture.
Now that you have the answers to these common questions, you’re well on your way to mastering the art of cherry pie bars! Enjoy your baking adventure and feel free to reach out if you have more questions!
Conclusion on Cherry Pie Bars
Recap of the Delightful Experience of Making Cherry Pie Bars
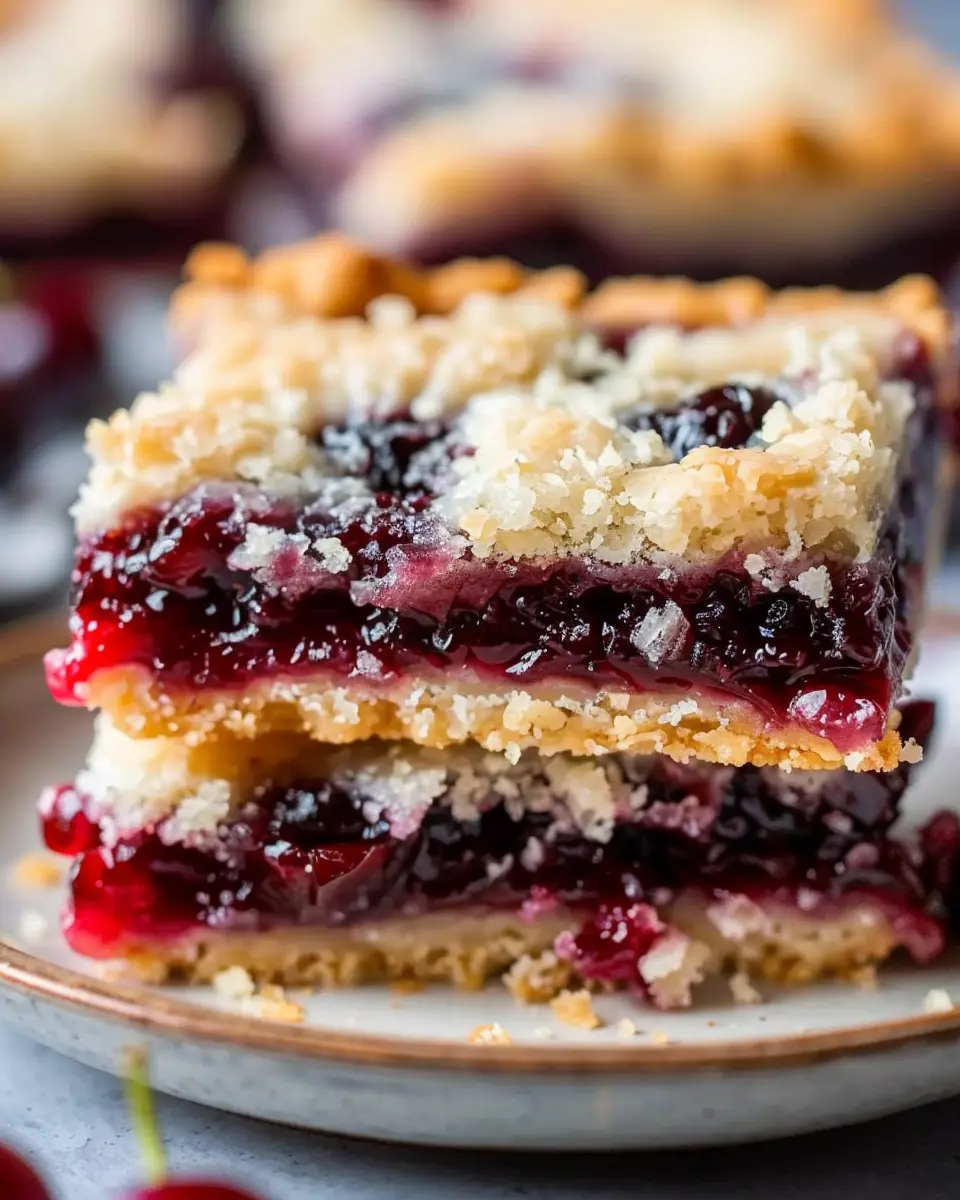
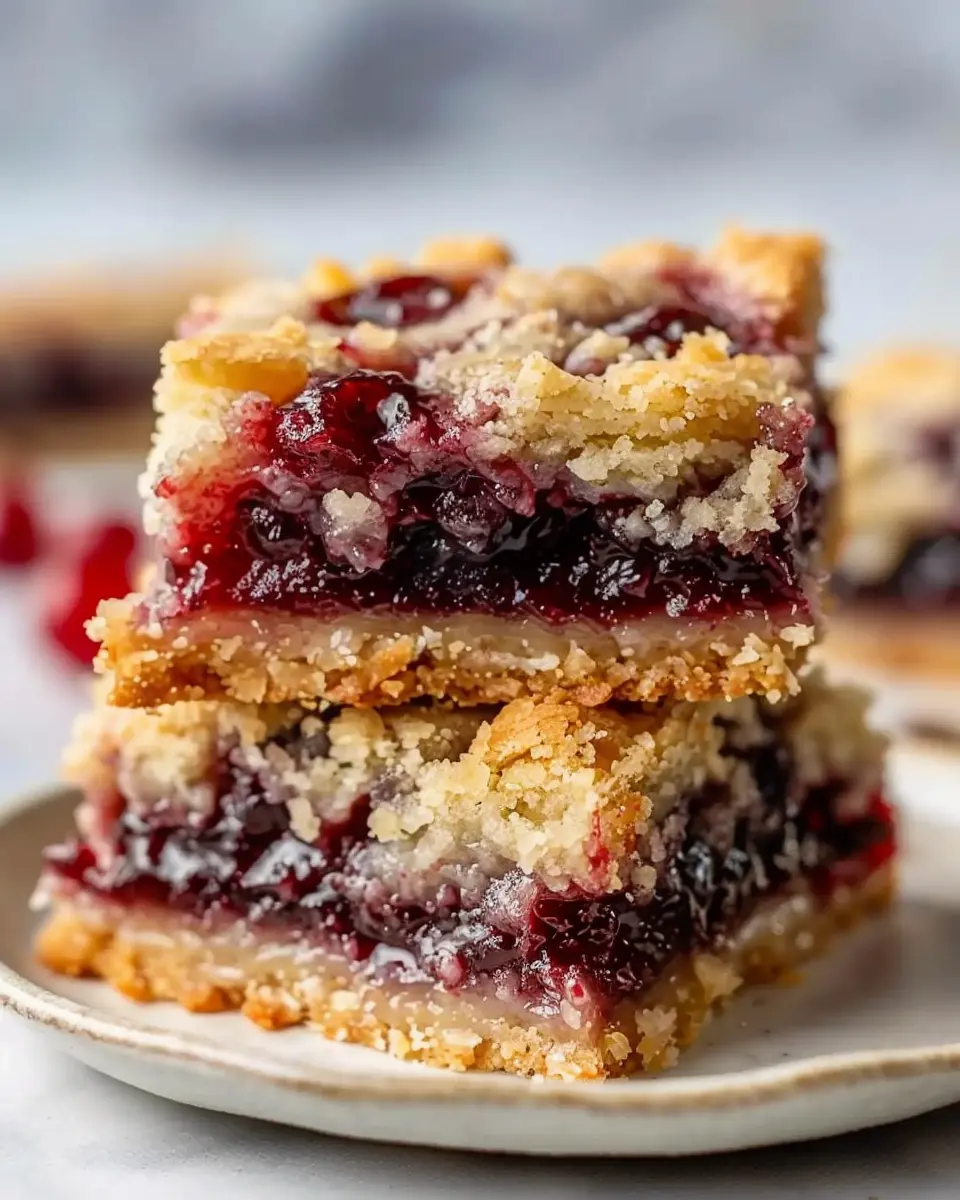
Creating your own cherry pie bars is more than just baking; it’s an invitation to indulge in comfort and nostalgia. From the rich, buttery crust to the sweet, tangy cherry filling, every step of this journey is rewarding. Picture the delightful aroma wafting through your kitchen as your bars bake to golden perfection.
With this cherry pie bars recipe, you can impress friends or treat yourself during a cozy evening at home. Pair them with a scoop of vanilla ice cream, and you’re in dessert heaven! Remember, the joy of baking comes not only from the end product but also from the memories created along the way. Whether it’s a family gathering or a quiet night in, these bars are sure to spark joy. Happy baking!
For tips on related desserts, check out this flaky pie crust guide.
PrintCherry Pie Bars Recipe: Easy & Indulgent Dessert Treats for All
A delicious recipe for cherry pie bars that are easy to make and perfect for any occasion.
- Prep Time: 15 minutes
- Cook Time: 35 minutes
- Total Time: 50 minutes
- Yield: 12 servings 1x
- Category: Dessert
- Method: Baking
- Cuisine: American
- Diet: Vegetarian
Ingredients
- 2 cups all-purpose flour
- 1 cup granulated sugar
- 1/2 cup unsalted butter, softened
- 1/2 teaspoon salt
- 2 teaspoons baking powder
- 1 egg
- 1 can (21 ounces) cherry pie filling
- 1 teaspoon vanilla extract
Instructions
- Preheat the oven to 350°F (175°C) and grease a 9×13 inch baking pan.
- In a large bowl, mix together the flour, sugar, salt, and baking powder.
- Add the softened butter and egg, and mix until crumbly.
- Press half of the mixture into the bottom of the prepared pan.
- Spread the cherry pie filling over the crust.
- Sprinkle the remaining mixture over the top of the cherries.
- Bake for 30-35 minutes or until golden brown.
- Allow to cool before cutting into bars.
Notes
- For an extra touch, serve with whipped cream or ice cream.
- These bars can be stored in an airtight container for up to a week.
Nutrition
- Serving Size: 1 bar
- Calories: 210
- Sugar: 15g
- Sodium: 200mg
- Fat: 8g
- Saturated Fat: 5g
- Unsaturated Fat: 2g
- Trans Fat: 0g
- Carbohydrates: 30g
- Fiber: 1g
- Protein: 3g
- Cholesterol: 30mg
Keywords: Cherry Pie Bars, Dessert, Easy Recipe