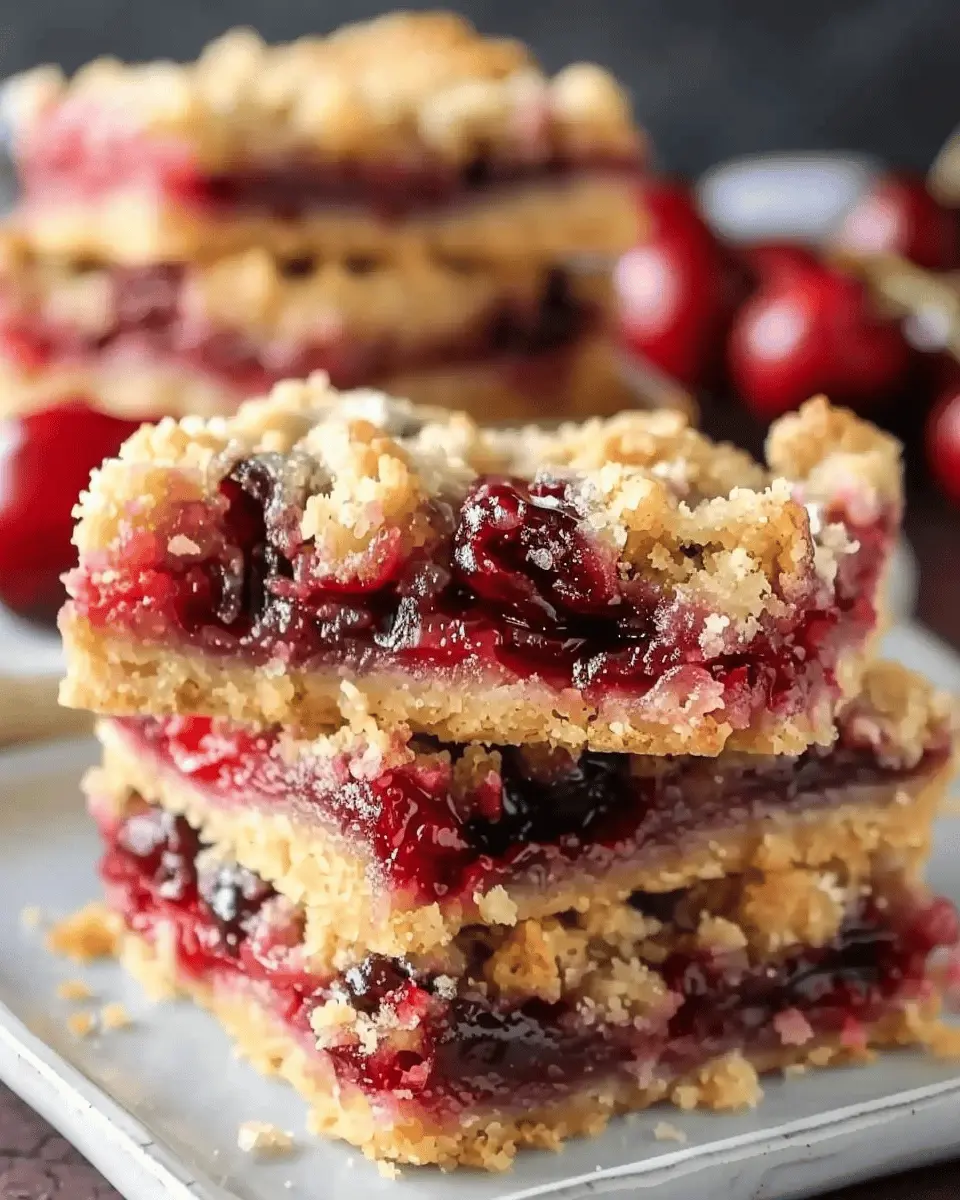
Introduction to Cherry Crumb Bars
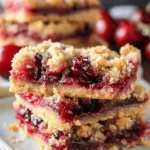
When it comes to homemade treats, few things can compare to the delightful harmony of flavors and textures found in Cherry Crumb Bars. These delectable bars combine the sweet-tart goodness of cherries with a buttery crumb topping, making them a year-round snack but especially delightful during summer months when cherries are at their freshest. Whether you’re looking to impress friends at a gathering, treat yourself after a long day, or simply try your hand at baking, these bars are a winner every time.
Why Cherry Crumb Bars are the Perfect Homemade Treat
First off, let’s talk about versatility. Cherry Crumb Bars can serve multiple purposes. Need a quick dessert? Check. Want a fancy brunch option? Yep! They even work well as a grab-and-go breakfast. Who doesn’t love a little fruit in their morning routine? You can serve them warm, cold, or at room temperature, making them perfect for any occasion or mood.
Healthier Indulgence
Incorporating cherries into your diet has its perks. Cherries are not only delicious but also come packed with antioxidants, vitamins, and minerals that contribute to overall health. Studies suggest that regularly consuming cherries can help reduce inflammation and improve sleep quality—a perfect excuse for that late-night snack!
Easy to Make from Scratch
You might be wondering, “Can I really make these bars myself?” The answer is a resounding yes! One of the best parts about Cherry Crumb Bars is how easy they are to whip up. Most of the ingredients you probably already have in your pantry: flour, sugar, butter, and oats. Even if you’re new to baking, these bars provide a straightforward recipe that yields impressive results. If you’re looking for a solid foundation in baking, check out resources like BBC Good Food or Allrecipes.
Join the Cherry Craze
So why not dive into the world of Cherry Crumb Bars? Your taste buds will thank you, and you’ll likely find yourself making them time and again. The satisfying crunch of the crumb topping paired with the juicy cherry filling is simply an experience that can’t be missed. Ready to get started? Let’s move on to the full recipe!
Ingredients for Cherry Crumb Bars
Essential Ingredients for a Luscious Cherry Layer
To achieve that delightfully sweet-tart cherry layer in your Cherry Crumb Bars, you’ll need freshly pitted cherries or quality cherry preserves. If using fresh cherries, aim for about 2 cups, and don’t forget to incorporate some sugar to balance the flavors. A splash of lemon juice can elevate the cherry filling, adding a refreshing brightness. For a touch of warmth, a pinch of cinnamon works wonders too—trust me!
Shortbread Base and Crumb Topping Components
The foundation of your Cherry Crumb Bars is a buttery, crumbly shortbread base that pairs perfectly with the cherry filling. Gather:
- 1 cup all-purpose flour
- 1 cup rolled oats
- ½ cup brown sugar
- ½ teaspoon baking powder
- ½ cup cold butter, cut into cubes
This combination not only complements the cherry layer beautifully but also gives you that satisfying crumb topping! When you bake these bars, the comforting aroma will undoubtedly fill your kitchen. Each bite brings a delightful contrast of flavors and textures that you won’t want to miss. Want to learn more about the magic behind baking? Check out King Arthur Baking for expert tips.
Remember, these bars are perfect for gatherings or just a cozy evening at home. Enjoy the process and happy baking!
Step-by-step Preparation for Cherry Crumb Bars
Making Cherry Crumb Bars is a delightful way to bring the sweet and tart flavors of cherries to your kitchen. This homey dessert is perfect for gatherings, picnics, or simply to enjoy with a cup of coffee. Follow these step-by-step instructions, and soon you’ll be indulging in your very own batch of delicious bars.
Gather and Prep Your Ingredients
Before diving into the fun of baking, it’s essential to gather your ingredients to ensure a smooth preparation process. Here’s what you’ll need:
-
For the cherry filling:
-
2 cups of fresh or frozen cherries, pitted
-
1/2 cup of granulated sugar
-
1 tablespoon lemon juice
-
1 tablespoon cornstarch
-
Pinch of salt
-
For the shortbread base:
-
1 1/2 cups all-purpose flour
-
1/2 cup granulated sugar
-
1/2 cup unsalted butter, softened
-
1/4 teaspoon baking powder
-
Pinch of salt
-
1/2 teaspoon vanilla extract
-
For the crumb topping:
-
1/2 cup rolled oats
-
1/2 cup brown sugar
-
1/4 cup all-purpose flour
-
1/2 teaspoon cinnamon
-
1/4 cup unsalted butter, melted
Before starting, make sure your cherries are clean and pitted. If you’re using frozen cherries, let them thaw and drain any excess liquid. Preparing your ingredients ahead of time helps streamline the process and keeps you organized.
Create the Cherry Filling
Now that you have your ingredients ready, let’s prepare the cherry filling. In a medium saucepan over medium heat, combine the cherries, sugar, lemon juice, cornstarch, and a pinch of salt.
- Cook for about 5-7 minutes, stirring gently until the mixture begins to bubble and thicken.
- Once thickened, remove from heat and let it cool slightly. This mixture will add a burst of flavor to your Cherry Crumb Bars.
It’s fascinating how simple ingredients can transform into something so delicious! You can read more about the benefits of cherries on health-focused sites like Healthline for an interesting take.
Prepare the Shortbread Base
Next, let’s whip up the shortbread base. In a large mixing bowl, combine the flour, sugar, baking powder, and a pinch of salt.
- Use a pastry cutter or your hands to blend in the softened butter until the mixture resembles coarse crumbs. Add the vanilla extract and mix until everything is combined.
- Press about two-thirds of the shortbread mixture evenly into the bottom of a greased pan. The remaining batter will be used for the topping.
This shortbread base is the heart of your Cherry Crumb Bars and gives them a rich, buttery flavor.
Assemble the Crumb Bars
It’s time for assembly! Pour the cooled cherry filling over the shortbread base, spreading it evenly.
Next, take the remaining shortbread mixture and sprinkle it generously over the cherry filling.
- For an extra crunch, mix the oats into the leftover shortbread before sprinkling. This gives your bars a delightful texture that balances beautifully with the soft cherry filling.
Take a moment to admire your handiwork; you’ve made it this far!
Bake and Cool Your Cherry Crumb Bars
Now for the moment of truth—baking! Preheat your oven to 350°F (175°C). Place your assembled dessert in the oven and bake for approximately 30-35 minutes or until the top is golden brown and crispy.
Once they are done baking, allow the bars to cool in the pan for at least 10-15 minutes before transferring them to a wire rack. It’s tempting to dive in right away, but giving them time to cool will help them set and make slicing easier.
Once cooled, slice them into squares and enjoy your irresistible Cherry Crumb Bars! They’ll be a hit at any gathering or make a great treat for a cozy night in. Questions or thoughts? Feel free to leave a comment below! Happy baking!
Variations on Cherry Crumb Bars
Cherry crumb bars are a beloved dessert, but why not mix things up a bit? Here are some fun variations to cater to different dietary preferences while keeping that delightful cherry flavor intact.
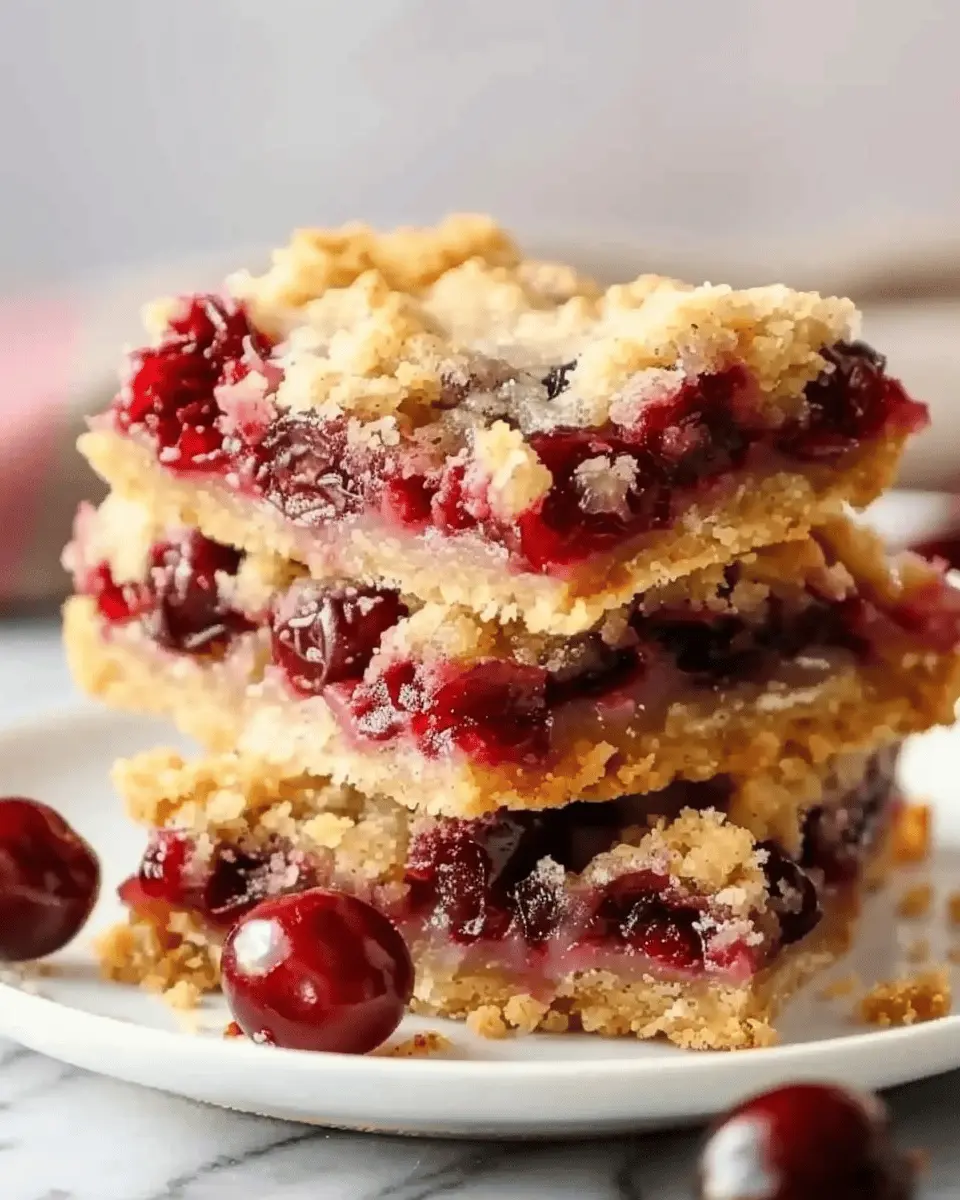
Cherry Crumb Bars with Oats
If you’re a fan of textures, consider adding oats to your cherry crumb bars. This variation not only enhances the crunchiness but also adds wholesome flavors. Simply substitute half of the flour in your crumb mixture with rolled oats. You’ll end up with a delicious nutty base that pairs beautifully with the tart cherries. Plus, oats provide fiber, making your treat a little more nutritious. You might even enjoy browsing more about the benefits of oats here.
Gluten-Free Cherry Crumb Bars
For those navigating gluten sensitivities, making gluten-free cherry crumb bars is easier than you’d think! Switch out regular flour with gluten-free alternatives like almond flour or a gluten-free all-purpose mix. You could even try oat flour for a just-right texture. Not only will your bars taste fantastic, but they’ll also be safe and enjoyable for everyone at the table. It’s a lovely opportunity to introduce gluten-free baking to your circle—who knows, you might inspire someone to venture into new culinary territories!
Vegan Cherry Crumb Bars
Craving something plant-based? Vegan cherry crumb bars are a delightful option. Replace butter with coconut oil or vegan margarine, and use flaxseed meal mixed with water as an egg substitute. This keeps your bars moist while staying true to a vegan diet. The result is a guilt-free indulgence that doesn’t sacrifice flavor—perfect for everyone’s dessert table!
Experimenting with these variations can lead to delightful surprises, and who knows, you might stumble upon your new favorite way to enjoy cherry crumb bars!
Cooking Tips and Notes for Cherry Crumb Bars
Tips for Working with Cherries
When preparing your Cherry Crumb Bars, choosing the right cherries is essential. Opt for fresh, ripe cherries that offer a balanced sweetness and tartness. Don’t forget to pit them! You can use a cherry pitter, which makes the job easy and minimizes mess. If fresh cherries aren’t available, frozen cherries work well too—just make sure they’re fully thawed and drained.
For an extra depth of flavor, consider adding a splash of lemon juice and a sprinkle of cinnamon to the cherry filling. This can elevate your bars and give them a delightful zing!
How to Get the Perfect Crumb Topping
Achieving that ideal crumb topping is crucial for your Cherry Crumb Bars. Start with cold butter—it really helps maintain a nice texture. You’ll want a mix of flour, oats, and brown sugar for that perfect balance of chew and crunch.
Try squeezing the mixture with your fingers when prepping the topping. This way, you can form those magical clumps that create a beautiful, crumbly texture. Don’t be afraid to get a little hands-on!
Using these tips, your Cherry Crumb Bars will not only taste fantastic but also impress anyone lucky enough to try them! For further inspiration and techniques, check out Serious Eats. Happy baking!
Serving Suggestions for Cherry Crumb Bars
Pairing with Ice Cream or Whipped Cream
One of the simplest and most delightful ways to enjoy your Cherry Crumb Bars is to pair them with a scoop of creamy ice cream or a dollop of fluffy whipped cream. Imagine the contrast between the warm, tart cherries and the cool, sweet cream melting slightly on top. Vanilla, almond, or even a tangy goat cheese ice cream can elevate the experience.
If you’re feeling adventurous, consider drizzling chocolate or caramel sauce over the top for a more gourmet touch. You could even add a sprinkle of crushed nuts for texture—almonds or walnuts work beautifully!
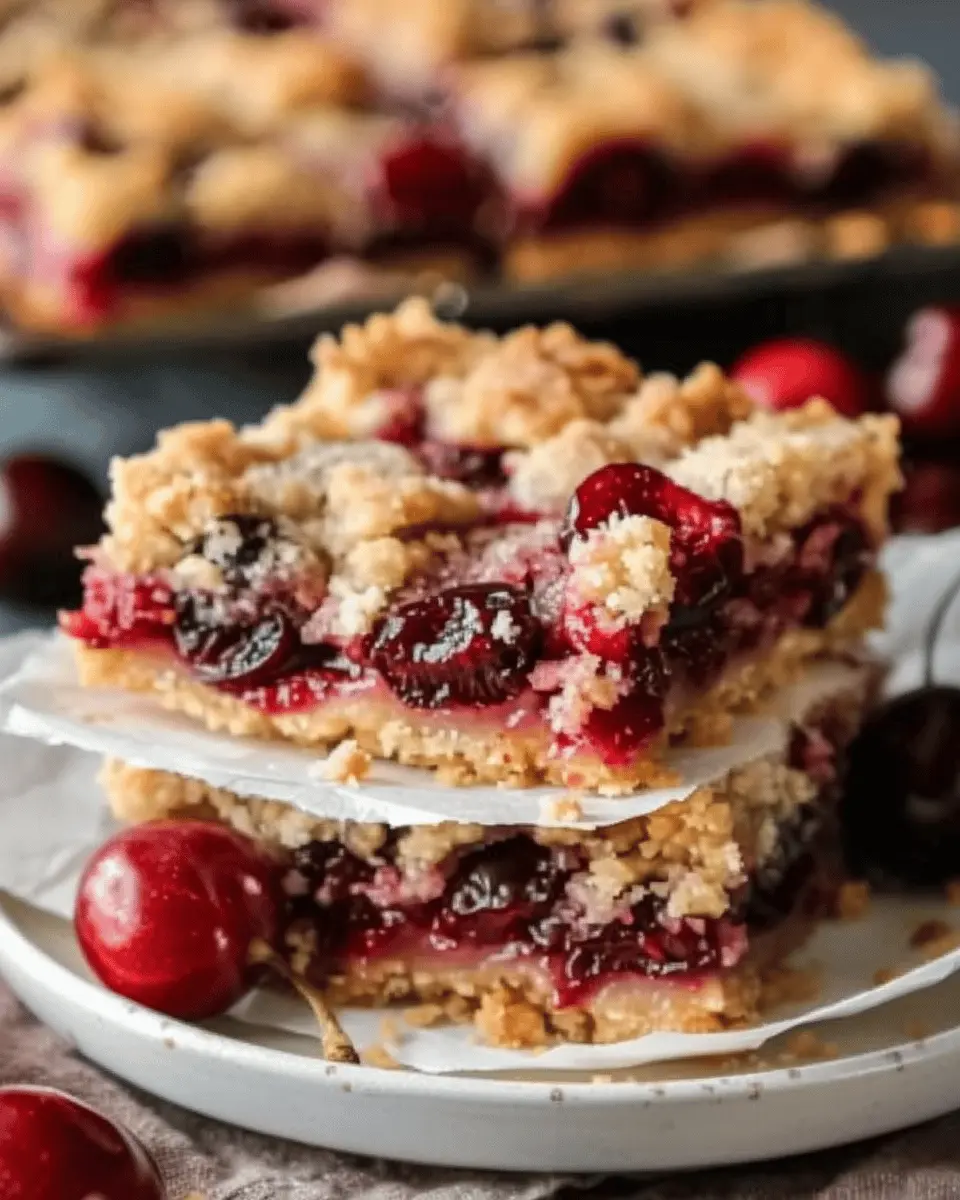
Creative Ways to Serve and Garnish
Presentation matters, especially when you’re sharing these bars with friends. Try serving Cherry Crumb Bars on a rustic wooden board, garnished with fresh cherries or mint leaves for a pop of color. You might also dust them with powdered sugar just before serving for an elegant finish.
If you’re planning a gathering, think about slicing them into bite-sized squares. You can even wrap them in parchment paper tied with twine for a charming, homemade gift. Looking for more ideas? Check out resources like The Kitchn for creative serving suggestions that can take your dessert game to the next level.
Time Breakdown for Cherry Crumb Bars
When you’re ready to tackle these delicious Cherry Crumb Bars, knowing how long the process takes can help you organize your baking time efficiently. Here’s a quick overview to get you started:
Preparation Time
The prep for Cherry Crumb Bars is simple and enjoyable, taking about 15-20 minutes. This is the time to gather your ingredients, mix the crust, and prepare the cherry filling. It’s a perfect time to have a podcast or some music playing in the background!
Baking Time
Once everything is assembled, pop your Cherry Crumb Bars into the oven for 30-35 minutes. You’ll know they’re ready when the edges turn a golden brown and the cherry filling starts to bubble slightly.
Total Time
In total, you’re looking at around 50-60 minutes from start to finish! With charming, gooey bars as a reward, the time spent is definitely worth it. For more tips on perfecting your baking skills, check out resources from Serious Eats or The Kitchn. Happy baking!
Nutritional Facts for Cherry Crumb Bars
When it comes to indulging in Cherry Crumb Bars, understanding their nutritional content can help you savor them mindfully. Here’s a quick breakdown:
Calories per serving
Each serving of Cherry Crumb Bars typically contains around 200 calories. This makes them a delightful treat without completely blowing your daily caloric intake. A smart choice when you’re craving something sweet!
Protein content
You can expect about 2 grams of protein per serving. While these bars aren’t a protein powerhouse, enjoying them as part of a balanced diet can still fit within your nutritional goals. Pair them with a glass of milk or a handful of nuts for an extra boost!
Sugar content
With about 10 grams of sugar per serving, these Cherry Crumb Bars strike a balance between sweetness and enjoyment. It’s always good to be conscious of sugar intake, but every now and then, a little treat can work wonders for your mood! For further insights on sugar content, check out the USDA’s FoodData Central.
By being mindful of these facts, you can enjoy your cooking adventures without compromising your health goals. What’s your favorite way to enjoy Cherry Crumb Bars?
FAQ About Cherry Crumb Bars
Can I use frozen cherries for this recipe?
Absolutely, you can use frozen cherries for your Cherry Crumb Bars! In fact, they can be a great alternative if fresh cherries aren’t in season or available. Just make sure to thaw them first and drain any excess liquid to avoid a soggy crumb crust. Frozen cherries often have the same depth of flavor as fresh ones, making your bars just as delicious.
How do I store leftover crumb bars?
Storing your Cherry Crumb Bars is simple! After they’ve completely cooled, you can keep them in an airtight container at room temperature for up to three days. For longer storage, consider refrigerating them where they can last for up to a week. If you’ve made a big batch, you can also freeze them. Just wrap them tightly in plastic wrap and then in aluminum foil, and they can stay good for about three months. Just thaw them in the fridge overnight before indulging again!
What modifications can I make for dietary restrictions?
If you have dietary restrictions, don’t worry—there are plenty of ways to modify this recipe:
- For gluten-free versions: Substitute regular flour with a gluten-free all-purpose blend.
- For vegan options: Replace the butter with coconut oil or a vegan butter substitute, and use a flax egg instead of a regular egg.
- Reduce sugar: You can cut down on sugar or use a natural sweetener like honey or maple syrup to make it healthier.
Making these adjustments allows everyone to enjoy the delightful flavors of your Cherry Crumb Bars, regardless of dietary preferences! If you’re looking for more ways to adjust recipes, check out some expert advice here. Happy baking!
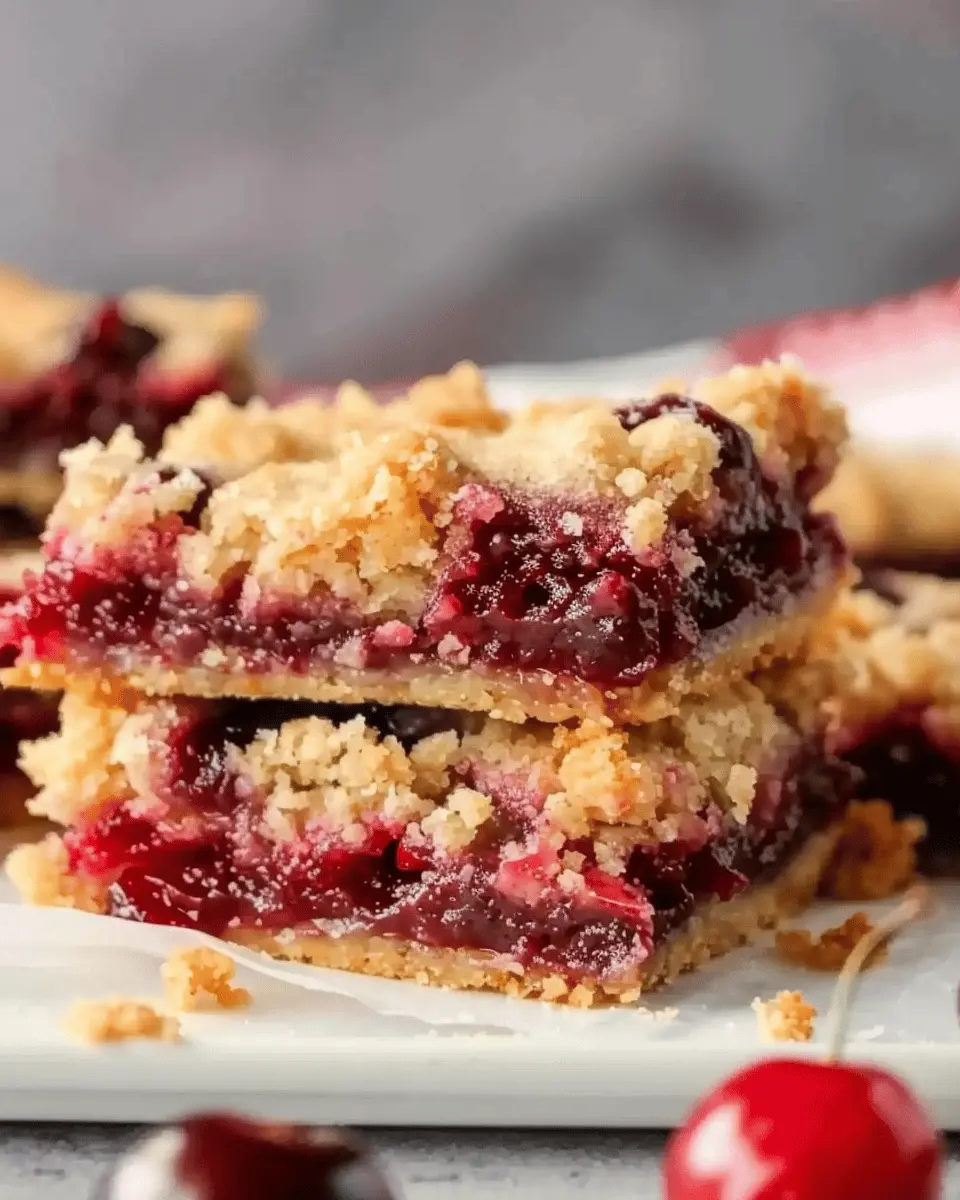
Conclusion on Cherry Crumb Bars
When you bite into a homemade Cherry Crumb Bar, you experience a delightful blend of sweet and tart flavors, perfectly complemented by a buttery crumb topping. The joy of creating these treats from scratch is truly unmatched; it brings back fond memories of baking with family or friends. Plus, they make for a fantastic snack or dessert to share during gatherings or as a special weekend treat.
Embrace the simplicity of this recipe and savor each bite—these bars not only delight your taste buds but also create special moments in the kitchen. For more delicious bar recipes, explore options from BBC Good Food and Food Network. Enjoy your baking!
PrintCherry Crumb Bars: Easy and Delicious Homemade Treats for All
These Cherry Crumb Bars are a delightful homemade treat that combines a buttery crust with sweet cherry filling and a crumbly topping.
- Prep Time: 15 minutes
- Cook Time: 35 minutes
- Total Time: 50 minutes
- Yield: 16 bars 1x
- Category: Dessert
- Method: Baking
- Cuisine: American
- Diet: Vegetarian
Ingredients
- 2 cups all-purpose flour
- 1 cup granulated sugar
- 1/2 cup unsalted butter, softened
- 1/2 teaspoon salt
- 1 teaspoon baking powder
- 1/4 teaspoon baking soda
- 1 tablespoon vanilla extract
- 1 can (21 ounces) cherry pie filling
Instructions
- Preheat the oven to 350°F (175°C).
- In a mixing bowl, combine flour, sugar, salt, baking powder, and baking soda.
- Add melted butter and vanilla extract, stirring until crumbly.
- Press half of the mixture into the bottom of a greased baking pan.
- Spread cherry pie filling evenly over the crust.
- Sprinkle the remaining crumb mixture on top of the cherries.
- Bake for 30-35 minutes until golden brown.
- Let cool before slicing into bars.
Notes
- For an extra touch, serve with whipped cream.
- Try using different fruit fillings based on your preference.
Nutrition
- Serving Size: 1 bar
- Calories: 180
- Sugar: 15g
- Sodium: 150mg
- Fat: 7g
- Saturated Fat: 4g
- Unsaturated Fat: 2g
- Trans Fat: 0g
- Carbohydrates: 27g
- Fiber: 1g
- Protein: 2g
- Cholesterol: 20mg
Keywords: Cherry Crumb Bars, dessert, homemade treats