Introduction to Slice and Bake Heart Cookies
There’s something undeniably nostalgic about baking cookies from scratch, and slice and bake heart cookies perfectly capture that feeling. Whether you remember your grandmother’s kitchen filled with the aroma of fresh-baked cookies or those joyful afternoons after school where you indulged in yummy treats, slice and bake cookies bring back those sweet memories. They are not just a culinary delight but also a way to connect with the past, making baking a delightful ritual in many homes.
So why do these delightful heart-shaped confections hit a sentimental nerve? The process is simple and reassuring. You mix the dough, shape it into a log, chill it, and when you’re ready to enjoy a warm treat, you cut, bake, and reap the rewards. We’re not just baking cookies; we’re reviving memories and creating new ones. It’s a cozy, rewarding experience that transforms everyday moments into something special—like a random Tuesday that suddenly feels festive.
Making Slice and Bake Heart Cookies
The allure of slice and bake heart cookies lies not only in their deliciousness but also in their versatility. You can customize the flavors to suit your taste—whether you fancy chocolate, vanilla, or even almond. Plus, you can vary the decorations: think icing, sprinkles, or even colorful edible glitter. These cookies are perfect for sharing at gatherings or just enjoying with a cup of your favorite herbal tea.
To dive deeper into cookie-creation magic, check out resources like the American Cookie Company which details expert advice on baking techniques.
But let’s talk about the effort involved. Baking can sometimes feel overwhelming, especially when juggling a busy professional life. Fear not! With slice and bake cookies, you’re investing minimal time for maximum flavor and fun. Just imagine biting into a warm, buttery cookie that melts in your mouth—made fresh without the fuss!
So roll up your sleeves, gather your ingredients, and let your inner baker shine with this delightful recipe. Before you know it, you’ll have a batch of crispy-edged, chewy-centered heart cookies that not only taste fantastic but also fill your kitchen with the delightful essence of homemade sweetness. Now, let’s get to the recipe that will surely become a favorite in your baking repertoire!

Ingredients for Slice and Bake Heart Cookies
Baking slice and bake heart cookies is not only fun but also a great way to impress your friends and family. Let’s dive into the essential ingredients you’ll need to create these delightful treats.
Essential baking ingredients
To get started, you’ll want to gather your core baking ingredients:
- All-purpose flour: The base of your cookies for that perfect texture.
- Granulated sugar: Sweetness is key, and this will give your cookies that golden crunch.
- Unsalted butter: For a rich flavor and soft texture, butter is a must.
- Egg: This binds your ingredients together.
- Baking powder: A raising agent that helps your cookies puff up just right.
- Salt: A pinch to balance the sweetness.
Remember that fresher ingredients yield better results, so try to use high-quality butter and eggs.
Fun additions for customization
What’s better than the basic recipe? Making it your own! Here are some fun ideas to customize your slice and bake heart cookies:
- Chocolate chips: Always a hit, these can add a melty richness.
- Nuts: Chopped walnuts or pecans provide a delightful crunch.
- Sprinkles: A colorful touch that’s especially fun for celebrations.
- Flavor extracts: Vanilla, almond, or lemon zest can elevate the flavor profile.
Ready to make baking magic? For more tips and tricks, check out Baking 101 for beginners.
Step-by-Step Preparation for Slice and Bake Heart Cookies
Baking can be a wonderful way to express creativity while ensuring quality time, whether for a special occasion or just to satisfy your sweet cravings. With these slice and bake heart cookies, you can whip up delightful treats that are not only beautiful but also incredibly delicious. Let’s guide you step-by-step through the process of making these charming cookies.
Gather and Measure Ingredients
Before diving in, it’s crucial to have everything on hand. For these cookies, you’ll need:
- 2 1/4 cups all-purpose flour
- 1/2 teaspoon baking powder
- 1 cup unsalted butter, softened
- 1 cup granulated sugar
- 1 large egg
- 1 teaspoon vanilla extract
- A pinch of salt
- Food coloring (optional, depending on whether you want to dye some of your dough)
Make sure to measure your ingredients accurately. Using a kitchen scale can help ensure precision, especially for the flour, which can be compacted. More tips on measuring ingredients can be found at Serious Eats.
Cream the Butter and Sugar
With your ingredients prepped, it’s time to get mixing! In a large bowl, beat the softened butter and granulated sugar together until the mixture is light and fluffy—this usually takes about 2-3 minutes with an electric mixer. The creaming process is essential, as it aerates the butter, giving your cookies that delightful texture. Remember, if you don’t have an electric mixer, using a spatula works too; you might just get a little more of a workout!
Combine Wet and Dry Ingredients
Once your butter and sugar are properly creamed, it’s time to add the egg and vanilla extract. Mix until combined. In a separate bowl, whisk together the flour, baking powder, and salt. Gradually incorporate this dry mixture into the butter-sugar mixture until just combined. Over-mixing can lead to tougher cookies, so be sure to mix gently.
Create Colored and Plain Dough
If you’re feeling adventurous, now’s the time to add food coloring! Divide your dough into two portions. Leave one portion plain, and for the other, add a few drops of food coloring. Knead each dough until the color is evenly distributed. This step is entirely optional, but it adds a fun touch, especially if you’re making these cookies for a holiday or custom occasion.
Form the Cookie Log
Shape each portion of dough into a log about 1.5 inches in diameter. Use parchment paper to help roll it tightly. If you’re mixing colors, try forming a double-layer log by rolling one dough around the other. This technique creates a swirl effect when sliced. Make sure the edges are smooth to achieve that beautiful heart shape when cut.
Chill the Dough for Perfect Slicing
This step is non-negotiable! Once your logs are formed, wrap them tightly in parchment paper or plastic wrap and place them in the fridge for at least 1-2 hours. Chilling the dough solidifies the butter, making it easier to slice cleanly and preventing the cookies from spreading too much while baking.
Bake to Golden Perfection
Preheat your oven to 350°F (175°C) and line a baking sheet with parchment paper. Once your dough has chilled, take it out and slice it into 1/4-inch thick rounds. Place them on the prepared baking sheet, leaving some space between each cookie. Bake for about 10-12 minutes or until the edges are just beginning to turn golden. Keep an eye on them—oven temperatures can vary!
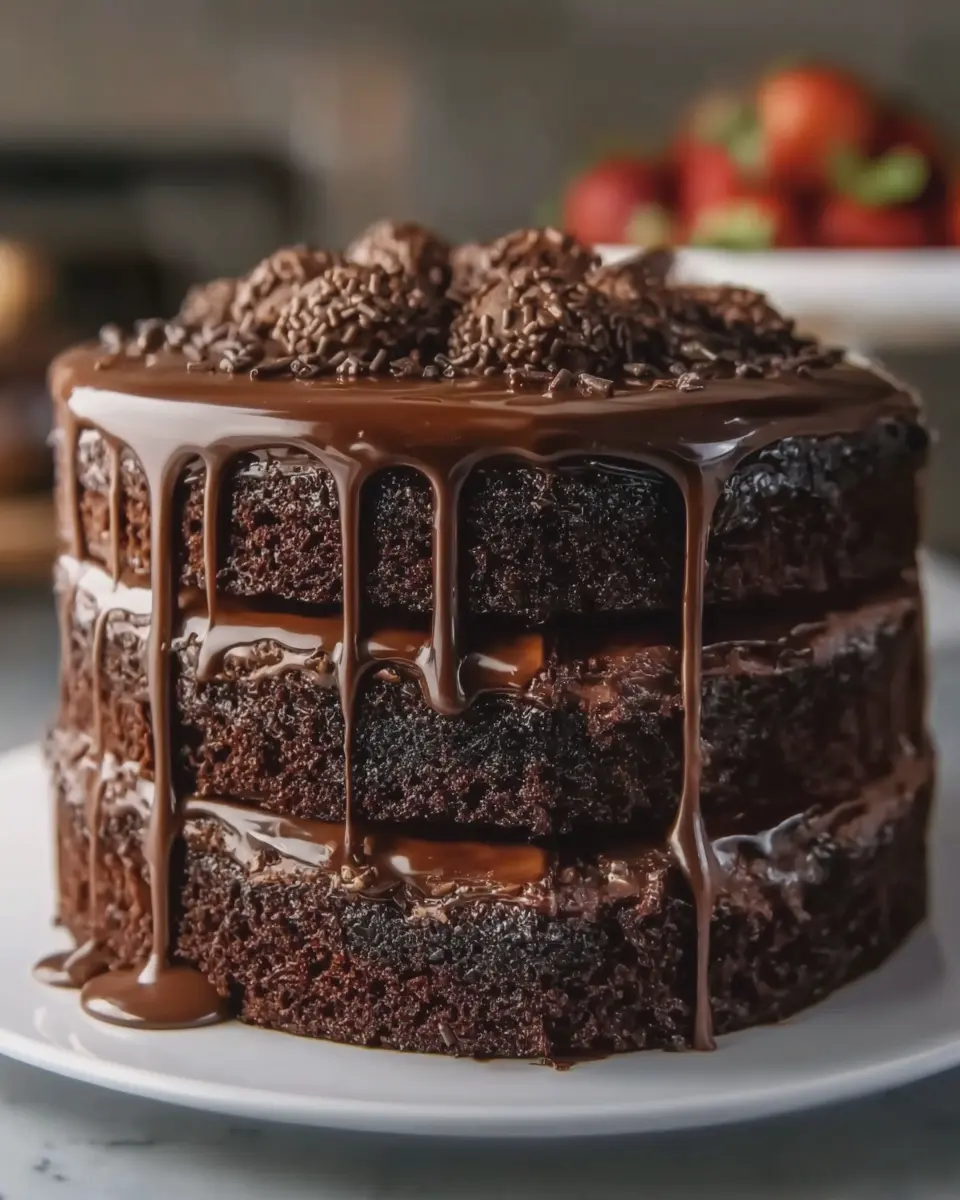
Once baked, allow your cookies to cool on a wire rack, and there you have it! Your slice and bake heart cookies are ready to be enjoyed. Whether you choose to decorate them or drizzle them with chocolate, they will surely be a hit. Happy baking!

Variations on Slice and Bake Heart Cookies
When it comes to heart cookies, the classic slice and bake method opens up a world of creative possibilities. Whether you’re preparing for a romantic occasion or just want to spread some love, these variations will make your cookie game even more delightful.
Red Velvet Slice and Bake Cookies
Why not add a touch of flair with red velvet slice and bake heart cookies? This twist brings a rich color and a hint of cocoa, making your cookies visually stunning and delicious. Simply add cocoa powder and red food coloring to your basic slice and bake dough, and don’t forget the cream cheese frosting drizzle for that extra creamy touch! There are plenty of recipes available online, like this one from King Arthur Baking.
Sugar Cookie Alternatives
If you’re looking for a lighter version, try using sugar cookie alternatives. You can easily swap out regular all-purpose flour for almond or coconut flour, giving your heart cookies a unique flavor and texture. This not only adds an exciting twist to your cookies but can also suit different dietary preferences. Check out Food52 for an array of sugar cookie recipes that cater to various tastes.
Allergy-Friendly Options
For those with food sensitivities, it’s easy to make these slice and bake heart cookies allergy-friendly. Consider using gluten-free flour blends and dairy-free alternatives for butter and eggs. There are fantastic resources online, such as The Aloha Kitchen, which provide delicious and safe recipes for everyone to enjoy. These modifications ensure that no one is left out of the cookie festivities!
With these variations, your slice and bake heart cookies will not only taste fantastic but also cater to diverse preferences, making them the perfect treat for any gathering!
Baking Tips and Notes for Slice and Bake Heart Cookies
Common Pitfalls to Avoid
When making slice and bake heart cookies, it’s easy to encounter a few common mishaps. First, ensure your butter is softened but not melted. If it’s too soft, your dough can spread too much during baking. Second, don’t rush the chilling process; allowing the dough to firm up will yield better shapes. Finally, watch the clock closely while baking—overbaking can lead to dry cookies.
Storage Tips for Dough and Baked Cookies
Proper storage is key to maintaining the freshness of your slice and bake heart cookies. If you have leftover dough, wrap it tightly in plastic wrap and store it in the refrigerator for up to a week, or in the freezer for up to three months. When it comes to baked cookies, keep them in an airtight container at room temperature for up to a week. Alternatively, you can freeze them for later enjoyment—just make sure to layer them with parchment paper to prevent sticking.
For more expert baking advice, check out this guide on cookie storage. Happy baking!

Serving Suggestions for Slice and Bake Heart Cookies
Creative Ways to Serve Heart Cookies on Occasions
When it comes to serving slice and bake heart cookies, presentation can elevate your treats from ordinary to extraordinary. Consider adorning a pretty platter with a colorful mixture of heart cookies and small candies for a festive look. You can also package them in cellophane bags tied with a cute ribbon for a thoughtful party favor or a lovely gift. For special occasions like birthdays or anniversaries, placing a freshly baked cookie in each muffin cup of a cupcake tray can create an adorable display.
Pairing Cookies with Beverages
To enhance the enjoyment of your slice and bake heart cookies, pair them with delightful beverages. A hot cup of coffee or herbal tea really complements the sweetness of the cookies. Try serving them with a glass of refreshing lemonade or a fruit-infused sparkling water; this not only balances the flavors but also keeps things fun and light. For more pairing tips, check out this helpful guide from Taste of Home.
Ultimately, whether you’re celebrating love, friendship, or simply indulging in a sweet treat, these serving suggestions will delight both the eyes and the palate!
Time Breakdown for Slice and Bake Heart Cookies
When it comes to creating delicious slice and bake heart cookies, understanding the timing is key to achieving cookie perfection. Here’s how your time will break down:
Preparation Time
Gather your ingredients and mix them up! You’ll need about 15 minutes to prepare the cookie dough. It’s as simple as whisking, folding, and forming that delightful batter.
Chilling Time
After shaping the dough into logs, it’s time for a break. Chill for 2 hours in the refrigerator. This step not only solidifies the dough but also enhances the flavors. If you’re short on time, you can pop it in the freezer for 30 minutes, but don’t skip this part.
Baking Time
Once you’ve sliced the dough into heart shapes, bake your cookies for 10-12 minutes. Keep an eye on them—they’re done when the edges are lightly browned but the centers remain soft.
Total Time
In total, you’re looking at roughly 2 hours and 30 minutes from start to finish, but most of that is just waiting. Your reward? Soft, buttery cookies that’ll win hearts all around! For more tips on cookie baking, check out this baking guide.
With this breakdown, you’ll manage your time efficiently and enjoy the process of whipping up these delightful slice and bake heart cookies. Happy baking!
Nutritional Facts for Slice and Bake Heart Cookies
Calories per cookie
These delightfully sweet slice and bake heart cookies pack about 120 calories each, making them a fun treat without going overboard. Perfect for that midday pick-me-up or a cozy evening snack!
Key nutrients
You’ll find that a single cookie can provide:
- Fat: 6g (including healthy fats)
- Carbohydrates: 18g (fuel for energy)
- Protein: 1g (essential for muscle health)
A good balance for a small indulgence, don’t you think? Incorporate them mindfully into your day to avoid sugar crashes.
Dietary considerations
If you’re watching your sugar intake or have dietary restrictions, consider using alternatives like coconut sugar or gluten-free flour. While these slice and bake heart cookies can fit into various diets, moderation is key. Always check labels for allergens.
For more in-depth nutritional breakdowns, the USDA FoodData Central is a fantastic resource to explore further. Happy baking!
FAQs about Slice and Bake Heart Cookies
Can I make the dough in advance?
Absolutely! One of the best things about slice and bake heart cookies is that you can prepare the dough ahead of time. Simply mix your ingredients, shape the dough into a log, and wrap it tightly in plastic wrap or parchment paper. You can refrigerate it for up to a week or freeze it for a couple of months. When you’re ready to bake, just slice and bake! This is perfect for when unexpected guests arrive or when you’re craving something sweet without the fuss.
How can I keep my cookies soft?
To keep your slice and bake heart cookies soft and tender, consider these helpful tips:
- Don’t overbake: Keep a close eye on your cookies while they’re in the oven; they should be lightly golden around the edges but still soft in the center.
- Add moisture: A bit of brown sugar increases moisture content, contributing to a softer texture compared to white sugar.
- Store properly: After baking, allow cookies to cool completely, then store them in an airtight container with a slice of bread. The bread will help maintain moisture, keeping your cookies delectably soft.
Are there natural coloring options for my cookies?
Absolutely! If you’re looking to add some colorful flair to your slice and bake heart cookies, consider using natural food colorings. For a lovely pink hue, beet juice or pomegranate powder works wonders. Turmeric can give a warm yellow, while matcha offers a delightful green color. These are healthier alternatives to artificial dyes and can make your cookie-baking experience even more fun. For more on using natural dyes, you might find this article from Healthline particularly useful.
Feel free to share your cookie-baking stories or tips; we’d love to hear how your heart cookies turn out!
Conclusion on Slice and Bake Heart Cookies
Embracing nostalgia with a homemade twist
In a world filled with fast-paced living, there’s something undeniably delightful about creating slice and bake heart cookies in your own kitchen. These cookies not only bring back cherished memories of family baking days, but they also allow for a creative outlet that’s as therapeutic as it is delicious. With just a few simple ingredients and a little love, you can easily whip up batches to share with friends or enjoy on cozy nights in.
So why not gather your loved ones, roll up your sleeves, and indulge in this nostalgic treat? For more creative baking ideas, check out resources like BBC Good Food for inspiration!
PrintSlice and Bake Heart Cookies: Easy Treats to Brighten Your Day

Delight in these easy and sweet Slice and Bake Heart Cookies that are perfect for any occasion.
- Prep Time: 20 minutes
- Cook Time: 12 minutes
- Total Time: 2 hours 32 minutes
- Yield: 24 cookies 1x
- Category: Dessert
- Method: Baking
- Cuisine: American
- Diet: Vegetarian
Ingredients
- 2 cups all-purpose flour
- 1 cup unsalted butter, softened
- 1 cup granulated sugar
- 1 teaspoon vanilla extract
- 1 large egg
- 1/2 teaspoon salt
- 1/2 teaspoon baking powder
- 1 cup sprinkles (optional)
Instructions
- In a bowl, cream the butter and sugar until smooth.
- Add the egg and vanilla extract, and mix well.
- In another bowl, combine the flour, salt, and baking powder.
- Gradually add the dry ingredients to the wet mixture, mixing until a dough forms.
- If using, fold in the sprinkles.
- Divide the dough in half and shape each half into a log.
- Wrap in plastic wrap and refrigerate for at least 2 hours.
- Preheat the oven to 350°F (175°C).
- Slice the logs into 1/4-inch thick rounds and place on a baking sheet.
- Bake for 10-12 minutes until edges are lightly golden.
- Cool on a wire rack before serving.
Notes
- For a festive touch, use colored sprinkles.
Nutrition
- Serving Size: 1 cookie
- Calories: 150
- Sugar: 10g
- Sodium: 50mg
- Fat: 7g
- Saturated Fat: 4g
- Unsaturated Fat: 2g
- Trans Fat: 0g
- Carbohydrates: 21g
- Fiber: 0g
- Protein: 2g
- Cholesterol: 30mg
Keywords: Slice and Bake Heart Cookies, cookies, easy treats, baking