Introduction to Stained Glass Cookies
What are Stained Glass Cookies?
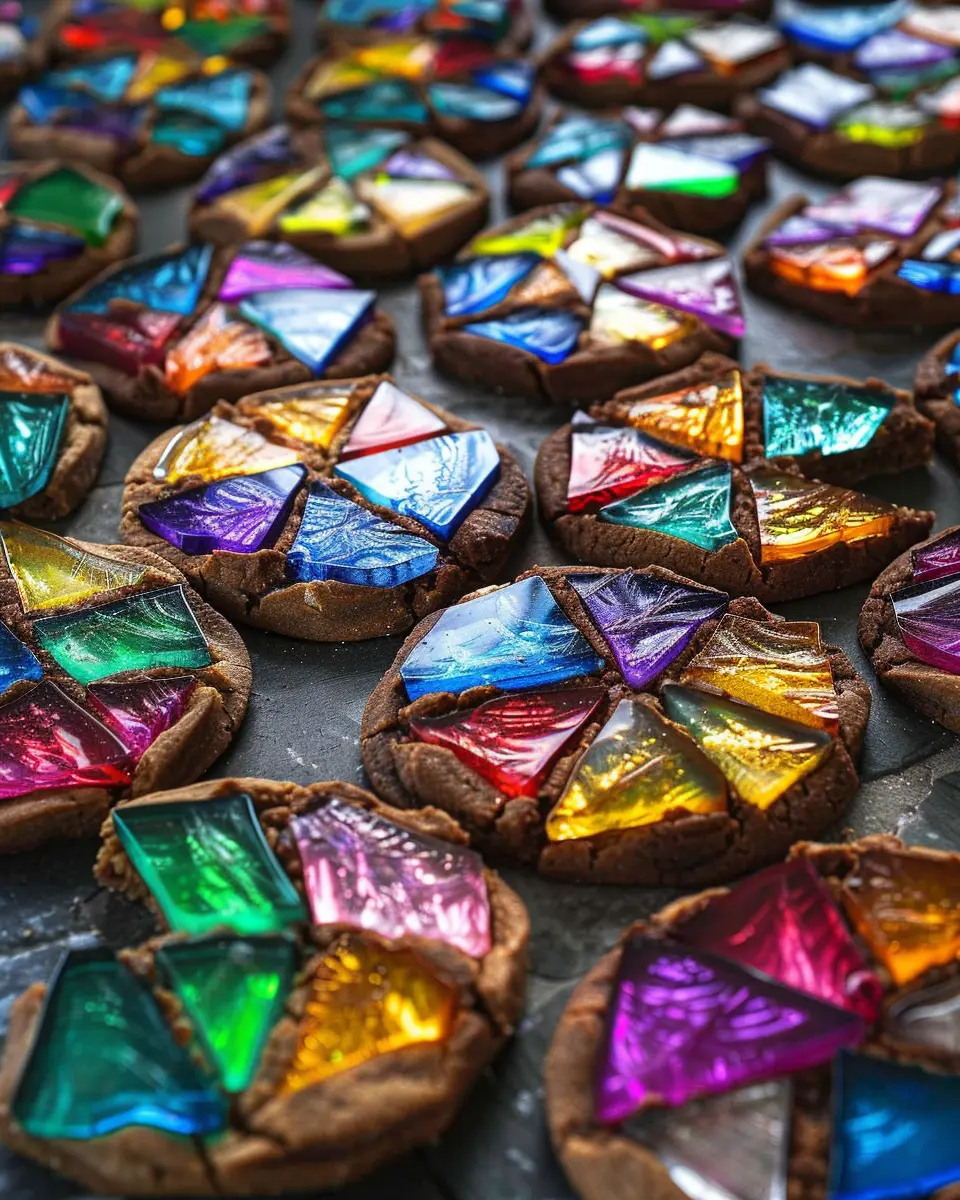
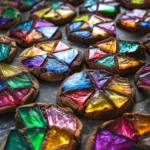
Stained glass cookies bring a delightful twist to traditional holiday treats. Essentially, these are sugar cookies adorned with colorful, transparent candies that melt in the oven, creating the stunning effect of stained glass windows. When baked, these cookies transform into beautiful, eye-catching desserts that not only look good but taste fantastic too.
The joy of making stained glass cookies lies not just in their beauty but in the creative process. You can customize the colors and shapes to suit the occasion—whether it’s festive shapes for Christmas or spooky designs for Halloween. If you’re curious about how to make these enchanting cookies, consider this comprehensive guide that takes you through the entire process, from dough prep to the finishing touches.
Why You Should Make These Cookies
Imagine standing in your kitchen, the scent of buttery cookies blending with a hint of sweetness from melted candies. Stained glass cookies are not just visually appealing; they also invite a wonderful sensory experience. Here’s why embracing this baking endeavor is a fantastic idea:
-
Creativity Unleashed: These cookies are your canvas! You can experiment with various cookie cutters and candy colors to make each batch unique. Whether you love vibrant reds, greens, or blues, there’s plenty of room for personalization.
-
Perfect for Any Occasion: Stained glass cookies are incredibly versatile. You can make them for festive events, birthday parties, or even just a cozy evening at home. They are sure to impress friends and family alike.
-
Great Activity for All Ages: Baking these cookies can be a fun, interactive activity for families or friends. Consider inviting your loved ones to join in, making for a wonderful way to bond over a shared love of baking.
If you’re interested in more baking inspiration, check out this article from The Spruce Eats that dives into creative cookie decoration techniques.
Overall, stained glass cookies meld art and baking in a way that few other desserts do. So, why not roll up your sleeves, gather some ingredients, and start crafting these gorgeous treats that will leave everyone in awe?
Ingredients for Stained Glass Cookies
Baking stained glass cookies is a delightful way to bring a pop of color to any occasion. Here, I’ll take you through the essential ingredients you’ll need, as well as some optional components for those who want to customize their cookies.
Essential Ingredients
To create your stained glass cookies, you’ll need the following:
- All-purpose flour: The foundation of any great cookie.
- Unsalted butter: Adds richness and flavor; soften it for easier mixing.
- Granulated sugar: Sweetness is key!
- Eggs: They provide moisture and binding.
- Baking powder: To help those cookies rise and stay fluffy.
- Colored hard candies: These will create the stained glass effect once melted.
For detailed baking tips, consider checking out resources from the American Baking Guild.
Optional Ingredients for Variations
Want to get a bit creative? Here are some optional ingredients that can give your stained glass cookies a fun twist:
- Vanilla or almond extract: A dash can enhance the flavor profile.
- Food coloring: If you want to experiment with different hues.
- Chopped nuts or sprinkles: For added texture or decoration.
Feel free to mix and match these ingredients according to your taste preferences. The best part? You’ll find that baking can be as much about experimenting as it is about following a recipe!
Preparing Stained Glass Cookies
Stained glass cookies are a delightful treat that not only satisfy your sweet tooth but also make for a visually stunning dessert. They’re perfect for holidays, parties, or just a fun afternoon baking session! Here’s a step-by-step guide to help you create these colorful confections with ease.
Gather Your Ingredients and Equipment
First things first—let’s make sure you’re well-prepared. Here’s what you’ll need:
Ingredients:
- 3 cups all-purpose flour
- 1 cup unsalted butter, softened
- 1 cup granulated sugar
- 1 large egg
- 1 teaspoon vanilla extract
- 1/2 teaspoon baking powder
- A pinch of salt
- Assorted colors of Jolly Ranchers (approximately 1 cup, crushed)
Equipment:
- Mixing bowl
- Rolling pin
- Cookie cutters (various shapes)
- Baking sheet
- Parchment paper
- Ziploc bag or mallet (for crushing Jolly Ranchers)
It’s amazing what you can create when you have the right tools—and it always feels great to have everything ready before you dive in!
Mix the Cookie Dough
Now, let’s get mixing! In a large mixing bowl, combine the softened butter and granulated sugar. Use an electric mixer or a whisk to cream them together until the mixture becomes light and fluffy.
Next, beat in the egg and add the vanilla extract. Once mixed, sift the flour, baking powder, and salt together in another bowl. Gradually add this dry mixture to the wet ingredients, stirring until a dough forms. If you’re interested in tips for achieving the perfect dough consistency, check out this article for expert insights.
Chill the Dough for Best Results
After mixing your dough, it’s time to chill it. Shape the dough into a disc and wrap it in plastic wrap. Place it in the refrigerator for at least 1 hour—this helps the flavors meld and makes the dough easier to roll. Don’t rush this step; chilled dough is a baker’s best friend!
Prepare Your Jolly Ranchers
While the dough chills, take a moment to prepare your colorful filling. Unwrap your Jolly Ranchers and place them in a Ziploc bag. Using a rolling pin or a mallet, crush them into small pieces. You want them chunky but not powdered—pieces that are the size of small beads will give your stained glass cookies a beautiful, glass-like finish.
Roll Out the Dough and Cut Shapes
Once the dough has chilled, it’s go-time! Preheat your oven to 350°F (175°C) and line your baking sheets with parchment paper. On a floured surface, roll out the dough to about 1/4 inch thick. Use your cookie cutters to cut out fun shapes. Remember to also cut out a smaller shape in the center of each cookie to create the stained glass effect.
Fill the Cookies and Bake
Here comes the exciting part! Carefully place the cutouts on your baking sheet. For each cookie, spoon a generous amount of your crushed Jolly Ranchers into the center. Don’t be afraid to fill them up; the candy will melt and fill the opening beautifully. Bake in the oven for 8-10 minutes, or until the edges are lightly golden.
Cooling and Hardening Process
After baking, allow the cookies to cool on the baking sheet for a few minutes before transferring them to a wire rack. The melted Jolly Ranchers will take some time to harden, so try to be patient. Once fully cooled, you’ll see the shimmering effect that makes these stained glass cookies so special!
Enjoy the process—and get ready for compliments when you serve these delicious, colorful cookies to friends and family! They’ll never guess how simple they are to make.
Variations on Stained Glass Cookies
Stained glass cookies are a delightful treat that allows for so much creativity. Why not explore some fun variations to make your cookie experience even more exciting?
Colorful Themed Cookies
You can tailor your stained glass cookies to fit any occasion! For instance, during the holidays, use red and green candies for a festive vibe. For spring, opt for pastel colors with light blue, pink, and yellow Jolly Ranchers. Halloween? Think black, orange, and purple to embody that spooky spirit! Themed cookies are not only visually appealing but also a fun way to integrate seasonal celebrations into your baking.
Using Different Candies
While Jolly Ranchers are a classic choice, don’t be afraid to experiment with other candies. Try using Starbursts for vibrant colors and fruity flavors or Lifesavers for a more circular stained glass effect. You could even toss in some flavored gummies for an unexpected twist. With so many options available, your stained glass cookies can become a unique masterpiece every time.
Alternative Cookie Dough Recipes
Feeling adventurous? You can change up the cookie dough recipe entirely! Instead of a classic butter cookie, consider using a gingerbread base for a spicy twist. Or, if you’re in the mood for something softer, a sugar cookie recipe can create a more tender texture. You can even create gluten-free stained glass cookies using almond flour or a gluten-free baking mix. Each variation brings its own charm and keeps the baking experience fresh!
For more innovative recipe ideas, check out baking blogs that focus on unique flavor pairings and techniques. Your kitchen deserves a little wonder, and stained glass cookies are the perfect canvas!
Baking notes for Stained Glass Cookies
Baking stained glass cookies is a delightful endeavor, and I’m here to share some tips to ensure your experience is smooth and enjoyable!
Tips for working with candy
When it comes to the candy that creates that stunning stained glass effect, choose hard candies like Jolly Ranchers or Lifesavers. Chop them into small pieces for even melting. Take care to avoid moisture; if you’re working in a humid environment, consider using a dehumidifier or baking on a dry day.
Avoiding common mistakes
One error many people make is overbaking. Keep a keen eye on your cookies; they should be just set around the edges while the center remains soft. Another common issue is using too much candy—too much will overflow and create a sticky mess. Aim for a moderate amount to achieve that magical window effect without the cleanup hassle.
Remember, practice makes perfect! If you want to explore more about cookie decorating techniques, check out resources like Food52 for in-depth guides. Happy baking!
Serving Suggestions for Stained Glass Cookies
Presentation Ideas for Parties
Stained glass cookies are not only delicious but also visually stunning, making them the perfect addition to any gathering. To create an eye-catching dessert display, consider placing your cookies on a tiered cake stand. This adds height and dimension to your table, letting each colorful cookie shine. You can also arrange them on a vibrant platter with some decorative items like fresh flowers or seasonal fruits for that extra pop of color. Personalizing each cookie box with ribbons or tags can make them great take-home treats for guests!
Perfect Pairing Options
To take your cookie experience to the next level, think about what beverages to serve alongside those beautiful stained glass cookies. A refreshing herbal tea can complement the sweetness perfectly, while a chilled glass of lemonade offers a zesty contrast. For those who enjoy coffee, a lightly roasted blend will enhance the cookie’s flavors without overpowering them. Also, for a unique twist, try serving them with a sparkling fruit-infused water for a refreshing touch that keeps your guests hydrated.
By focusing on presentation and thoughtful pairings, you can elevate your stained glass cookies from simple treats to delightful conversations starters at your next event!
Time Breakdown for Stained Glass Cookies
Planning to make stained glass cookies? Here’s a quick breakdown to help you organize your baking adventure!
Preparation Time
Getting started will take about 30 minutes. This includes gathering your ingredients and chilling the dough, which is vital for achieving the perfect texture. While you wait, how about setting the mood with some of your favorite tunes?
Cooking Time
Once you’re ready to bake, these delightful cookies will need around 12–15 minutes in the oven. Keep an eye on them to ensure the colorful centers don’t overcook!
Total Time
In total, you’re looking at about 1 hour from start to finish. Not too bad for a treat that’s sure to impress!
With this time breakdown, you’re all set to create stained glass cookies that are both fun to make and beautiful to behold. Happy baking! For more baking tips, consider checking out resources from King Arthur Baking or The Kitchn.
Nutritional Facts for Stained Glass Cookies
Stained glass cookies are not only a delightful treat but also come with some nutritional considerations. Here’s what you need to know:
Calories
On average, each stained glass cookie contains around 100 calories. However, this can vary based on the size and ingredients used. Opt for a smaller size to help manage your calorie intake while still enjoying a delicious cookie.
Sugar Content
These cookies tend to pack a sweet punch, with roughly 6 grams of sugar each. If you’re watching your sugar levels, consider balancing your treat with healthier meals throughout the day.
Suggested Portion Size
A good portion size is typically one or two cookies, depending on your dietary goals and activity level. Pair them with a cup of tea or coffee for a delightful afternoon snack!
For more nutritious dessert options, check out Healthline’s article on healthy baking. Embrace the joy of baking while keeping mindful of your health!
FAQs about Stained Glass Cookies
Can I use other candy besides Jolly Ranchers?
Absolutely! While Jolly Ranchers are popular for their vibrant colors and durability, you can experiment with other hard candies like Life Savers or Skittles. Just keep in mind that each candy will result in a different flavor and potentially color. Try to choose transparent or semi-transparent candies to ensure that beautiful stained glass effect shines through.
Why do I need to chill the dough?
Chilling the dough for your stained glass cookies is a crucial step. It helps the cookies maintain their shape while baking and prevents them from spreading too much. A firmer dough results in cleaner edges and a more appealing appearance. If you’ve ever had cookies come out of the oven looking more like blobs than shapes, you understand the importance!
How can I store these cookies effectively?
To keep your stained glass cookies fresh, store them in an airtight container at room temperature. If you have multiple layers, place a sheet of parchment paper between layers to avoid sticking. They typically stay fresh for about a week, but good luck keeping them around that long!
What shapes work best for stained glass cookies?
When it comes to choosing shapes, think ahead! Traditional holiday shapes like stars, hearts, or ornaments work excellently; they provide a perfect canvas for that stained glass effect. Just ensure the cookie cutters you use have enough surface area for the candy to shine. If you’re feeling adventurous, consider trying unique shapes that reflect an occasion or theme!
For more tips on baking, check out resources from King Arthur Baking or Food Network. Happy baking!
Conclusion on Stained Glass Cookies
Recap of the cookie-making experience
Making stained glass cookies is not just a baking project; it’s an artistic adventure! From rolling out the dough to sprinkling crushed hard candies, each step unfolds a new layer of creativity. The vibrant colors and beautiful shapes add a festive touch to any occasion, making these cookies a hit, whether for holiday gatherings or casual get-togethers.
Encouragement to try making them yourself
I encourage you to roll up your sleeves and try making these delightful cookies yourself. They are a blend of fun and flavor that will impress your friends and family. Plus, the smiles on their faces when they bite into your creations? Priceless! Don’t hesitate to experiment with different candy colors and cookie shapes to make them uniquely yours. Check out bloggers like The Spruce Eats for more tips and creative ideas. Happy baking!
PrintStained Glass Cookies: Easy, Fun Treats for Every Occasion
Delicious stained glass cookies are a perfect treat for any occasion, combining fun shapes and vibrant colors that are sure to delight.
- Prep Time: 60 minutes
- Cook Time: 12 minutes
- Total Time: 72 minutes
- Yield: 24 cookies 1x
- Category: Dessert
- Method: Baking
- Cuisine: American
- Diet: Vegetarian
Ingredients
- 2 3/4 cups all-purpose flour
- 1 teaspoon baking powder
- 1/2 teaspoon salt
- 1 cup unsalted butter, softened
- 1 1/2 cups granulated sugar
- 1 large egg
- 1 teaspoon vanilla extract
- 1 cup crushed hard candies
Instructions
- Preheat the oven to 350°F (175°C).
- In a bowl, mix flour, baking powder, and salt.
- In another bowl, cream together butter and sugar until light and fluffy.
- Add the egg and vanilla extract, mixing until well combined.
- Gradually add the dry ingredients to the wet mixture, beating until just combined.
- Chill the dough in the refrigerator for 30 minutes.
- Roll out the chilled dough on a floured surface and cut into desired shapes.
- Use a small cookie cutter to cut out the center of each cookie and fill with crushed hard candies.
- Bake for 10-12 minutes or until the edges are golden.
- Allow to cool before serving.
Notes
- For best results, use clear or light-colored hard candies for the stained glass effect.
- These cookies can be decorated with icing after baking for added fun!
Nutrition
- Serving Size: 1 cookie
- Calories: 120
- Sugar: 10g
- Sodium: 50mg
- Fat: 8g
- Saturated Fat: 5g
- Unsaturated Fat: 2g
- Trans Fat: 0g
- Carbohydrates: 15g
- Fiber: 0g
- Protein: 1g
- Cholesterol: 30mg
Keywords: Stained Glass Cookies, Holiday Cookies, Fun Treats