Introduction to Mini Cheesecake Cups
When it comes to desserts, mini cheesecake cups are a true game-changer. Imagine indulging in a rich, creamy cheesecake, but without the guilt of devouring an entire slice. These delightful little cups are perfect for anyone seeking a sweet treat that’s both satisfying and portion-controlled. So, why are mini cheesecakes the ideal choice for your next gathering or quiet night in?
Why mini cheesecakes are perfect for you
-
Portion Control Made Easy
One of the best features of mini cheesecake cups is that they come in perfectly sized portions. Each cup delivers just the right amount of decadence without leaving you feeling overindulgent. Perfect for sharing—if you can resist eating them all yourself! -
Versatility at its Finest
Are you a fan of traditional flavors like strawberry or blueberry? Or perhaps you lean toward something more unique like matcha or salted caramel? Mini cheesecake cups can be adapted to feature your favorite flavors, making them suitable for any palate or dietary preference. Check out these flavor ideas for inspiration! -
Easy to Prepare and Serve
If you’re not the most experienced baker, worry not! Mini cheesecakes are incredibly easy to whip up. They typically require a short prep time—often under an hour—allowing you to focus on other party preparations or relax with a good book. Plus, they can be made in advance and stored in the fridge until you’re ready to serve. -
Crowd-Pleasers
No party or gathering is complete without a delicious dessert—and mini cheesecake cups are always a hit! Their charming appearance and variety in flavors make them not only delightful to eat but also visually appealing. A beautiful dessert table featuring these treats is sure to impress your guests. -
Ideal for Any Occasion
Whether you’re celebrating a birthday, hosting a casual get-together, or just enjoying a cozy night at home, mini cheesecake cups fit right in. Their bite-sized nature means you can enjoy them anytime, anywhere!
So, are you ready to embark on a cheesecake adventure? Keep reading to discover how to make your very own mini cheesecake cups, and impress your friends and family with this exquisite dessert!
Ingredients for Mini Cheesecake Cups
Creating delightful mini cheesecake cups begins with selecting the right ingredients. Let’s break down what you’ll need for each component, ensuring every bite is creamy and delicious.
Essential Ingredients for the Crust
The foundation of your mini cheesecakes starts with a buttery crust that adds both texture and flavor. Here’s what you’ll need:
- Graham cracker crumbs (or any sweet crumb base)
- Sugar to add a touch of sweetness
- Melted butter for binding the crumbs together
Mix these ingredients to achieve that crumbly goodness that complements the creamy filling perfectly!
Creamy Cheesecake Ingredients
The star of your mini cheesecake cups is the rich, velvety filling. Here’s how to make it luxurious:
- Cream cheese, softened to ensure a smooth texture
- Granulated sugar for sweetness
- Sour cream adds tanginess
- Vanilla extract for that classic cheesecake flavor
- Eggs to keep the mix cohesive and fluffy
Blend these ingredients until smooth, and you’ll be left with a filling that’s simply irresistible!
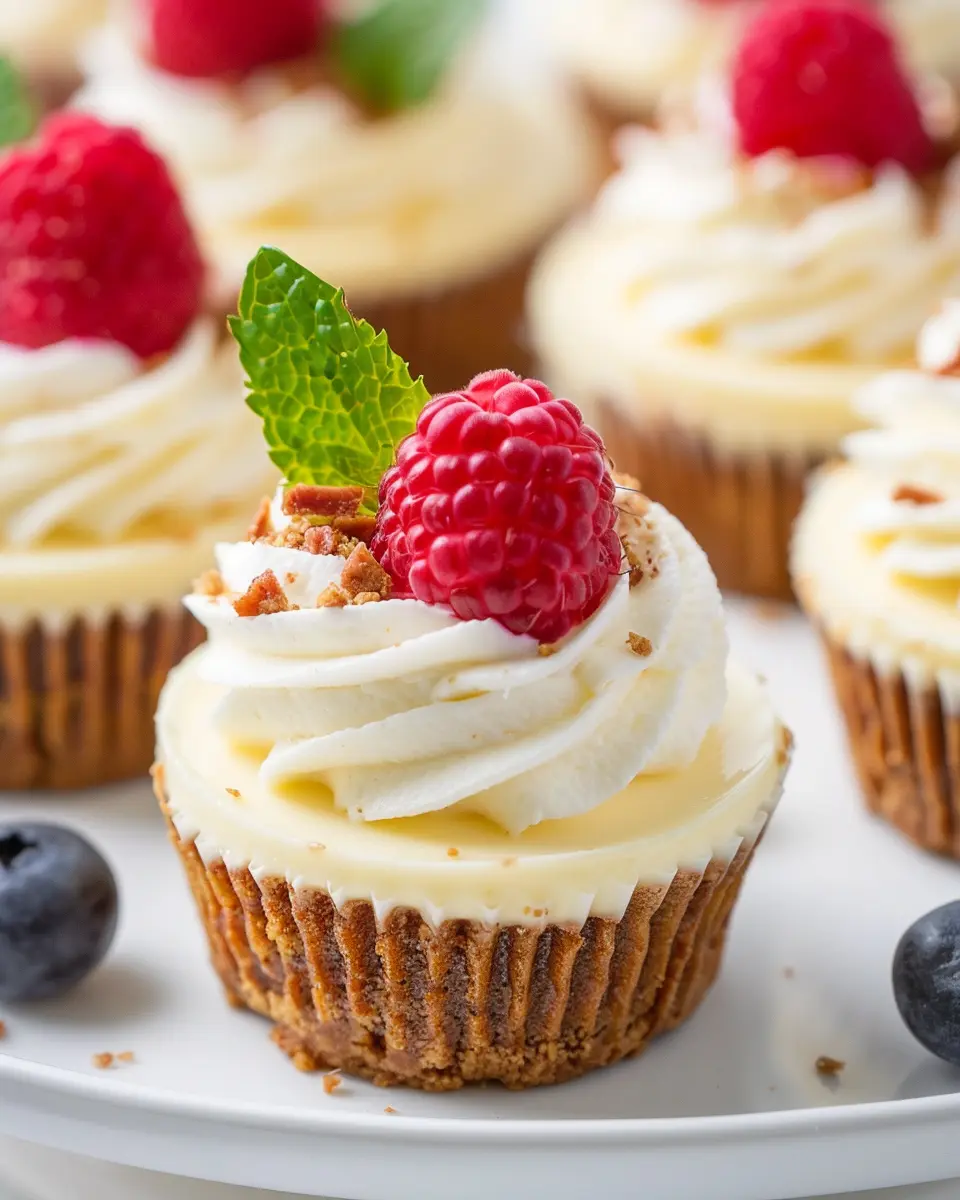
Toppings to Elevate Your Mini Cheesecakes
Why stop there? Elevate your mini cheesecakes with delightful toppings! Consider:
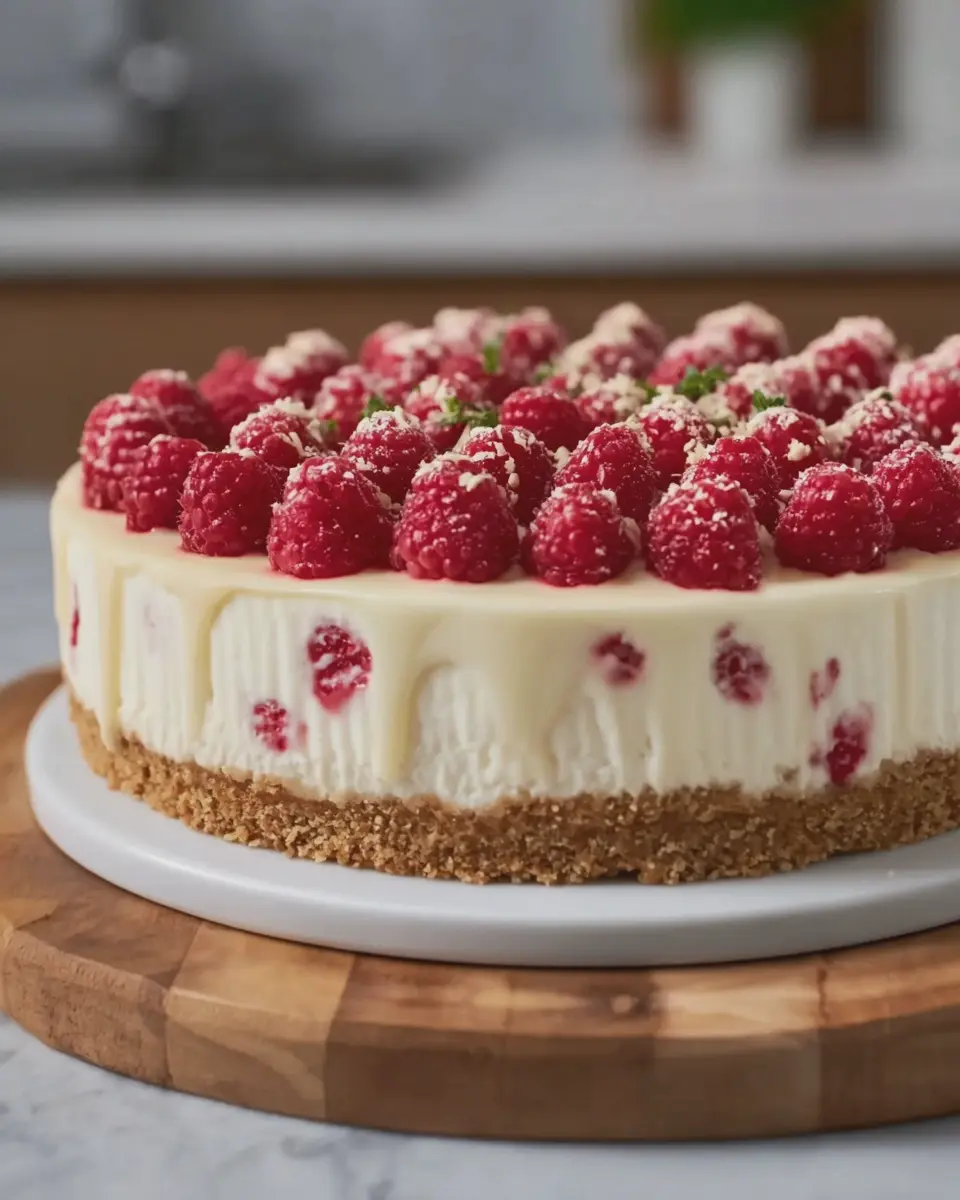
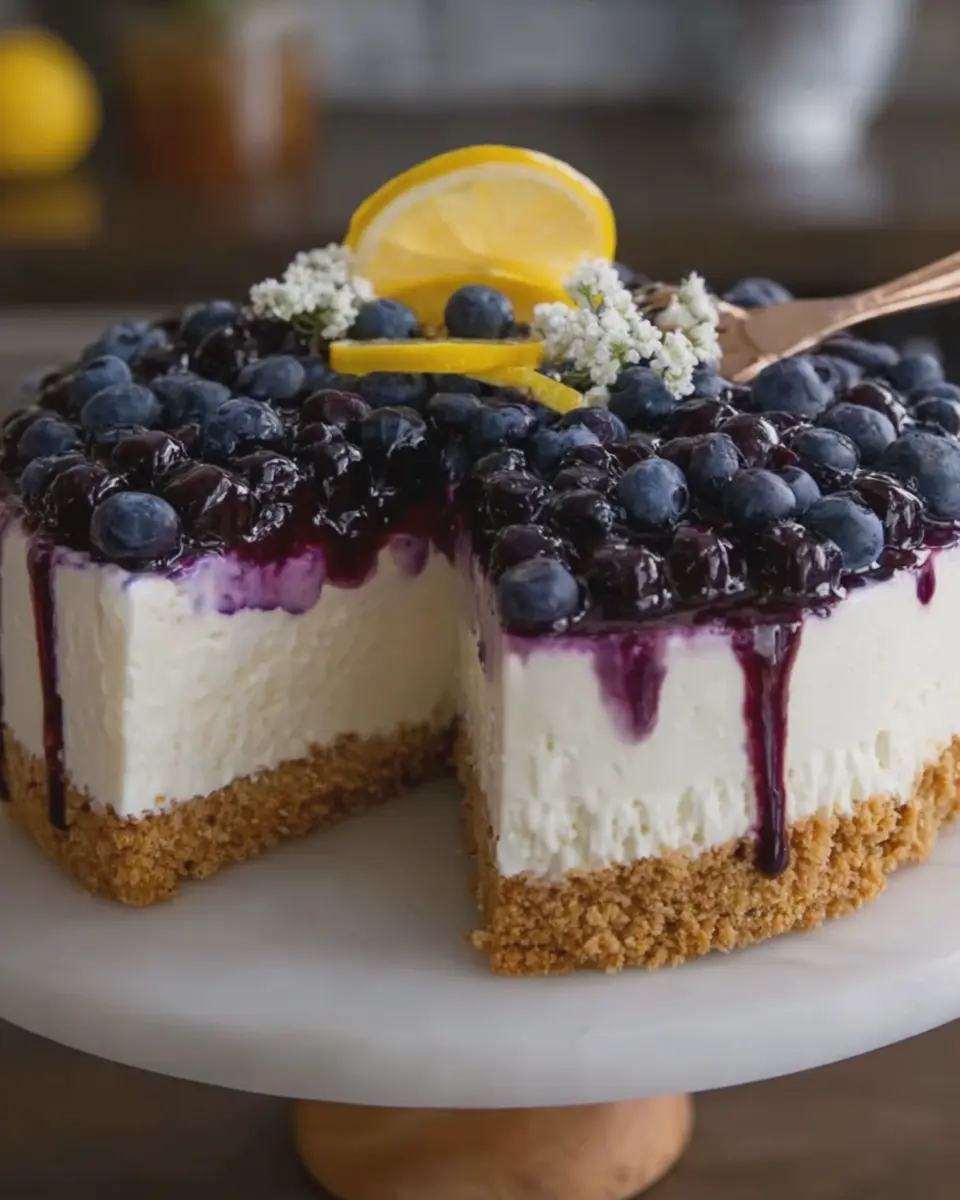
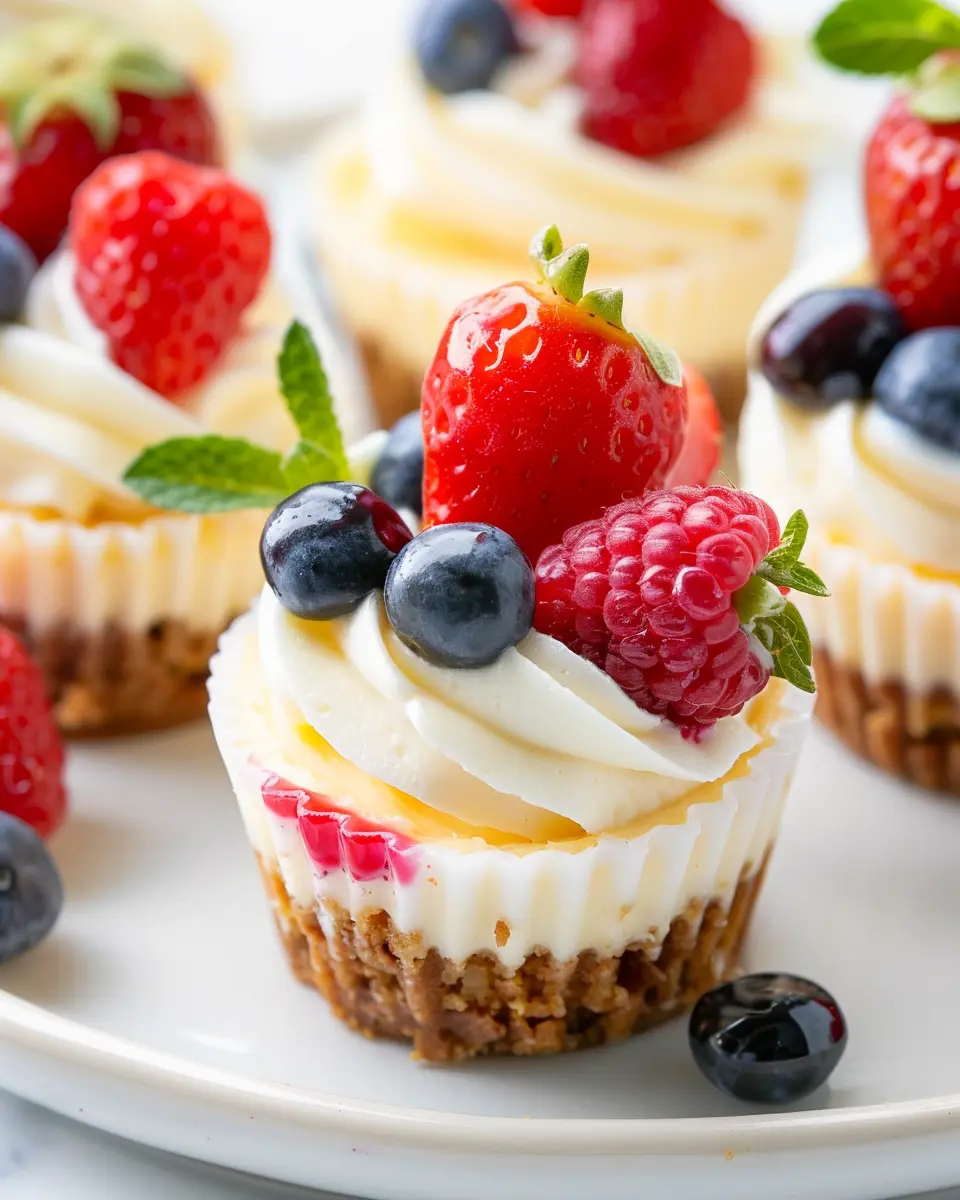
- Fresh fruit like strawberries, blueberries, or raspberries for a burst of color and flavor
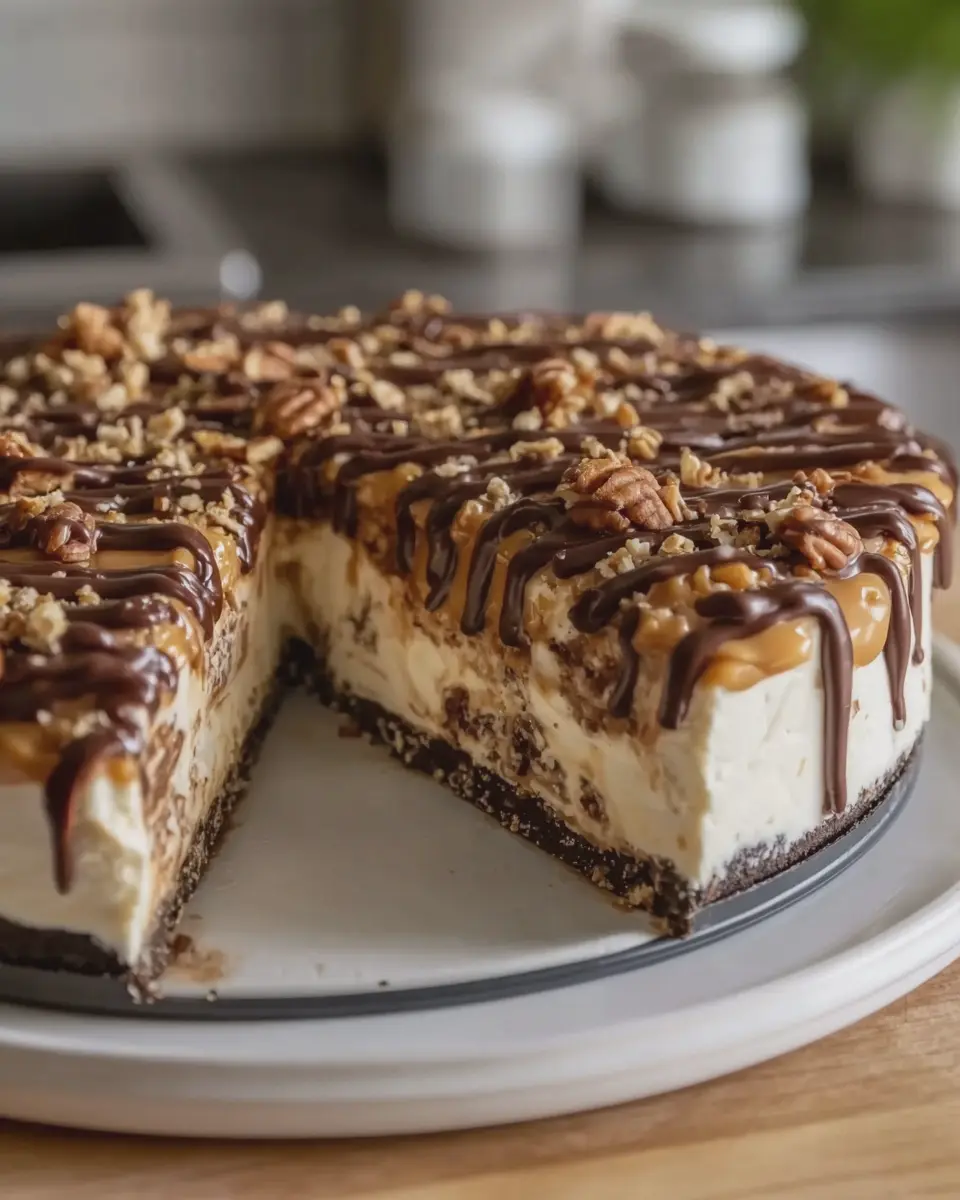
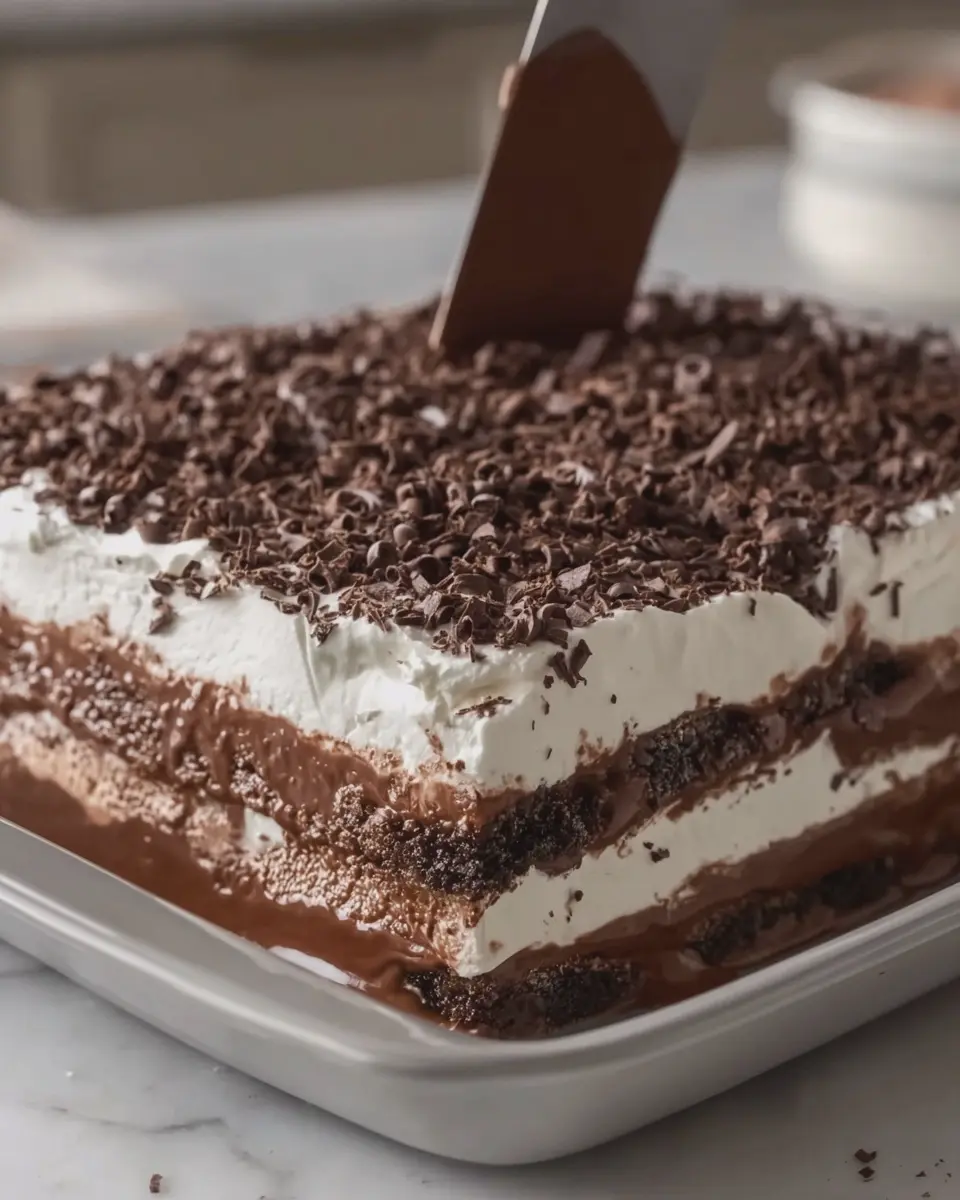
- Chocolate ganache for a rich, decadent twist
- Whipped cream to add lightness and texture
These toppings not only enhance the aesthetic but also add layers of taste that will impress your friends at the next gathering.
For more inspiration on adding unique toppings, check out Epicurious or Food Network for creative ideas!
When you gather all these ingredients, you’re well on your way to crafting the most delightful mini cheesecake cups that will surely impress everyone. Happy baking!
Preparing Mini Cheesecake Cups
Making mini cheesecake cups is not only an enjoyable baking project but also a delightful treat for gatherings or cozy evenings at home. Below are the essential steps to create these adorable and delicious desserts.
Gather Your Equipment
Before diving into the kitchen, it’s crucial to have all your equipment handy. Here’s what you’ll need:
- Mini muffin tin: This is the cornerstone for forming your cheesecake cups.
- Mixing bowls: A couple of different sizes will do—one for the crust and another for the filling.
- Electric mixer: While a whisk can work, an electric mixer can make your life much easier when blending the cheesecake filling.
- Rubber spatula: Essential for scraping down the sides of the bowls and ensuring everything is well mixed.
- Measuring cups and spoons: Because precision is key to achieving the perfect flavor and texture.
- Parchment paper: Optional, but lining your muffin tin can make removing the cheesecake cups easier.
Ready? Let’s jump into making the graham cracker crust!
Making the Graham Cracker Crust
The crust is an essential flavor foundation for your mini cheesecake cups. Here’s how to whip it up:
- Ingredients: 1 1/2 cups crushed graham crackers, 1/3 cup granulated sugar, and 1/2 cup melted butter.
- Instructions:
- In a bowl, mix crushed graham crackers and sugar together until fully combined.
- Pour in the melted butter and mix until the mixture resembles wet sand.
- Press the mixture firmly into the bottom of your mini muffin tin. A flat-bottomed glass can help here.
Tip: Did you know that using a combination of honey and brown sugar can give your crust an extra depth of flavor? Feel free to experiment with different types of sweeteners!
Preparing the Cheesecake Filling
Now onto the star of the show: the cheesecake filling. It’s creamy and rich—just what you need!
- Ingredients: 16 oz cream cheese (softened), 1 cup granulated sugar, 1 tsp vanilla extract, and 2 large eggs.
- Instructions:
- Beat the softened cream cheese in a mixing bowl until smooth and creamy.
- Gradually mix in the sugar, continuing to beat until fluffy.
- Add the vanilla extract, followed by the eggs one at a time, making sure to mix well after each addition.
Fun Fact: Did you know that the quality of your cream cheese can make a huge difference in your end product? Opt for a high-fat variety for the creamiest results. For more tips on choosing dairy, check out this guide from The Dairy Alliance.
Fill and Bake the Mini Cheesecakes
With your crust and filling ready, it’s time to assemble and bake your mini cheesecake cups!
- Preheat your oven to 325°F (160°C).
- Spoon or pipe the cheesecake filling over the crusts in the mini muffin tin, filling each cup about 3/4 full.
- Bake the cups for about 15-18 minutes, or until the centers are set but still slightly jiggly.
Don’t worry if they seem a bit wobbly—they will firm up as they cool!
Cool and Chill Before Serving
The final step is crucial: cooling and chilling your mini cheesecake cups.
- After baking, let them cool in the muffin tin for about 10 minutes.
- Carefully remove them and place them on a wire rack to cool completely before transferring them to the refrigerator.
- Refrigerate for at least 2 hours (or overnight) for the best flavor and texture.
Serve them plain or add your favorite toppings—fresh fruit, chocolate sauce, or whipped cream can all elevate your mini cheesecakes. The possibilities are endless!
So there you have it! A friendly guide to preparing mini cheesecake cups. Whether it’s a special occasion or a treat for yourself, these delightful desserts are sure to impress. Enjoy your baking adventure!
Variations on Mini Cheesecake Cups
Looking to elevate your mini cheesecake cups beyond the classic recipe? Let’s dive into some delectable variations that will impress your friends and bring out your creative side in the kitchen.
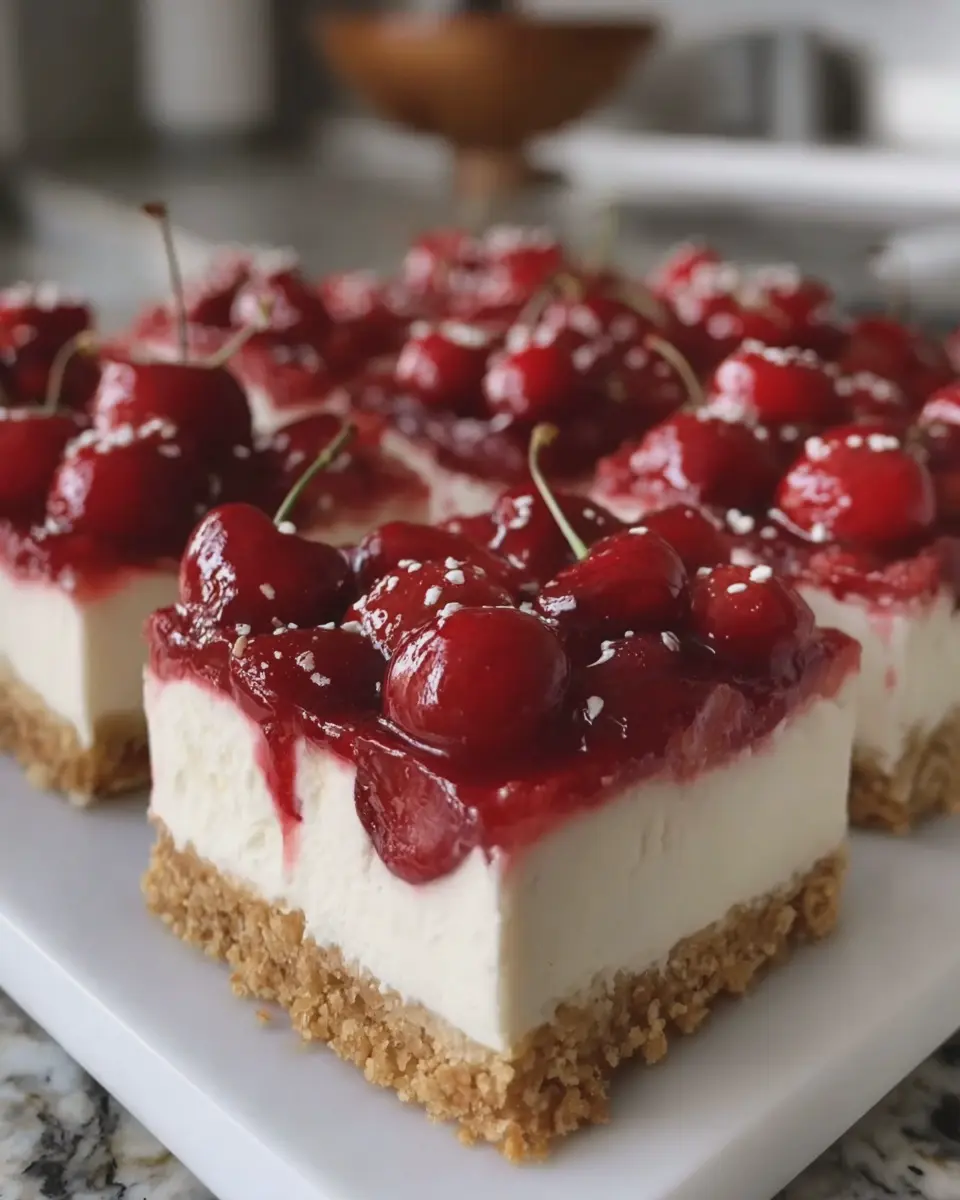
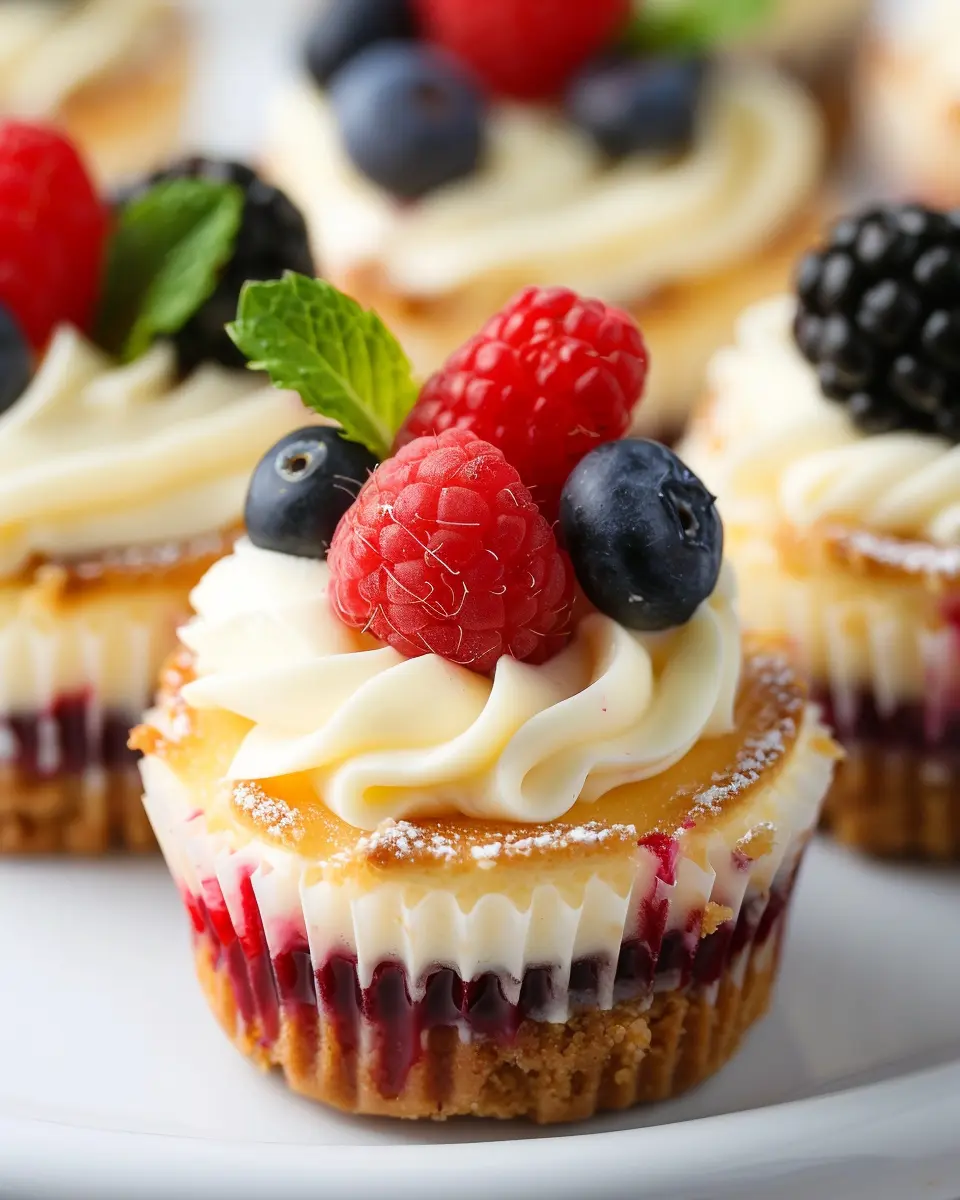
Seasonal Fruit-Topped Mini Cheesecakes
Fruit is a fabulous addition that brightens up your mini cheesecake cups. Depending on the season, you can top your treats with:
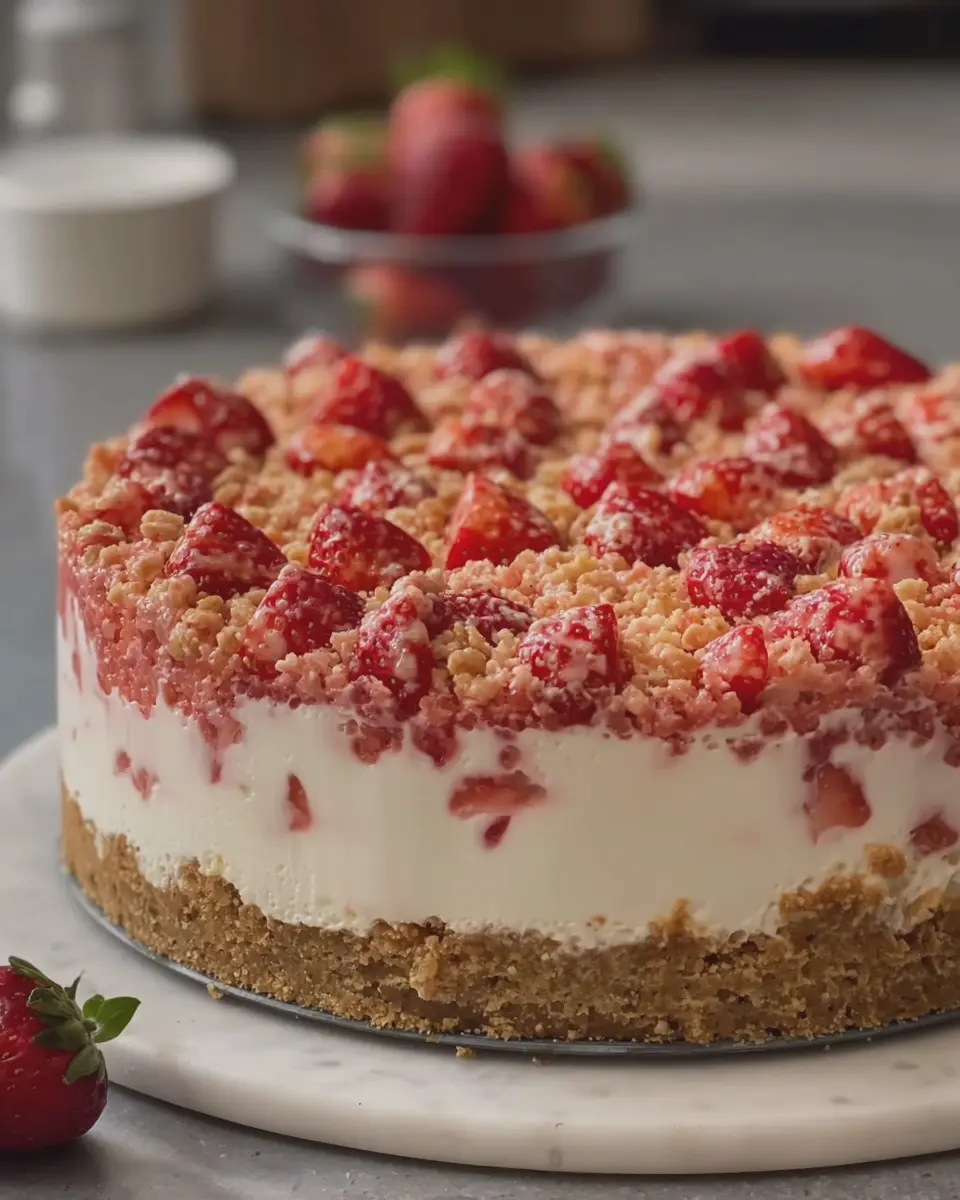
- Fresh strawberries or blueberries in summer
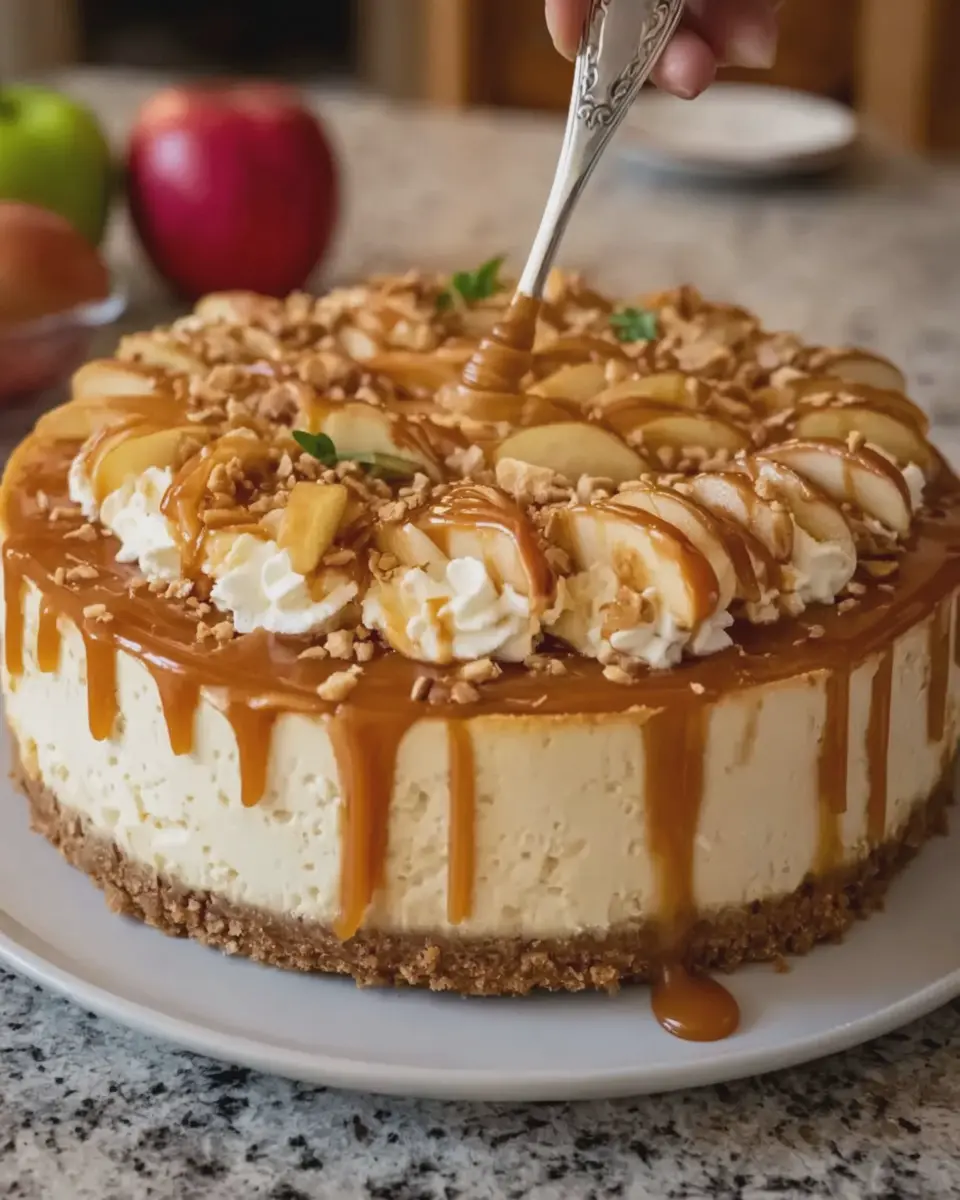
- Spiced apples or pears in the fall
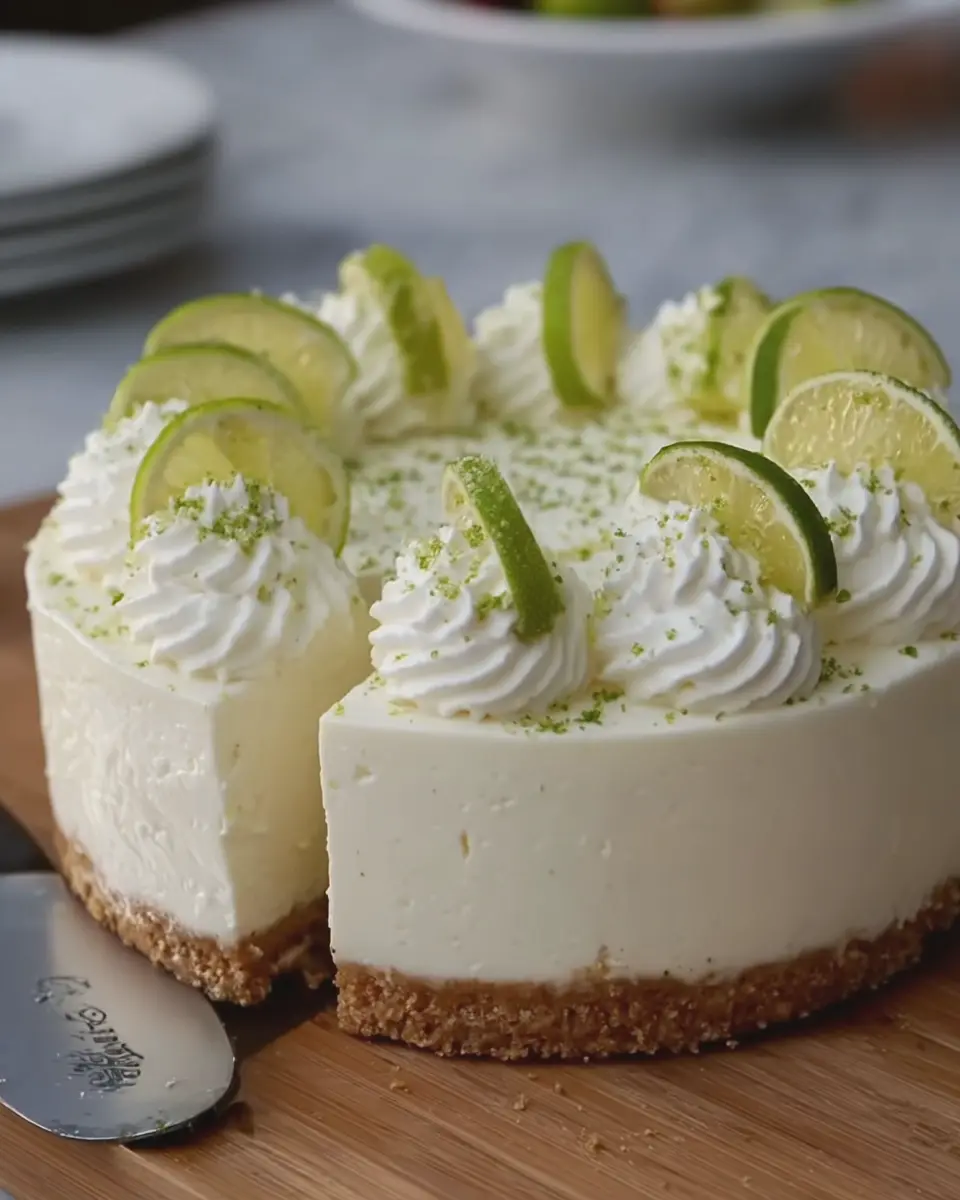
- Bright citrus slices during winter
The fresh flavors not only enhance the taste but also add a beautiful pop of color. For some inspiration, check out this guide on seasonal fruits from The Produce Mom.
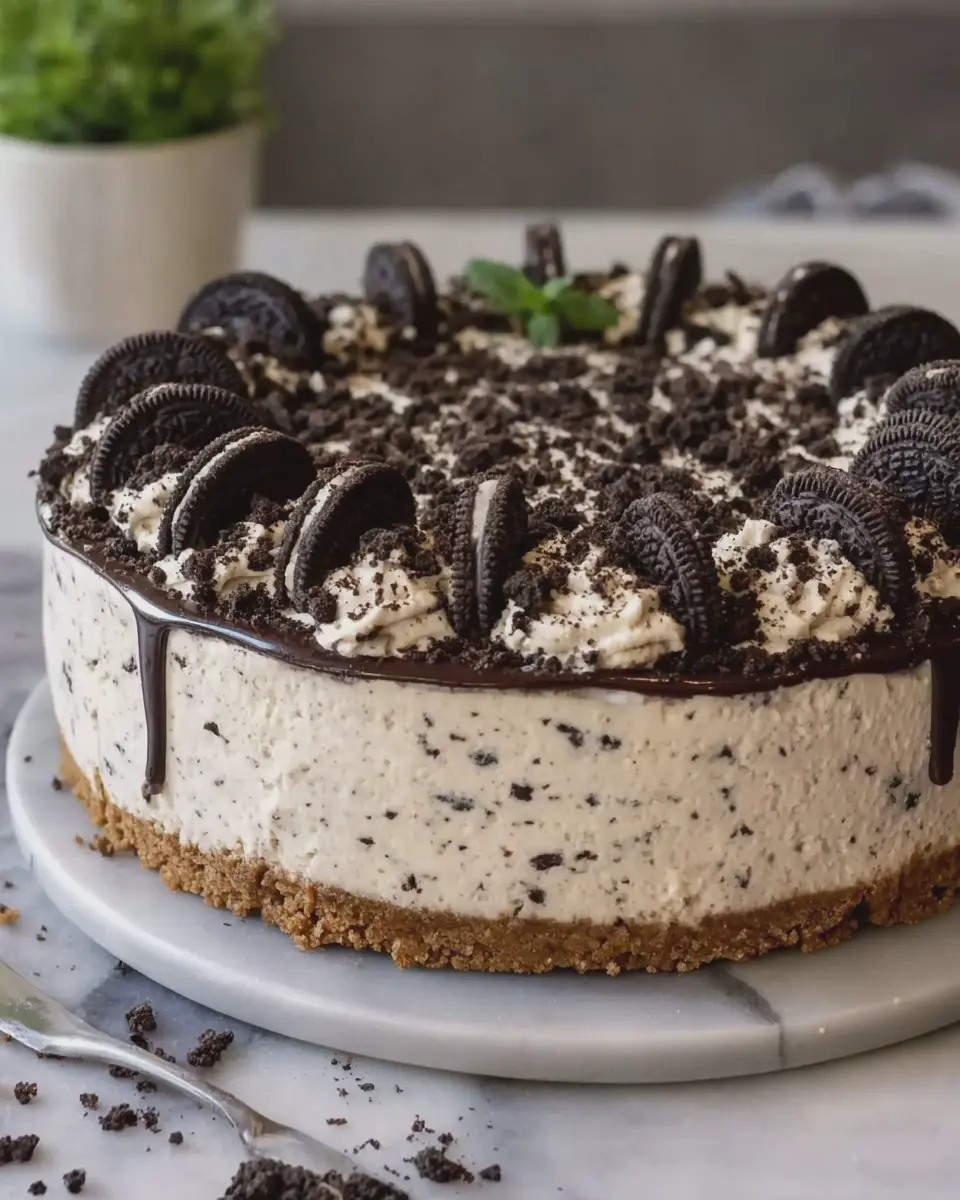
Chocolate Ganache Mini Cheesecakes
If you’re a chocolate lover, this version is for you. Simply pour a rich chocolate ganache over your cooled mini cheesecake cups. Here’s a quick recipe for the ganache:
- 1 cup chopped dark chocolate
- ½ cup heavy cream
Heat the cream until it’s just boiling, then pour it over the chocolate. Let it sit for a couple of minutes, whisk until smooth, and pour it over your cheesecakes. You’ll be in chocolate heaven with every bite!
Savory Options: Mini Cheesecakes with a Twist
Who said cheesecakes have to be sweet? Consider making savory mini cheesecakes. Incorporate ingredients like:
- Cream cheese with fresh herbs and garlic
- Chicken ham and turkey bacon for a unique twist
- A touch of goat cheese for a tangy flavor profile
Serve these at your next gathering and watch while guests wonder about this unexpected delight! Experiment with flavors to find your perfect savory combination.
With these creative variations, your mini cheesecakes will shine at any occasion! Happy baking!
Cooking tips and notes for Mini Cheesecake Cups
Avoiding cracks in your mini cheesecakes
Nobody wants a cracked mini cheesecake cup! To achieve that picture-perfect finish, start by making sure all your ingredients are at room temperature. This helps create a smooth batter without too much mixing, which can introduce air bubbles that lead to cracks. Additionally, consider using a water bath while baking. It keeps the temperature even and helps maintain moisture, ensuring your mini cheesecake cups bake beautifully.
How to ensure perfect baking time
Baking times can vary based on your oven and the size of your cups. A good rule of thumb is to start checking around the 15-minute mark. When they are set at the edges but slightly jiggly in the center, they’re ready to come out. Remember, they will continue to firm up as they cool! For more specific baking time guidance, check out reliable sources like American Test Kitchen.
With these tips, your mini cheesecake cups will not only taste divine but look stunning too!
Serving Suggestions for Mini Cheesecake Cups
Creative Plating Ideas
When it comes to presenting your mini cheesecake cups, fun and flair can elevate their charm drastically! Try placing them in whimsical cupcake liners and arranging them on a bright, textured platter. Drizzle some berry compote or melted chocolate on the plate underneath for an artistic flair. Garnish with a sprig of mint or edible flowers for a touch of elegance—these little details can go a long way in impressing your guests.
For a playful vibe, consider creating a tiered display, stacking your mini cheesecake cups at varying heights. This not only looks stunning but also makes it easy for everyone to grab their dessert.
Pairing with Beverages
Finding the right beverage can amplify the enjoyment of your mini cheesecake cups. Consider serving them alongside refreshing iced tea or sparkling lemonade for a delightful contrast. If you’re feeling adventurous, herbal teas like chamomile or mint offer soothing flavors that complement the sweetness well.
For those cozy nights in, a creamy hot chocolate can be a delectable pairing too. It’s all about balancing the rich flavors of the cheesecake with refreshing or comforting drinks—it makes the experience even more memorable!
For more inspiration on fantastic drink pairings, check out this guide on beverage combinations.
Time breakdown for Mini Cheesecake Cups
Preparation time
Getting started with your mini cheesecake cups is a breeze! You’ll need about 15 minutes to gather your ingredients and whip up the crust. Don’t forget to preheat your oven during this time to ensure an even bake.
Baking time
Once your luscious cheesecake mixture is ready and poured into the crusts, pop them in the oven for about 15-20 minutes. Keep an eye on them; they should be set but still slightly jiggly in the center. Perfectly baked, they’ll become a delightful highlight of your dessert table!
Chilling time
The most crucial step for those mini cheesecake cups is chilling. After baking, let them cool at room temperature for about 30 minutes before transferring them to the fridge. Allow at least 2-3 hours (or ideally overnight) to set completely. This step ensures your cheesecakes are the creamy, dreamy treats everyone will be raving about.
For more tips on perfecting desserts, check out resources like Epicurious or Food Network. Enjoy!
Nutritional Facts for Mini Cheesecake Cups
Calories per Serving
One delightful serving of mini cheesecake cups contains approximately 150 calories. This makes them a guilt-free dessert option, perfect for those who are mindful of their caloric intake yet still want to indulge in something sweet.
Breakdown of Fats, Carbs, and Proteins
Now, let’s dive into the macronutrient breakdown for these delicious treats:
- Fats: Around 8 grams, primarily sourced from cream cheese and butter. These healthy fats can help keep you satiated.
- Carbohydrates: Approximately 15 grams, mainly coming from the crust and sweetness of the cream.
- Proteins: About 3 grams, courtesy of the cream cheese and eggs used in the mixture.
For more tailored nutritional insights, check out the USDA food database, which provides detailed breakdowns of various ingredients. Enjoying these mini cheesecake cups as an occasional treat means you can indulge while maintaining balance in your diet!
FAQ about Mini Cheesecake Cups
How long can I store mini cheesecakes?
When it comes to storing your mini cheesecake cups, they can stay fresh in the refrigerator for about 3 to 5 days. Just be sure to cover them with plastic wrap or transfer them to an airtight container to keep them from drying out. If you want to enjoy them later, freezing is a great option!
Can I use low-fat cream cheese?
Absolutely! You can use low-fat cream cheese in your mini cheesecake cups without compromising the taste too much. Just keep in mind that the texture might be slightly different—perhaps a tad lighter. For a rich flavor, you may want to blend in a small amount of regular cream cheese as well.
What’s the best way to freeze mini cheesecakes?
Freezing your mini cheesecake cups can be done easily and will keep them fresh for up to 2 months! Here’s how to do it:
- Cool Completely: Make sure your cheesecakes are fully cooled before freezing.
- Wrap It Up: Individually wrap each cup in plastic wrap or foil to protect them from freezer burn.
- Container Time: Place the wrapped cups in a freezer-safe container or a zip-top bag. Make sure to label it with the date!
- Thawing: When you’re ready to indulge, simply transfer them to the fridge to thaw overnight. An easy and delicious treat whenever you’re in the mood!
These tips should keep your mini cheesecake cups ready to enjoy at any time. If you have more questions, feel free to reach out or check out resources like The Kitchn for additional storage advice!
Conclusion on Mini Cheesecake Cups
Emphasizing the joy of homemade desserts
Crafting mini cheesecake cups brings a unique joy that store-bought treats just can’t match. There’s something incredibly satisfying about creating desserts from scratch, especially ones that deliver a delightful burst of flavor in each bite. With simple ingredients and a little creativity, these little delights not only impress but also elevate any gathering.
Imagine sharing a plate of your delicious creations with friends, sparking conversations and smiles. Plus, mini cheesecake cups allow for easy customization—perfect for fitting any occasion! For more inspiration, check out Joy of Baking or Sally’s Baking Addiction for new twists on classic recipes. Enjoy every moment of your baking adventure!
PrintMini Cheesecake Cups: Easy Indulgence for Dessert Lovers

Delight in these Mini Cheesecake Cups, perfect for dessert lovers seeking an easy yet indulgent treat.
- Prep Time: 20 minutes
- Total Time: 4 hours 20 minutes
- Yield: 12 servings 1x
- Category: Dessert
- Method: No-Bake
- Cuisine: American
- Diet: Vegetarian
Ingredients
- 8 ounces cream cheese
- 1/2 cup powdered sugar
- 1 teaspoon vanilla extract
- 1/2 cup heavy cream
- 12 mini graham cracker crusts
- fresh fruit for topping
Instructions
- In a mixing bowl, beat cream cheese until smooth.
- Add powdered sugar and vanilla, mixing until well combined.
- In a separate bowl, whip heavy cream until soft peaks form.
- Gently fold whipped cream into the cream cheese mixture.
- Spoon the mixture into the mini graham cracker crusts.
- Refrigerate for at least 4 hours before serving.
- Top with fresh fruit before serving.
Notes
- Allow cheesecakes to set overnight for best results.
- Experiment with different toppings for variety.
Nutrition
- Serving Size: 1 cup
- Calories: 200
- Sugar: 14 grams
- Sodium: 150 mg
- Fat: 12 grams
- Saturated Fat: 7 grams
- Unsaturated Fat: 3 grams
- Trans Fat: 0 grams
- Carbohydrates: 18 grams
- Fiber: 1 gram
- Protein: 3 grams
- Cholesterol: 30 mg
Keywords: Mini Cheesecake Cups, cheesecake, dessert, easy recipe