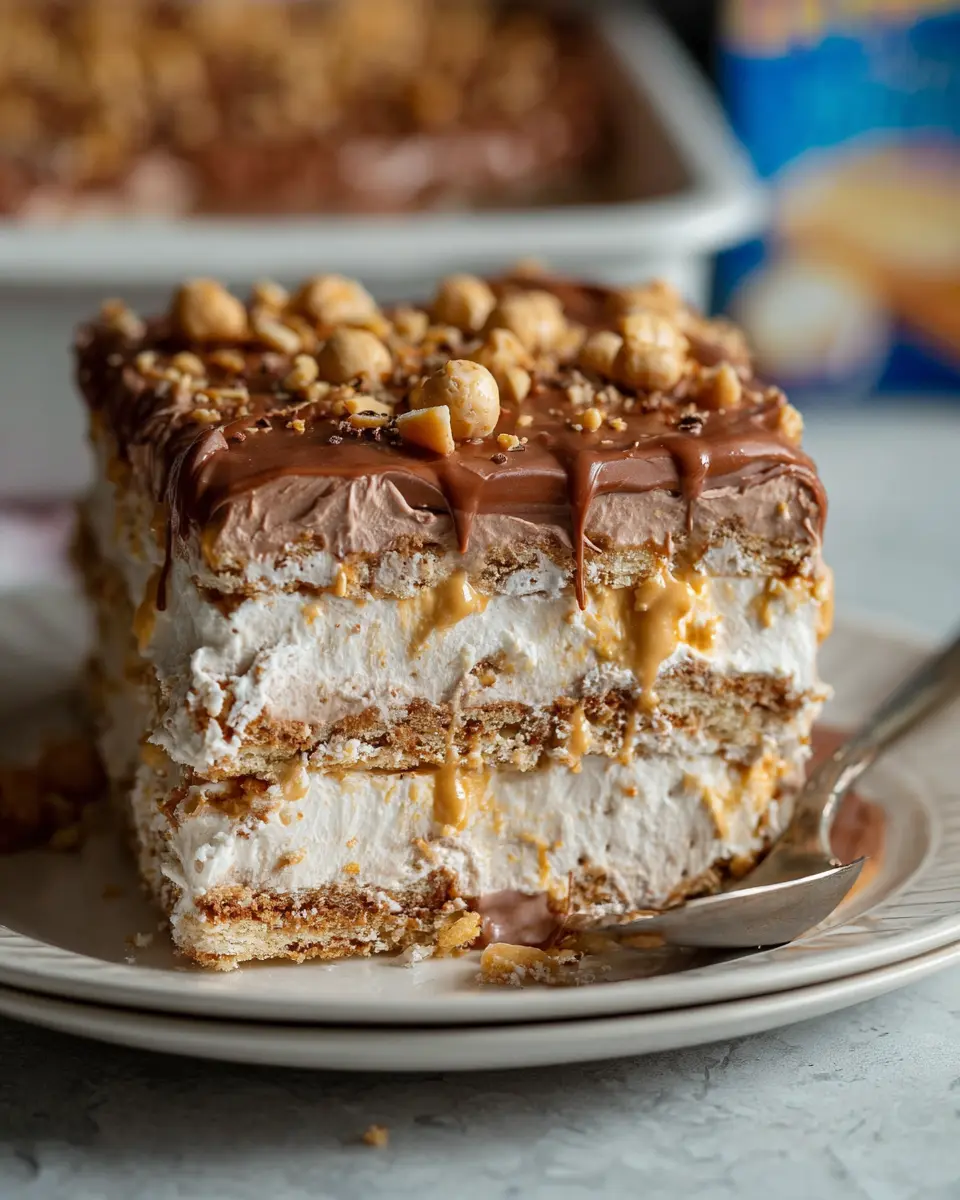
Introduction to Nutty Buddy Butterscotch Icebox Cake
When it comes to satisfying that sweet tooth after a long day at work, nothing beats the simplicity and indulgence of a dessert like the Nutty Buddy Butterscotch Icebox Cake. This treat is perfect for young professionals who often find themselves juggling busy schedules and late hours but still crave a touch of homemade comfort.
Why Icebox Cakes Are a Refreshing Choice for Young Professionals
Icebox cakes are ideal for the modern lifestyle because they embrace convenience without sacrificing flavor. This no-bake dessert can be prepared in just a matter of minutes and left to chill in the refrigerator while you focus on the important things in life—like catching up on your favorite show or planning your next adventure. Here’s why they work well:
-
Easy Prep: With minimal cooking required, you can whip up the Nutty Buddy Butterscotch Icebox Cake without enduring an hour in the kitchen. Simply layer your ingredients, pop it into the fridge, and relax. It’s as easy as that!
-
Make-Ahead Delight: Icebox cakes thrive on time. The longer they sit, the better they taste! You can make them in advance and impress friends or family—ideal for last-minute gatherings or just a cozy night in.
-
Chill Factor: After a hectic day, a chilled dessert feels especially refreshing. The creamy butterscotch layers combined with the nutty crunch create a delightful contrast that’s hard to resist on a warm evening.
Not to mention, icebox cakes can be easily customized. Want to experiment? Add some crushed cookies for extra texture, or try different flavors of pudding to make it your own. If you’re looking for ideas, check out some inspiration on sites like Food Network or AllRecipes.
So, whether you’re treating yourself after a busy week or impressing guests with a new dessert, the Nutty Buddy Butterscotch Icebox Cake is here to be your go-to solution. It’s quick, delicious, and sure to satisfy all those sweet cravings without the fuss. Just picture it: between layers of creamy butterscotch and crunchy nuts lies a dessert that embodies everything you need after a long day. Sounds good, right?
Ingredients for Nutty Buddy Butterscotch Icebox Cake
Essential ingredients
Creating your Nutty Buddy Butterscotch Icebox Cake starts with a few key ingredients. Gather the following before you begin:
- Graham crackers: The foundation of your cake, bringing that classic crunch.
- Butterscotch pudding mix: For that delightful, rich flavor that will have everyone coming back for more.
- Cream cheese: Adds creaminess and balances out the sweetness.
- Whipped topping: Light and fluffy, it brings the layers together beautifully.
- Chopped nuts: Think pecans or walnuts for a satisfying crunch.
These essentials are perfect for whipping up a cake that feels both nostalgic and indulgent.
Optional ingredients for customization
Feeling adventurous? You can enhance your Nutty Buddy Butterscotch Icebox Cake with these optional ingredients:
- Chocolate chips: Add a layer of depth and richness.
- Caramel sauce: Drizzle it for a gooey finish that contrasts wonderfully with the creamy layers.
- Banana slices: Fresh fruit adds a natural sweetness and a burst of color.
Whether you stick to the essentials or get creative with these extras, your cake will surely be a hit at any gathering. For even more customization ideas, you might want to check out this helpful resource on cake flavor combinations. Happy baking!
Step-by-step Preparation of Nutty Buddy Butterscotch Icebox Cake
Creating a Nutty Buddy Butterscotch Icebox Cake is not just a delightful cooking project; it’s a journey into a world of creamy, dreamy flavors complemented by the tantalizing crunch of Nutty Buddy wafers. Let’s embark on this flavorful adventure together!
Gather your kitchen tools and ingredients
Before diving into the recipe, it’s always good practice to set yourself up for success. Gather your ingredients and kitchen tools so you won’t have to scramble mid-preparation. Here’s what you’ll need:
Ingredients:
- Nutty Buddy wafers (about 2-3 packages)
- 2 packages of instant butterscotch pudding mix
- 4 cups of cold milk
- 1 container (8 oz) of Cool Whip or whipped cream
- Optional toppings: chopped nuts, crushed candies, or even a drizzle of chocolate.
Kitchen Tools:
- A 9×13 inch baking dish
- Mixing bowls
- A whisk
- A rubber spatula
- Plastic wrap or aluminum foil
Once you have everything ready, your cooking experience will be much smoother!
Create the first layer with Nutty Buddy wafers
Now that you’re equipped, let’s get started on this delicious cake. The first step involves laying out the base for your Nutty Buddy Butterscotch Icebox Cake.
- Start by arranging a layer of Nutty Buddy wafers at the bottom of your baking dish.
- Ensure they cover the entire bottom—don’t be shy, they’ll soften as they chill, creating a fantastic texture!
Using quality ingredients is key to elevating the flavor. If you’re unsure where to find Nutty Buddy wafers, check your local grocery store or even consider purchasing online from places known for confectionery goods.
Make the butterscotch pudding mixture
Next up is the star of the show—the butterscotch pudding!
- In a mixing bowl, whisk together the instant butterscotch pudding mixes with the cold milk until it thickens. This usually takes about 2-3 minutes.
- Make sure there are no lumps; a smooth mixture is vital for a creamy cake texture.
Did you know that butterscotch is a classic dessert flavor known for its rich sweetness? It’s no wonder this pudding is a favorite!
Layer the cream over the wafers
Once you’ve prepared the pudding, it’s time to add that luscious cream layer.
- Gently fold half of the Cool Whip (or whipped cream) into your butterscotch mixture until it’s well combined.
- Spread this delicious mix evenly over the first layer of Nutty Buddy wafers, creating a smooth and decadent layer.
This is where the cake begins to take shape. Think about how satisfying it’s going to be to slice into those creamy layers later!
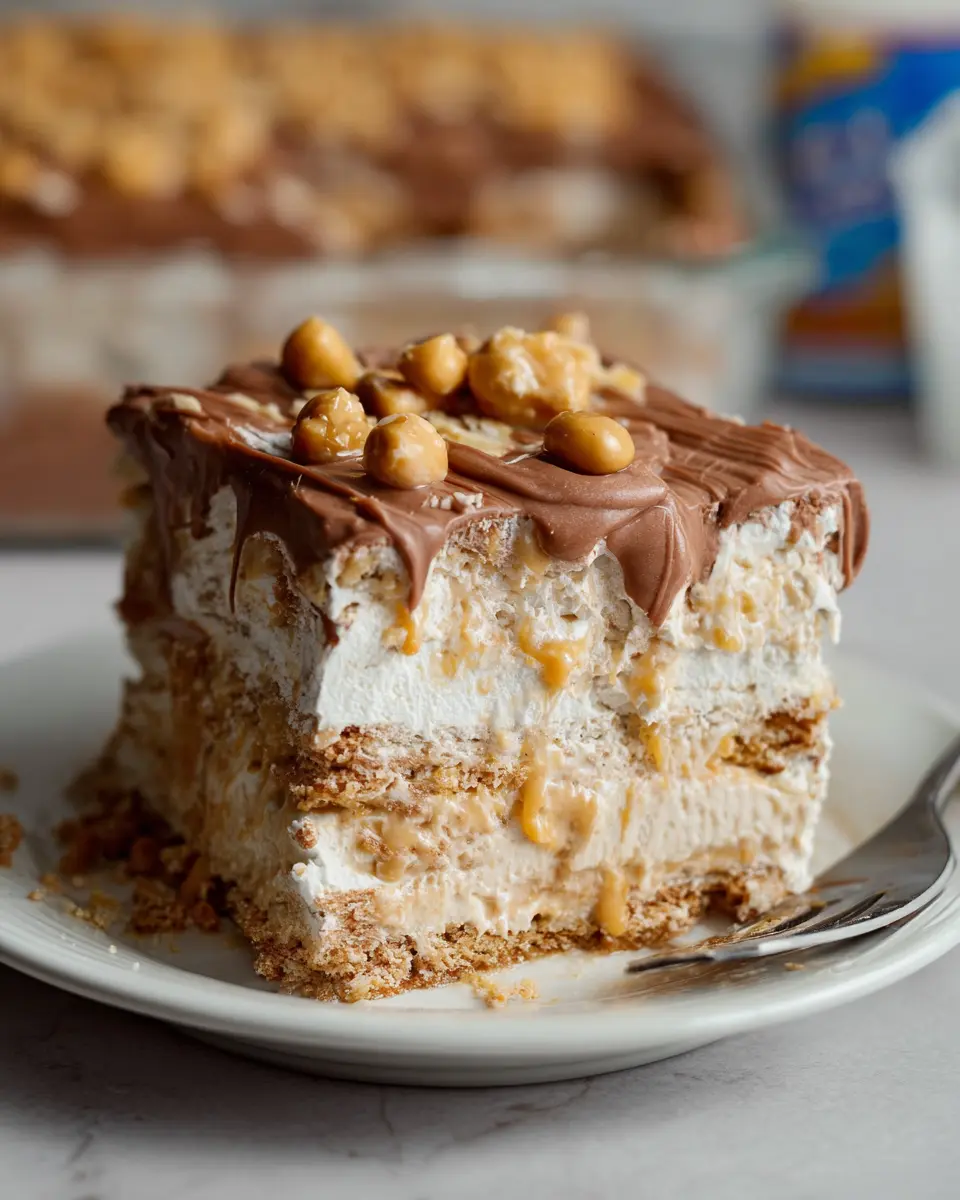
Build the second layer and finish the cake
Now comes the fun part—building the second layer of your Nutty Buddy Butterscotch Icebox Cake.
- Place another layer of Nutty Buddy wafers over the butterscotch filling, just like you did before.
- Follow this with the remaining butterscotch mixture, spreading it evenly.
To finish, top off your creation with the remaining Cool Whip. Don’t forget to sprinkle your favorite toppings—whether you like crushed nuts or some crushed candy bars, they add delightful crunch and extra flavor.
Chill and let the flavors blend
Now that you’ve constructed your masterpiece, it’s time for one of the most important steps—chilling!
- Cover your icebox cake with plastic wrap or aluminum foil and place it in the fridge for at least 4 hours. For best results, allow it to chill overnight.
Letting the cake sit allows all those flavors to meld together, enriching the overall taste. When you’re ready to serve, just slice and savor that creamy goodness.
This Nutty Buddy Butterscotch Icebox Cake is perfect for gatherings or even a special treat just for you. Have fun with it, and don’t hesitate to personalize it to your tastes! Happy baking!
Variations on Nutty Buddy Butterscotch Icebox Cake
Adding Fruit Layers for a Fruity Twist
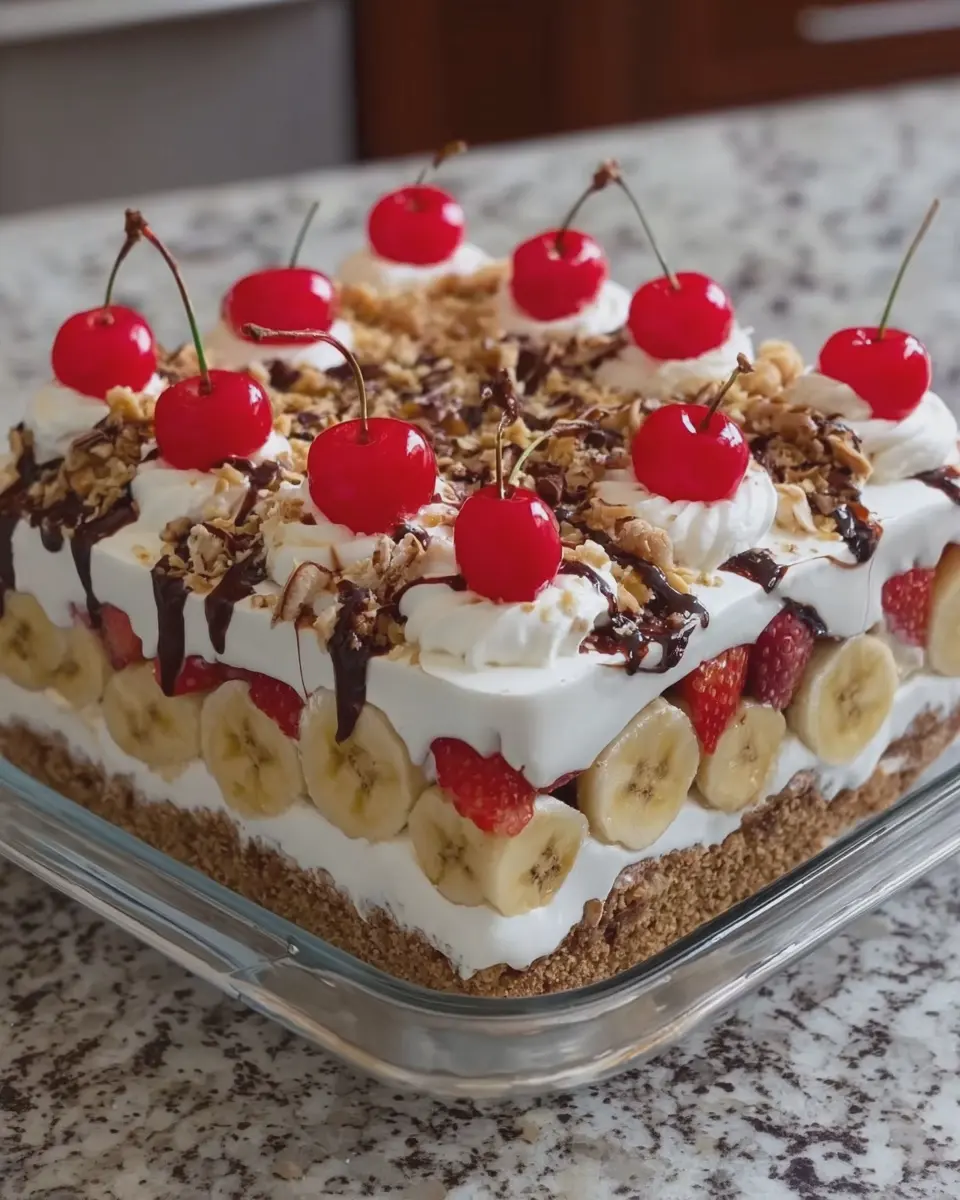
If you’re looking to brighten up your Nutty Buddy Butterscotch Icebox Cake, consider adding layers of fresh fruit! Sliced bananas, strawberries, or peaches can create a delightful contrast with the rich, creamy butterscotch flavor. Not only do these fruits enhance the visual appeal, but they also impart natural sweetness and a refreshing zing.
Here’s how to incorporate fruit elegantly:
- Layer slices of fruit between the wafers and butterscotch pudding for pops of freshness.
- Top your cake with whipped cream and a scatter of berries for that added flair.
If you’re wondering how to pick the best fruits, check out this guide from Healthline that breaks down the health benefits of different fruits.
Using Different Pudding Flavors for a Unique Taste
Feeling adventurous? Switch up the pudding flavor in your Nutty Buddy Butterscotch Icebox Cake! Vanilla or chocolate puddings can offer a subtly different yet equally indulgent experience. For an even bolder twist, try flavors like caramel or even coffee!
Here’s a quick tip:
- Combine different flavors for a marbled effect—think butterscotch and chocolate pudding layered together. It’s not just visually stunning; it adds exciting taste complexity.
Experimenting with flavors also aligns with a growing trend in desserts, with creative combinations stealing the show. According to culinary experts, embracing unexpected flavors can elevate your dessert game significantly.
By playing with fruit or pudding flavors, you’ll not only keep your Nutty Buddy Butterscotch Icebox Cake fresh and new but also make it a go-to dessert for any occasion!
Cooking Tips and Notes for Nutty Buddy Butterscotch Icebox Cake
When crafting your Nutty Buddy Butterscotch Icebox Cake, it’s essential to keep a few key tips in mind to elevate your dessert game!
Common pitfalls to avoid
-
Overmixing: Keep in mind that blending your ingredients too vigorously can create a tough texture. Mix just until combined for that perfect creamy consistency.
-
Soggy layers: If your cookies get too mushy before they’re set, you might end up with a cake that falls apart. Try to chill the cake for at least 4 hours—overnight is even better!
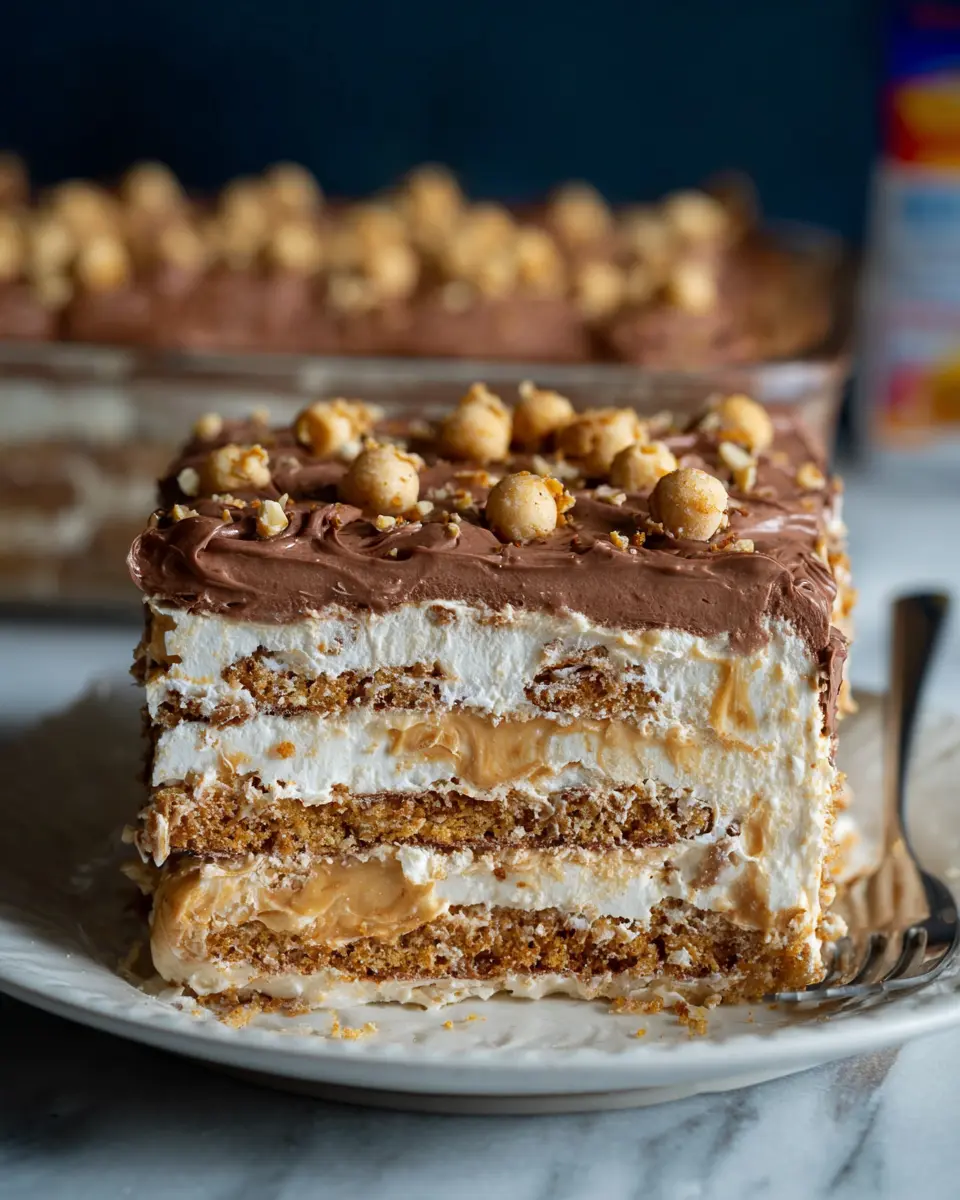
Tips for achieving the perfect layering
-
Start & end with butterscotch: A good rule of thumb is to sandwich your cookies with a layer of butterscotch filling in between. This ensures every bite is equally delicious!
-
Use different textures: Adding chopped nuts for crunch or subtle flavors elevates your Nutty Buddy Butterscotch Icebox Cake and makes it feel gourmet.
Curious for more tricks? Check out expert tips from Taste of Home for inspiration and references on cake layering and presentation! Happy baking!
Serving Suggestions for Nutty Buddy Butterscotch Icebox Cake
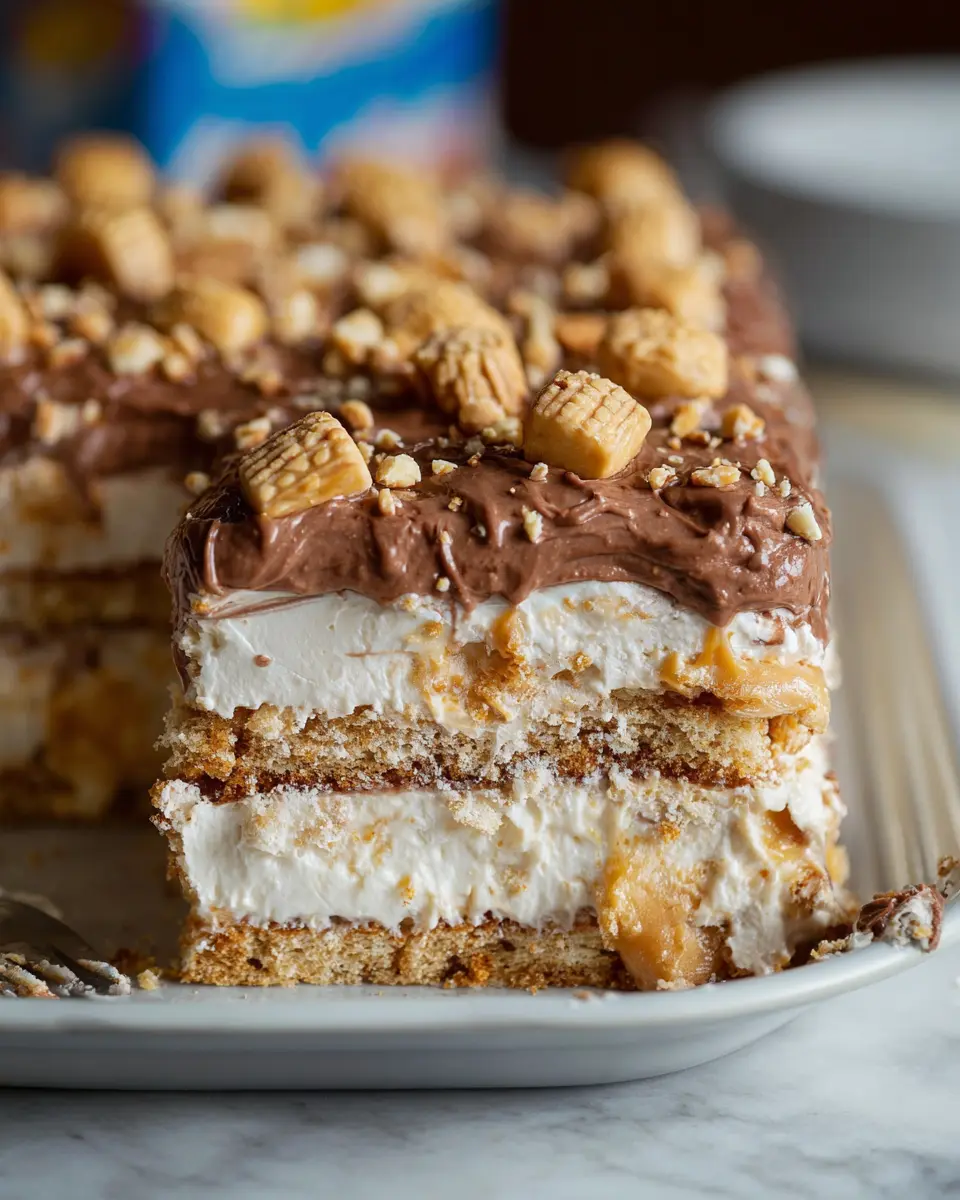
Creative Presentations for Gatherings
When it comes to serving your Nutty Buddy Butterscotch Icebox Cake, first impressions matter. Presentation plays a key role in how your cake is received at gatherings. Consider these ideas:
- Layered Glass Desserts: Serve individual portions in clear cups or glass jars to showcase the beautiful layers of the cake. This not only looks stunning but lets your guests see the delicious ingredients.
- Garnish it Up: Top each slice with a dollop of whipped cream and a sprinkle of crushed nuts for added crunch and visual appeal. You could also drizzle some homemade butterscotch sauce for that extra indulgence.
Pairing Dessert with Beverages
Pairing your dessert with the right beverage can elevate the whole experience. Here are some suggestions:
- Coffee: The rich flavor of a bold, brewed coffee pairs perfectly with the sweet notes of butterscotch. A latte or an espresso can balance the sweetness beautifully.
- Herbal Tea: For a lighter option, try serving the cake with a refreshing cup of herbal tea. A chamomile or mint tea brings a soothing contrast.
By thoughtfully presenting and pairing your Nutty Buddy Butterscotch Icebox Cake, you create an unforgettable dessert experience for your guests. Want more tips on entertaining? Check out helpful articles from Food & Wine.
Time Breakdown for Nutty Buddy Butterscotch Icebox Cake
Planning to whip up a delightful Nutty Buddy Butterscotch Icebox Cake for your next gathering? Here’s a handy breakdown to keep you on track!
Preparation Time
Get started on the fun! The preparation for this delicious cake takes approximately 20 minutes. Gather your ingredients, crush those cookies, and mix your butterscotch pudding—it’s all part of the excitement!
Chilling Time
Once you’ve assembled your layers, the cake needs some time to chill. Plan for about 4–6 hours, or even overnight, to allow those flavors to meld beautifully. This is the perfect time to catch up on your favorite Netflix series!
Total Time
In total, you’ll spend about 4.5 to 6.5 hours from start to finish. Most of this time is simply waiting for the icebox cake to chill, making it a low-effort but high-reward dessert.
In the meantime, consider checking out this guide to icebox cakes for some inspiration, or embark on a quick snack-making adventure with leftover ingredients. You’re just a few hours away from enjoying this creamy, nutty indulgence!
Nutritional Facts for Nutty Buddy Butterscotch Icebox Cake
When you indulge in the Nutty Buddy Butterscotch Icebox Cake, you’re treating yourself to a delightful dessert that balances flavor with some nutritional considerations. Let’s break it down.
Calories per serving
Each serving of this irresistible cake has approximately 250 calories. This makes it a decadent yet manageable choice for dessert lovers who want to satisfy their sweet tooth without overindulging.
Important nutrients
Aside from those tempting calories, the Nutty Buddy Butterscotch Icebox Cake packs in some essential nutrients:
- Protein: The cake contains a healthy dose of protein thanks to ingredients like nut butters, which not only enhances the flavor but also helps keep you full.
- Fiber: You’ll find fiber in the graham crackers and nuts, aiding digestion and contributing to a feeling of fullness.
- Healthy fats: The use of nut butters means you’re benefiting from unsaturated fats, which can be heart-healthy when consumed in moderation.
Looking for more nutritional insights? Check out the USDA’s FoodData Central for additional breakdowns on various ingredients. It’s a fantastic resource that can help you tailor recipes to fit your health goals.
With these nutritional facts in mind, enjoying a slice of Nutty Buddy Butterscotch Icebox Cake can be a flavorful way to treat yourself while keeping your overall diet in check!
FAQs about Nutty Buddy Butterscotch Icebox Cake
If you’re diving into the delicious world of Nutty Buddy Butterscotch Icebox Cake, you might have a few questions. Let’s break down some common queries to help you get the most out of this delightful treat!
How long can the cake be stored in the fridge?
One of the best things about the Nutty Buddy Butterscotch Icebox Cake is that it actually tastes better after sitting for a bit. You can store it in your refrigerator for up to 4–5 days. Just be sure to cover it well to prevent it from absorbing any odors. This cake’s creamy layers will only become more luscious over time—perfect for leftovers!
Can I make this cake gluten-free?
Absolutely! Making the Nutty Buddy Butterscotch Icebox Cake gluten-free is easy with a few substitutions. Just use gluten-free cookies instead of traditional ones. There are many options available in grocery stores, and looking up substitutes from experts like Gluten-Free Living can help you find the perfect match for your taste buds.
What alternatives can I use for whipped topping?
If you’re not a fan of standard whipped topping or want to mix it up, you’ve got options! Consider using:
- Coconut cream: A dairy-free alternative that adds a delightful flavor.
- Homemade whipped cream: Just whip some heavy cream with a bit of sugar and vanilla for a fresher taste.
- Greek yogurt: For a healthier twist, this adds creaminess with a protein boost.
With these options, you can personalize your Nutty Buddy Butterscotch Icebox Cake in ways that suit your dietary preferences or flavor whims!
Feel free to experiment and make this dessert your own—it’s sure to impress whether it’s a casual gathering or a festive occasion!
Conclusion on Nutty Buddy Butterscotch Icebox Cake
When it comes to homemade desserts, the Nutty Buddy Butterscotch Icebox Cake is a true standout. Its irresistible butterscotch flavor combined with a creamy texture makes it a delightful treat for any occasion. Plus, it’s incredibly easy to prepare, requiring no baking skills—just layer, chill, and serve.
Imagine surprising your friends at a gathering with this showstopper; they won’t believe how simple it was to make. For a delightful blend of sweetness and nuttiness, there really is no better choice. So why not whip up this delightful dessert? You’ll be hooked!
For more dessert inspiration, check out Food Network and elevate your baking game!
PrintNutty Buddy Butterscotch Icebox Cake: Indulge in Easy Homemade Bliss

A delightful dessert that combines the rich flavors of butterscotch with a crunchy nutty texture, perfect for any occasion.
- Prep Time: 20 minutes
- Total Time: 4 hours 20 minutes
- Yield: 8 servings 1x
- Category: Dessert
- Method: No-bake
- Cuisine: American
- Diet: Vegetarian
Ingredients
- 1 cup butterscotch chips
- 2 cups heavy cream
- 1/2 cup powdered sugar
- 1 teaspoon vanilla extract
- 8 ounces cream cheese
- 1 cup chopped nuts
- 12 graham crackers
Instructions
- In a bowl, beat the heavy cream, powdered sugar, and vanilla extract until soft peaks form.
- In another bowl, mix the cream cheese until smooth and fold in the butterscotch chips.
- Combine both mixtures gently.
- Layer the graham crackers at the bottom of a dish and spread a layer of the cream mixture over them.
- Sprinkle chopped nuts on top and repeat the layers until you run out of ingredients, finishing with the cream layer.
- Chill in the refrigerator for at least 4 hours before serving.
Notes
- Best served chilled for a refreshing taste.
- Can be topped with additional whipped cream or nuts for extra flavor.
Nutrition
- Serving Size: 1 slice
- Calories: 350
- Sugar: 18g
- Sodium: 150mg
- Fat: 28g
- Saturated Fat: 16g
- Unsaturated Fat: 10g
- Trans Fat: 0g
- Carbohydrates: 30g
- Fiber: 1g
- Protein: 3g
- Cholesterol: 80mg
Keywords: Nutty Buddy Butterscotch Icebox Cake, dessert, no-bake cake, easy recipe, butterscotch